If you’re looking to give your bathroom a makeover, one of the best ways to do that is by installing new flooring. But it can be a daunting task if you’ve never done it before. Not to worry! I have all the steps and tips you need to install bathroom flooring like a pro. Keep reading for our step-by-step guide!
How to install bathroom flooring: a step-by-step guide
Installing bathroom flooring is an important part of any bathroom renovation. It’s also quite a bit easier than you might think. By following these steps, you’ll have your bathroom flooring looking great in no time. To begin, you’ll need to measure the bathroom floor and prep the subfloor. Lay a single half row of tiles in both directions without mortar, starting at the center point and working outward.
Step 1: Measure the Bathroom Floor
The first step is to measure the floor to ensure that your bathroom flooring is installed correctly. Measure from one wall to the other, and then from the center of each wall to the other. This will ensure that you have an accurate measurement of the floor’s size and shape before you start laying tiles.
Once measurements are taken, you can begin to cut sub-flooring to fit the exact dimensions of your bathroom floor. Once you’ve cut the sub-flooring and laid it down, you can begin installing tiles.
Step 2: Mixing Mortar & Laying the Main Floor
Once you’ve measured your bathroom floor and determined the layout, it’s time to start laying the main floor. To do this, you’ll need to mix the mortar and spread it on the floor. Make sure to wear protective clothing and follow the manufacturer’s instructions when mixing the mortar.
You’ll also need to ensure that the mortar is evenly spread throughout the area. Once you’ve done this, you can start laying down the tiles. Make sure to lay them in a diagonal pattern for a better look and more even distribution.
Step 3: Test for Moisture
Before laying the tiles, it is important to test the moisture levels in the concrete subfloor to ensure the flooring will be properly installed. There are three methods for testing the moisture levels — a surface-prong test, an in-depth calcium chloride test, and a relative humidity test.
The surface prong test is the simplest and least expensive method, and will provide a general indication of the moisture content of the flooring. It is recommended to perform a more detailed relative humidity test if the surface prong test results come back above 3%. This will give you a more accurate overview of the moisture levels in your bathroom and help you determine if any additional waterproofing is necessary.
Step 4: Determine the Layout for the Bathroom
Now that you have your tiles, you need to determine the layout of the bathroom floor. This is where your creativity comes in. Work from the middle line outward while dry-fitting your tiles. Try out a few different postures to find one that you like.
If you’re going for a modern farmhouse look, consider using warm, neutral colors to give your bathroom an inviting atmosphere. Once you’re satisfied with your tile arrangement, it’s time to move on to Step 5: Cutting the Tile Membrane to Size.
Step 5: Cut Tile Membrane to Size
Now that you have measured the bathroom floor and determined the layout for the tiles, it is time to cut the tile membrane to size. Using a sharp blade, measure and cut the membrane to fit around doorjambs and other obstacles.
Then use a multi-tool to cut the door jambs so that the membrane fits snugly. Once the membrane is in place, use adhesive to hold it down. Make sure to read the manufacturer’s instructions carefully before applying the adhesive.
Step 6: Lay Tiles
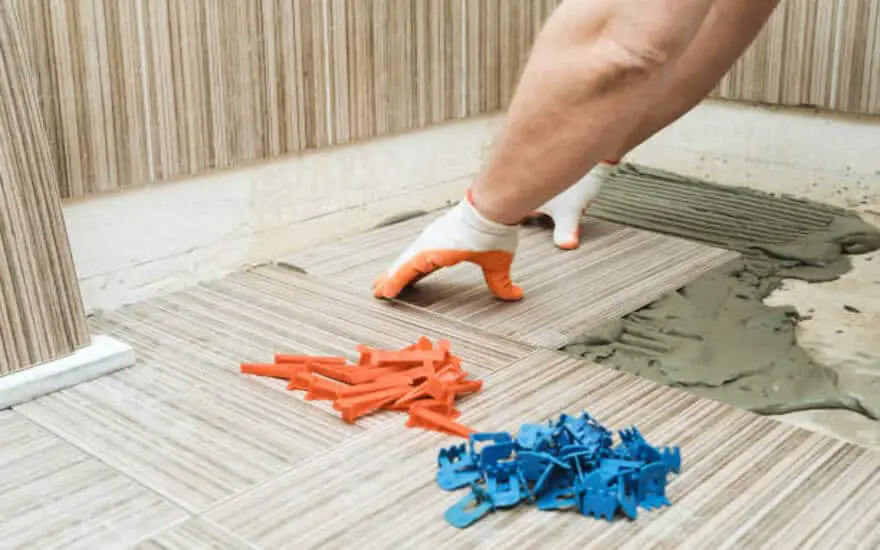
Now that the tile membrane is cut to size, it’s time to lay the tiles! This may sound daunting, but if you follow the steps below, you’ll be able to lay tiles quickly and easily. Start by loosening the adhesive on the back of each tile and laying them out in a dry pattern. Make sure you press the tiles firmly into place.
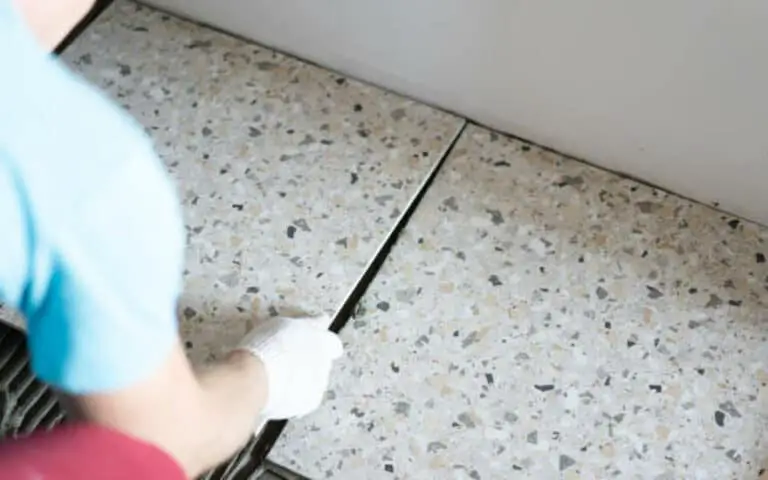
Once the tiles are laid, you can begin applying grout along the grout lines. Make sure you apply a thick layer of grout and wipe any excess off of the tile surface. Allow the grout to set for 24 hours before walking on it. Afterward, evaluate your work and make any necessary adjustments.
Step 7: Apply Grout
Now that the tiles are laid, the next step is to apply grout. To do this, you’ll need a rubber grout float and bucket. Start by mixing the grout with water in the bucket according to the instructions on the packaging. Once it’s fully mixed, use the float to apply it to the tiles.
Draw it firmly in place and let it sit for 20-30 minutes. Afterwards, use a dry cloth to wipe away any excess grout or grout haze. Finally, let the tiles settle and cure for 24 hours before evaluating the final product.
Step 8: Clean Up Excess Grout
Now that you have applied the grout, you will need to clean up the excess grout from the surface of the tiles. To do this, take a very dry sponge and run it at an angle across the grout joints to avoid removing too much grout from the joints.
Ensure that you do not apply too much pressure, but rather allow the sponge to do most of the work to avoid damaging the tiles. When cleaning the excess grout, use a white vinegar and water solution to clean off any remaining grout residue. After you are done, close the bucket back up, and it should be good to use again later.
Step 9: Allow Tiles to Cure for 24 Hours
Now that the tiles have been laid and the grout has been applied, it’s time to let the tiles cure for 24 hours. This is an important step in ensuring that the tiles are properly set in place and that any moisture that may still be present has had time to evaporate.
During this time, it’s a good idea to cover the newly installed tiles with brown paper or something similar to protect them from debris. Once the 24 hours have passed, you’ll be able to evaluate the final product and see if any additional steps need to be taken.
Step 10: Evaluate the Final Product
Once the bathroom flooring is installed, it’s time to evaluate the final product. Check for any loose tiles or grout and make sure all the lines are straight. Ensure there are no gaps and the tiles have all been properly sealed.
If there are any issues, you should address them now before the bathroom floor is used. The last step is to check for any water seepage and to make sure that all the tiles are secure in place. Once everything looks good, you can enjoy your newly installed bathroom flooring!
Is it necessary to lower the toilet flange?
It’s important to ensure the toilet flange is installed correctly to prevent any potential water damage. It’s necessary to lower the flange so it sits on top of the finished floor, whether it’s wood, vinyl, tile, or another type of material. Make sure to use rust-proof screws when installing or repairing a toilet flange.
Additionally, if you see water leaking around the base of your toilet, it could just need a wax ring replacement. Be sure to dispose of the wax seal immediately after removing it, so it doesn’t stick to your bathroom floor. Once the wax seal is removed, inspect the flange for any damage. Following these steps will ensure that your toilet flange is properly seated and functioning properly.
Does your bathroom have a shower or bathtub?
If you do have a shower or bathtub, then you will need to make sure that you have all the necessary pieces for installation. This includes a waterproof membrane, subflooring, and new tiles. Depending on your bathroom’s layout, you may need to replace a toilet flange.
To prepare for the installation, measure the area to determine the layout of the tiles and cut the membrane to fit. Once everything is ready, begin laying the tiles and applying grout. Clean up any excess grout, and allow the tiles to cure overnight before evaluating the final product.
Is there a way to waterproof vinyl plank flooring?
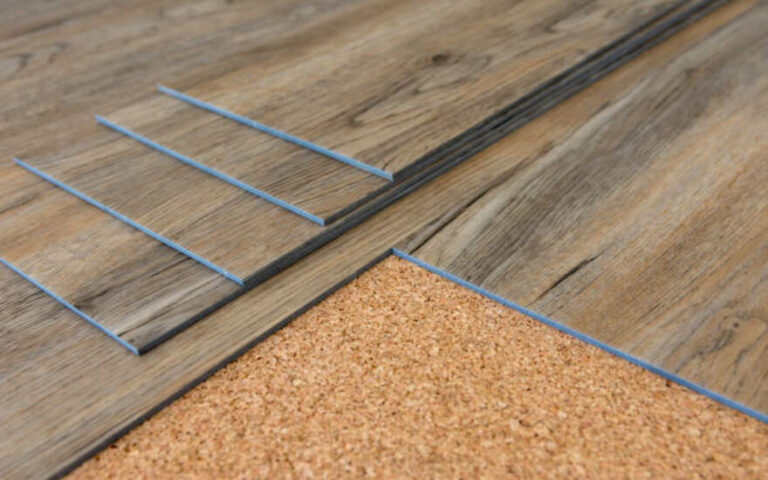
Vinyl plank flooring is a great option for your bathroom, as it is durable and easy to maintain. However, if you want to make sure it is extra waterproof, you should consider adding a waterproof membrane layer to the flooring. This is an additional layer of protection that will help prevent water from seeping into the subfloor and causing damage.
You can purchase a waterproof membrane specifically designed for vinyl plank flooring, or use a standard waterproof membrane designed for ceramic and stone tile. This will help ensure your floor remains protected and looking great for years to come.
Wrap Up
Installing bathroom flooring can be a great way to give your bathroom a fresh new look. It is important to consider all the steps and materials needed before beginning, and it may be beneficial to enlist the help of a professional if you are unsure how to proceed.
Additionally, it is important to consider the type of flooring you are using, as there are different requirements for waterproofing depending on the material. Vinyl plank flooring, for instance, needs to be waterproofed in order to protect it from moisture damage. Once you have considered all of these considerations, you will be ready to begin installing your bathroom flooring.

