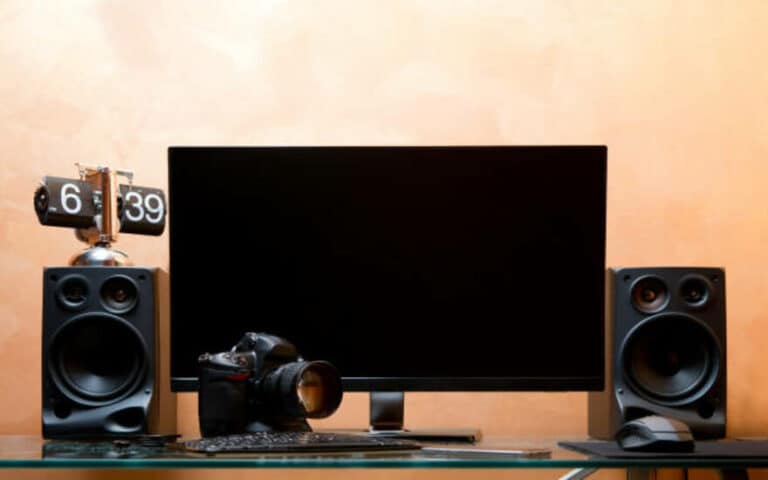
They offer a more immersive audio experience than your TV speakers and can drastically enhance your overall watching experience. But what happens when your sound bar and TV aren’t synced? The result is frustrating, with the audio not matching the visual cues, causing confusion and ruining the watching experience. In this guide, I’ll walk you through easy-to-follow steps to sync the sound bar with the TV for maximum enjoyment. It’s time to stop tolerating distracting delays and start enjoying seamless audio-visual satisfaction!

How To Sync Sound Bar With Tv: Full Steps
Alright, so I’m getting down to business now! After checking your TV and soundbar compatibility in the previous section, it’s time to sync them up. Here are the full steps to syncing your soundbar with your TV:
And that’s it! Once you’ve followed these steps, you’ll enjoy a richer audio experience courtesy of your new soundbar. If you run into any issues, don’t worry – there are troubleshooting steps you can take, which we’ll cover in the next section.

Step 1: Check your TV and soundbar compatibility
Before connecting your soundbar to your TV, it’s essential to check compatibility between them. Most modern TVs and soundbars are designed to work together, but it’s always better to double-check before purchasing. The first thing to consider is the connections available on your TV and soundbar.
Ensure they have parallel ports, such as HDMI, optical, or RCA, so you can connect them easily. Another key factor to consider is the audio format supported by both devices. To avoid compatibility issues, check if your soundbar supports the same audio formats as your TV, such as Dolby Atmos, DTS, or PCM.
If unsure, refer to the user manuals or visit the manufacturer’s website to determine compatibility. Doing so can ensure you have an enjoyable audio experience with your new soundbar.

Step 2: Connect your soundbar to your TV
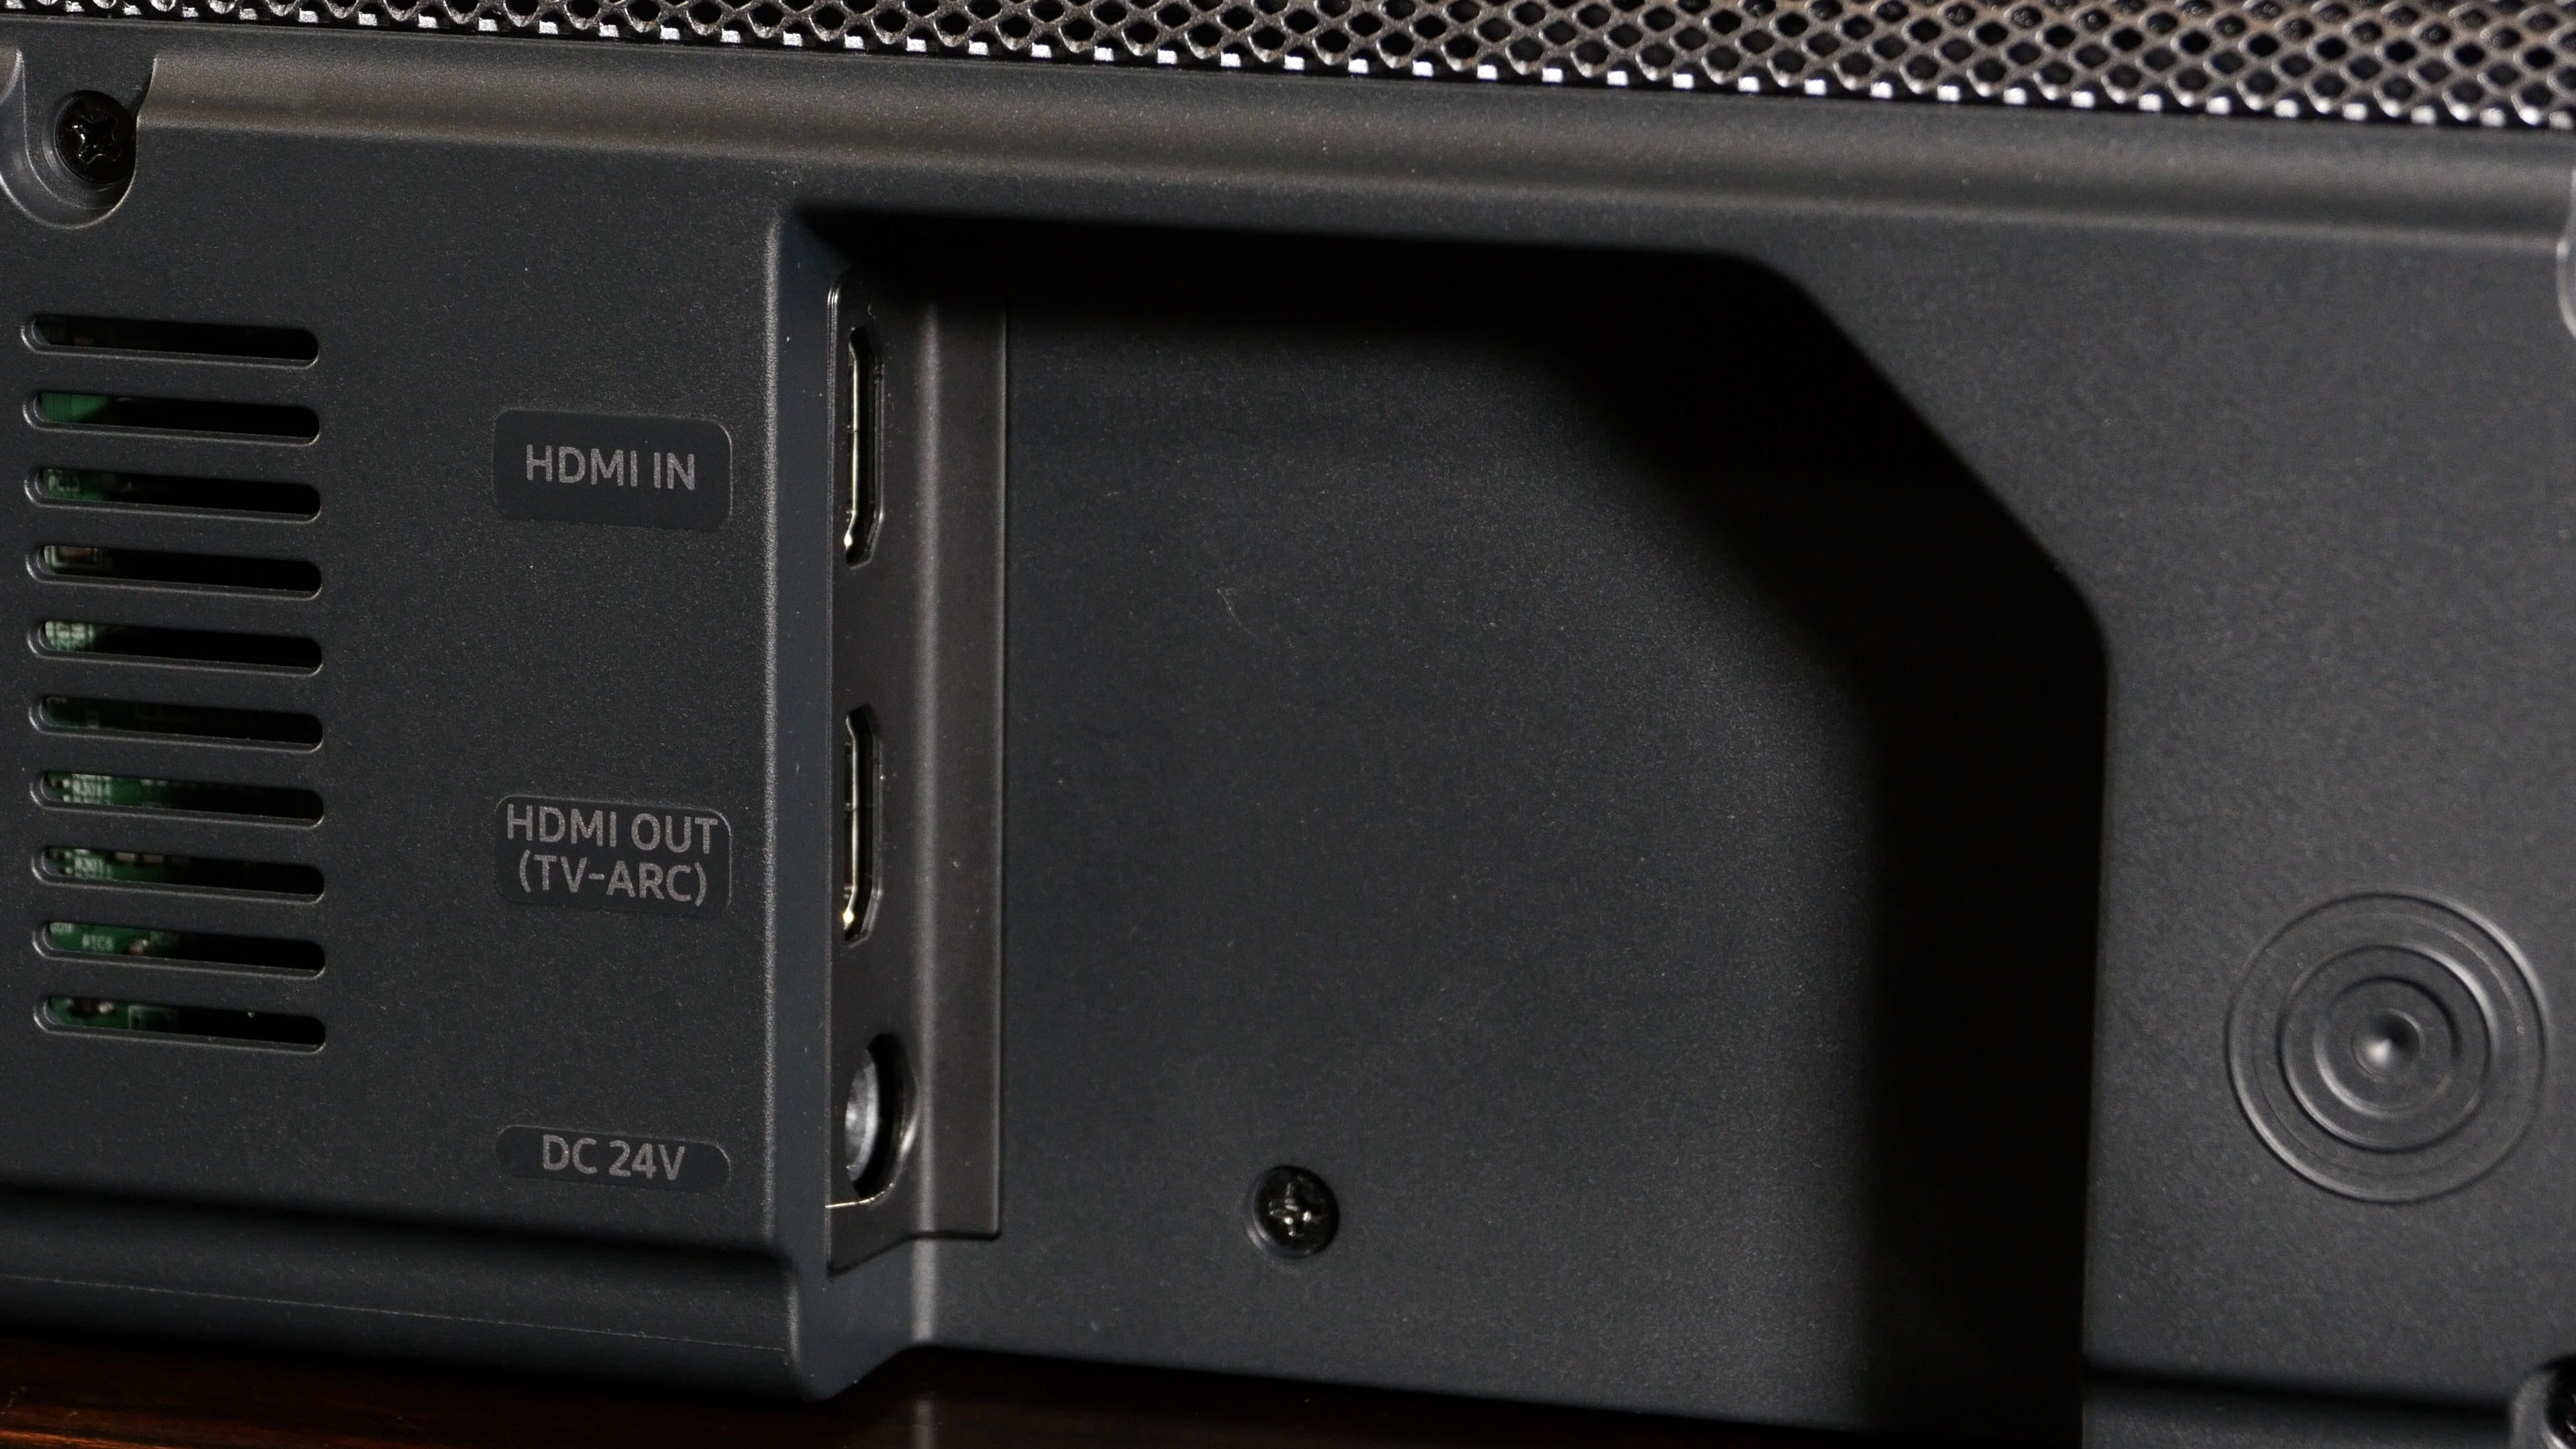
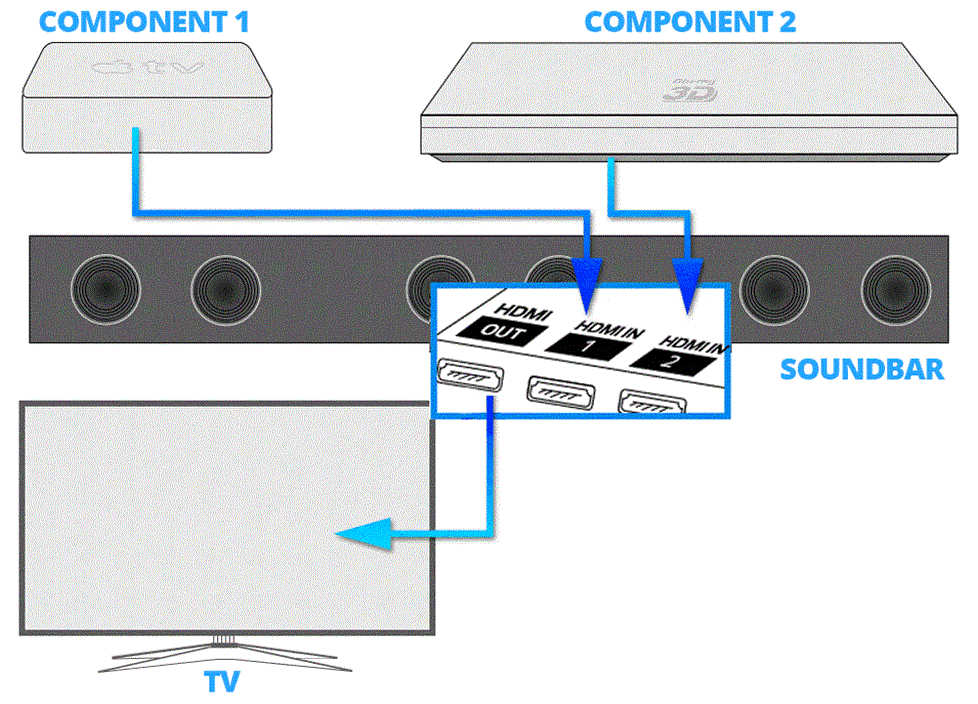
Now that you have checked the compatibility of your TV and soundbar, it’s time to connect them! One of the most popular options is using an HDMI cable. Plug one end of the HDMI cable into your TV’s HDMI ARC port and the other into your soundbar’s HDMI ARC port.
Another option is to use an optical cable; plug one end into your TV’s optical audio output and the other into your soundbar’s optical audio input. Whichever option you choose, don’t forget to power on your soundbar. Once connected, your TV remote should now control the soundbar’s volume, and best of all, you won’t have to listen to the TV’s internal speakers anymore. If you encounter any problems, don’t worry, we’ll cover troubleshooting in the next section.

Step 3: Check your TV sound settings
Now that your soundbar is connected to your TV, it’s time to check your TV’s sound settings. This is an essential step to ensure that the sound output from your TV is directed to your soundbar. In step 3, I typically go to the TV settings and select the “audio” or “sound” menu option. Then I look for the option to change the output to an external device or external speakers, which is the soundbar in this case.
After selecting the external speaker option, I make sure that the TV’s volume is turned up to a reasonable level. If the volume is too low, I adjust it to match the soundbar’s volume. If the soundbar is not producing any sound, ensure that the volume on both the TV and the soundbar is turned up.
The sound settings may differ based on the TV brand and model. So, it’s essential to check the TV manual for specific instructions.
Once the TV’s sound settings are adjusted, turn off the internal speakers to avoid interference or distortion. Some TVs can automatically turn off the internal speakers when the external device is connected. So, keep an eye out for that option as well.
With the TV sound settings adjusted, we can now proceed to the next step and activate ARC or HDMI-CEC on both the TV and soundbar. The audio sync settings are also important to ensure the sound output is synced with the video. So, let’s move on to step 7 to learn more.

Step 4: Turn off internal TV speakers
After ensuring that our soundbar is compatible with our TV and connecting the devices, the next step is to check the TV sound settings. In this step, I will turn off the internal TV speakers to prevent sound interference with our soundbar. As suggested in the previous steps, I need to access the TV settings menu and look for the Audio, Sound, or Speakers section, depending on the model of our TV.
Once I locate this section, I can turn off the internal speakers completely or lower the volume to zero. In my case, I had to follow the instructions of my TCL TV and switch the Speakers setting to Audio System and back to TV Speaker once to apply the changes. By turning off the internal TV speakers, we ensure that the sound comes solely from the soundbar and enjoy higher quality sound.
Step 5: Turn on ARC or HDMI-CEC on your TV
These two features allow seamless communication between the TV and the soundbar, making it easy to control the audio with your TV remote. To turn on ARC or HDMI-CEC on your TV, check the settings menu and toggle the feature to ‘on.’ The process may vary across TV brands, so consult your instruction manual for specific instructions.
Once enabled, your soundbar should automatically pair with your TV, and you can adjust the audio settings as needed. With the ARC or HDMI-CEC feature, you can experience a more streamlined audio setup, making watching TV or movies even more enjoyable.

Step 6: Turn on ARC or HDMI-CEC on your soundbar
Now that I’ve connected my soundbar to my TV, it’s time to enable ARC or HDMI-CEC on my soundbar. This step is important because it allows the soundbar to communicate with the TV and receive audio signals. To do this, I have to refer to the soundbar’s user manual and follow the instructions to enable either ARC or HDMI-CEC. Once done, I can set the soundbar to “TV” mode and test the audio sync.
In some cases, the soundbar may detect the TV connection automatically and enable ARC or HDMI-CEC without manual configuration. However, if I encounter any issues, I can troubleshoot by checking the soundbar’s settings and cables and updating the firmware if necessary. Overall, turning on ARC or HDMI-CEC on my soundbar is crucial in achieving a seamless and high-quality audio experience with my TV.
Step 7: Adjust audio sync settings
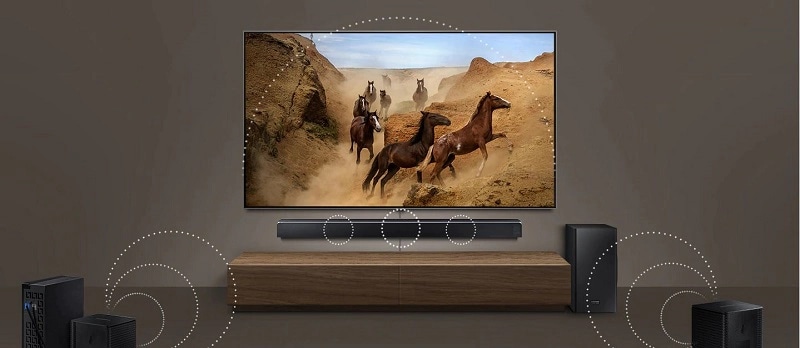
Now that I’ve connected our soundbar to our TV and checked our sound settings, it’s time to ensure the audio sync is right. This step is crucial to ensure the sound and picture match perfectly, providing a seamless viewing experience.
To adjust the audio sync settings, look for the option in the soundbar or TV menu, and use the remote to make slight adjustments until the audio and video are in sync. This may take a few tries, but achieving the best viewing experience is worth it. Once you’ve made your adjustments, don’t forget to save your settings for future use. Now sit back, relax, and enjoy your perfectly synced TV and soundbar setup!

Step 8: Check audio format compatibility
Check the supported audio formats of your soundbar and find out if your TV supports them. If your TV does not support the audio format of your soundbar, the soundbar may not produce any sound or produce distorted sound.
To resolve this issue, you can adjust the audio settings on your TV or soundbar to match the supported audio format. Some soundbars also have the option to automatically detect the audio format and optimize the sound output accordingly.
It’s important to note that not all soundbars and TVs support the same audio formats. Therefore, it’s always a good idea to check compatibility before purchasing.
By checking the audio format compatibility, you can ensure that you can enjoy high-quality sound from your soundbar without any issues.

Step 9: Check for firmware updates
Manufacturers are constantly pushing out updates to fix any glitches or improve performance. To do this, connect a USB to your sound bar and follow the instructions provided by the manufacturer. This process shouldn’t take longer than a few minutes.
After updating the firmware, always cycle the power to ensure everything runs smoothly. Checking for updates will help you get the most out of your sound system and ensure you’re not missing any new features or technology. Trust me; it’s worth the extra step!
Step 10: Test your audio sync and enjoy!
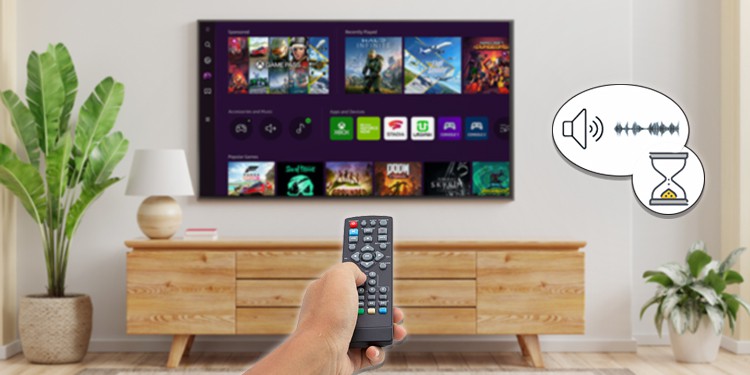
After going through the previous steps, it’s time to test your audio sync and enjoy your soundbar experience. First, ensure your TV and soundbar are on the right input channels. Then, play some audio or video content and adjust the volume to a comfortable level. If there’s an audio delay, go back to step 7 and adjust the settings accordingly.
If everything works fine, congratulations! You’ve successfully synced your soundbar with your TV. Sit back, relax, and enjoy the enhanced audio quality of your favorite shows and movies. Remember to check for firmware updates regularly to keep your devices up to date and avoid future compatibility issues.
Summary
Overall, syncing your soundbar with your TV is a straightforward process. You need to follow a few simple steps and pay attention to the different settings on both devices. To summarize, the first step is to ensure that your TV and soundbar are compatible and connect them using an HDMI cable. After checking the sound settings on your TV, you should turn off its internal speakers and enable ARC or HDMI-CEC on both devices.
You can also adjust the audio sync settings and check for firmware updates, which can improve the performance of your soundbar. Once everything is set up correctly, you should be able to enjoy high-quality audio from your soundbar while watching your favorite movies and TV shows. Remember, if you encounter any issues or have any questions, don’t hesitate to troubleshoot or seek assistance from the manufacturer.
:max_bytes(150000):strip_icc()/samsung-soundbar-promo-c5b312e95c714983a3e1a128d7fc0879.jpg)
Why won’t my sound bar connect to my TV?
I know firsthand how frustrating it can be when your sound bar won’t connect to your TV. There are a few common reasons why this might happen. First, ensure that your soundbar is compatible with your TV. If not, you may need an adapter or a different soundbar altogether. Another issue could be a faulty connection between the TV and the soundbar, so check all cables and ports.
If all connections are secure and not working, try adjusting audio sync settings or checking for firmware updates. Remember to also turn off the internal TV speakers and turn on ARC or HDMI-CEC on both the TV and soundbar. With some troubleshooting, you can sync your soundbar with your TV and enjoy your favorite shows and movies with top-notch audio quality.
How do I troubleshoot sound bar & TV connection issues?
There are a few more troubleshooting steps you can take. Firstly, double-check that your soundbar is powered on and that all cables are securely connected to your TV and soundbar. If you still have issues, try using a different audio connection, such as HDMI ARC or digital optical cable.
You can also try resetting your TV and soundbar, as sometimes a simple reset can do the trick. Lastly, ensure your TV and soundbar are running the latest firmware updates, as outdated software can sometimes cause connectivity issues. Remember, troubleshooting takes patience and sometimes trial and error, but once you get your soundbar synced with your TV, you’ll enjoy your favorite movies and shows with quality audio. Good luck!

Do I need an HDMI cable to connect my sound bar and TV?
As I mentioned earlier, an HDMI cable is the best way to connect your soundbar to your TV. Technically, no. You can use other cables, like optical or RCA, but HDMI is the most convenient and efficient option. HDMI transfers audio digitally, which means it will provide a high-quality sound experience. Plus, most modern soundbars and TVs have HDMI ports, making connecting them easily. So, if you want to enjoy the best sound quality, I suggest using an HDMI cable to connect your soundbar and TV.


