Don’t panic if you have no idea where to begin! How to expertly remove old vinyl flooring in a bathroom is a topic I cover in depth. Taking up the worn-out vinyl flooring is a good first step in this direction.
Step-By-Step Guide to remove Old Bathroom Vinyl Flooring
There are many ways to remove old bathroom vinyl flooring. Here are the steps:
1. Assess the Condition of the Floor
This will help you determine the best way to remove it and avoid causing any further damage to the floor. Look for mold or mildew, as this could mean that the subfloor beneath the floor is damaged.
If there are any tears in the vinyl, these should be patched to prevent any further damage. Once you have completed the assessment, you can begin the removal process.
2. Prepare the Room
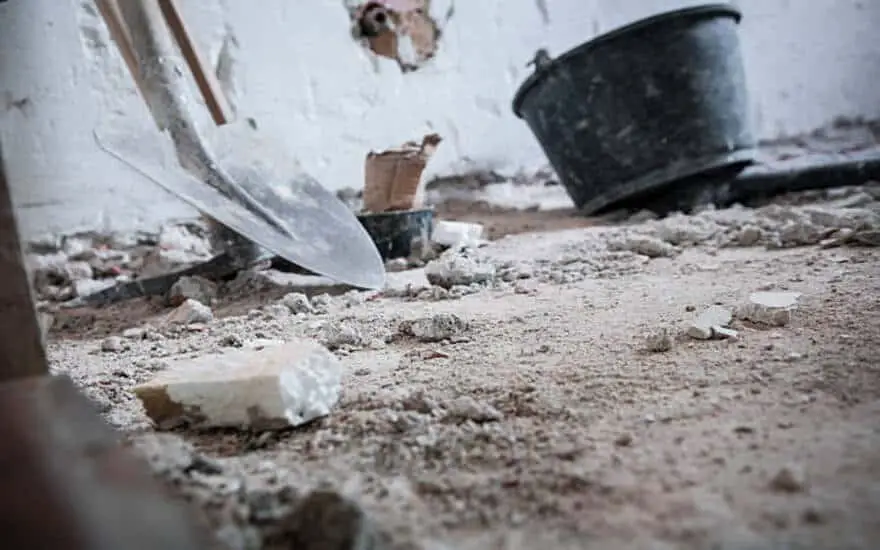
First, remove all furniture and décor items from the room. Then, remove any doorways or trim pieces that may be in the way. Once those items are removed, you can begin to assess the condition of the floor and decide the best approach for removal.
3. Remove the Molding and Baseboards
Start by removing the quarter-round trim. Use a putty knife or a crowbar to pry it off the wall. Then move on to the baseboard trim. Use a pry bar or a hammer and chisel to remove the frame.
Be gentle when removing the border, as you don’t want to damage the wall or the trim itself. Once the quarter-round and baseboard trim have been removed, you can remove the existing flooring.
4. Remove the Existing Flooring
Once the molding and baseboards have been removed, it is time to remove the existing flooring. If the flooring is sheet vinyl, peel it up carefully. If it is tile, use a scraper, hammer, and chisel to lift and chip away the old covering. If the flooring is glued down, you may need a heat gun to soften the glue for easier removal.
Once the sheeting is removed, attack the adhesive with a scraper and appropriate solvent to completely remove it from the subfloor. If there is any damage to the subfloor, repair it with a patch or self-leveling compound before laying the new flooring. With the old flooring removed, clean and dry the subfloor before laying down the new flooring.
5. Repair the Subfloor if Necessary
If your old bathroom vinyl flooring was glued down to a subfloor, the subfloor might likely need some repair before you can install your new vinyl flooring.
Depending on the age of the old flooring, you may find that the existing adhesive has caused the subfloor to warp or crack. If this is the case, you’ll want to repair the subfloor before you move on to the next step. You can do this by using a wood filler to fill any cracks or holes and then sanding the subfloor to ensure it is smooth.
You may also need to replace any severely damaged or rotted boards. Once the subfloor is repaired, it’s important to make sure to inspect it for any remaining adhesive and remove any residue.
6. Clean and Dry the Subfloor
Once you have removed all of the old bathroom vinyl floorings, it is important to ensure that the subfloor is completely dry and clean before installing the new flooring.
To do this, use a vacuum cleaner to remove dust, dirt, and debris from the surface and clean it up with a moist towel. Water damage and mold growth should be inspected for, as well. And repair any problem areas before beginning the installation process.
7. Lay a Vapor Barrier
Once you’ve removed the existing flooring and ensured that the subfloor is ready for installation, the next step is to lay a vapor barrier over the subfloor. A vapor barrier will help protect your new floor from moisture, which can cause damage and deterioration over time.
To install the wall, roll out the material and cut it to fit the room’s dimensions. Make sure to overlap the edges and seal them with tape to ensure an effective seal. After the barrier is in place, your new flooring can be installed.
8. Install New Vinyl Flooring
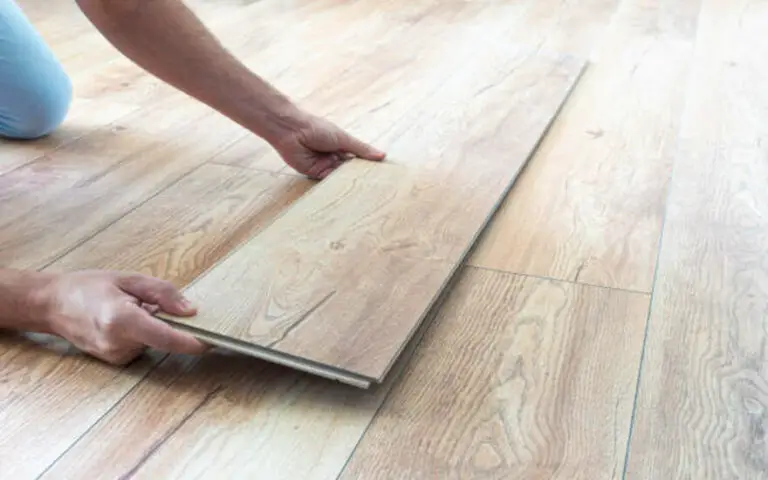
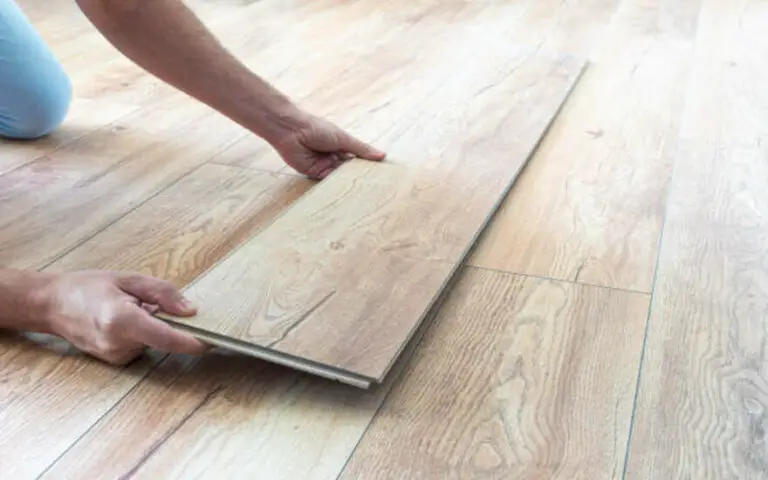
Now that the subfloor is ready and the vapor barrier is installed, it’s time to install the new vinyl flooring. Before you begin, make sure you have all the necessary materials. You’ll need the vinyl flooring, adhesive, and a utility knife for cutting. It is important to work in small sections and apply the glue evenly.
Once the sealant is applied, lay the vinyl flooring and press it into the adhesive. Trim the edges of the vinyl to fit the room, and use a roller to push it into place. Finally, clean up any glue that may have spilled and let the vinyl dry. Congratulations on your new vinyl flooring!
9. Install New Baseboards and Molding
Once you have installed your new vinyl flooring and allowed it to dry, you can begin installing the baseboards and molding. It is important to remember that these pieces will help hold the flooring in place, so you need to ensure that they are properly installed.
Start by measuring the area to ensure you have the right material for the job. Once you have the materials, you can begin to attach the baseboard and molding to the walls using nails or screws. Ensure the pieces fit snugly against the wall and are not too tight. This will help ensure that your new vinyl flooring is secure and looks great!
10. Clean Up and Enjoy Your New Floor
Now that you have successfully removed your old bathroom vinyl flooring and installed the new one, it’s time to clean up and enjoy your new floor. Before you start enjoying your new floor, make sure to sweep up all the debris and dispose of it properly. You may also want to vacuum the room to ensure all dirt and dust particles are removed. Once you have cleaned the room, you can enjoy your new floor!
How to remove linoleum from plywood?
Once you have removed the vinyl flooring in the bathroom, you may need to remove the linoleum flooring from the plywood. This is a slightly more complex process as it requires additional steps. To remove linoleum from plywood, you will need to score the linoleum first with a utility knife. This will help loosen the adhesive and make it easier to remove.
Once the linoleum is scratched, use a floor scraper to pull up the linoleum. If the linoleum is particularly stubborn, you may need a heat gun to soften the adhesive. Once the linoleum is removed, you can sand down the plywood to remove any adhesive remnants. Finally, you can clean the floor with a vacuum and mop to ensure that it is completely free of debris before installing the new vinyl flooring.
How to remove sheet vinyl flooring from plywood?
However, with the right tools and a bit of patience, it can be done. First, it’s important to assess the condition of the floor to determine the best approach for removal. If the plywood underlayment is screwed into the subfloor, remove the vinyl flooring first (following the steps above), then remove the screws before removing the plywood. Cut the vinyl into strips using a utility knife to make removing it easier.
Use a scraper, hammer, and chisel to lift and chip away the old covering. Once the sheeting is removed, attack the adhesive with a scraper and heat gun to help loosen it up. For stubborn areas, use a 5-in-1 tool to scrape away the glue. When all the adhesive has been removed, vacuum the area to prepare it for a new flooring surface.
How to remove glued-down vinyl flooring from concrete?
If the vinyl has been glued down for an extended period, you may need to use a heat gun to soften the adhesive. Once the bond has been muted, use a 5-in-1 tool to pry away the flooring. If this isn’t successful, use a pry bar to carefully remove the vinyl.
Once the vinyl is removed, use a scraper and hammer to chip away the adhesive from the concrete. Finally, clean and dry the subfloor before installing your new vinyl flooring.
How do you remove 40-year-old vinyl flooring?
Depending on the type of flooring, you may need to use a combination of different tools and techniques to remove it effectively. The most common method is to score the vinyl with a sharp knife, then use a floor scraper to pull it up.
If the vinyl is glued down, you may need a heat gun or hot air blower to soften it before removing it. Additionally, you may need to use a pry bar, hammer, and chisel to chip away the material. If the underlying subfloor is damaged, you may need to repair it before laying new vinyl flooring.
Summary
After successfully placing the vinyl flooring in your bathroom and removing the old flooring, you can clean up the area and enjoy your new floor. Make careful to clean up any trash and throw it away before you can relax on your new floor. You might also use a vacuum cleaner to eliminate dust and debris. After cleaning the space, you can finally appreciate the brand-new flooring.

