A soundbar is a great addition to any home entertainment system, providing high-quality audio and better immersion than most TV speakers. Thanks to modern technology, connecting a soundbar to your TV has never been easier. Opting for an optical cable is an excellent way to ensure better sound quality, but many people still struggle to make the right connections. If you’re one of those people who are unsure about how to connect your soundbar with an optical cable, this blog will guide you through the process step-by-step. So, let’s dive in!

How To Connect Soundbar With Optical Cable? 10 Steps
Now that I have gathered all the necessary equipment found the optical input on our soundbar, and located the ports, it’s time to connect the soundbar with an optical cable. Follow these ten steps, and you can do it quickly!
So, can you connect a soundbar with just an optical cable? Yes, you can. It is a simple and reliable way to achieve high-quality audio for your TV. But do I need to connect an optical cable for my soundbar? It’s not a requirement, but it’s definitely recommended if you want the best audio quality!

Step 1: Gather the Necessary Equipment
Luckily, most soundbars come with the cables you need, so ensure you have everything in the box. For this setup, you will need an optical digital audio cable.
Once you have the equipment, it’s time to move on to the next step. Connecting a soundbar with an optical cable is quick and painless, and as long as you have the right tools, you’ll be enjoying your new audio setup in no time. Don’t worry if you’re not tech-savvy – the steps are straightforward.

Step 2: Find Optical Input on Soundbar
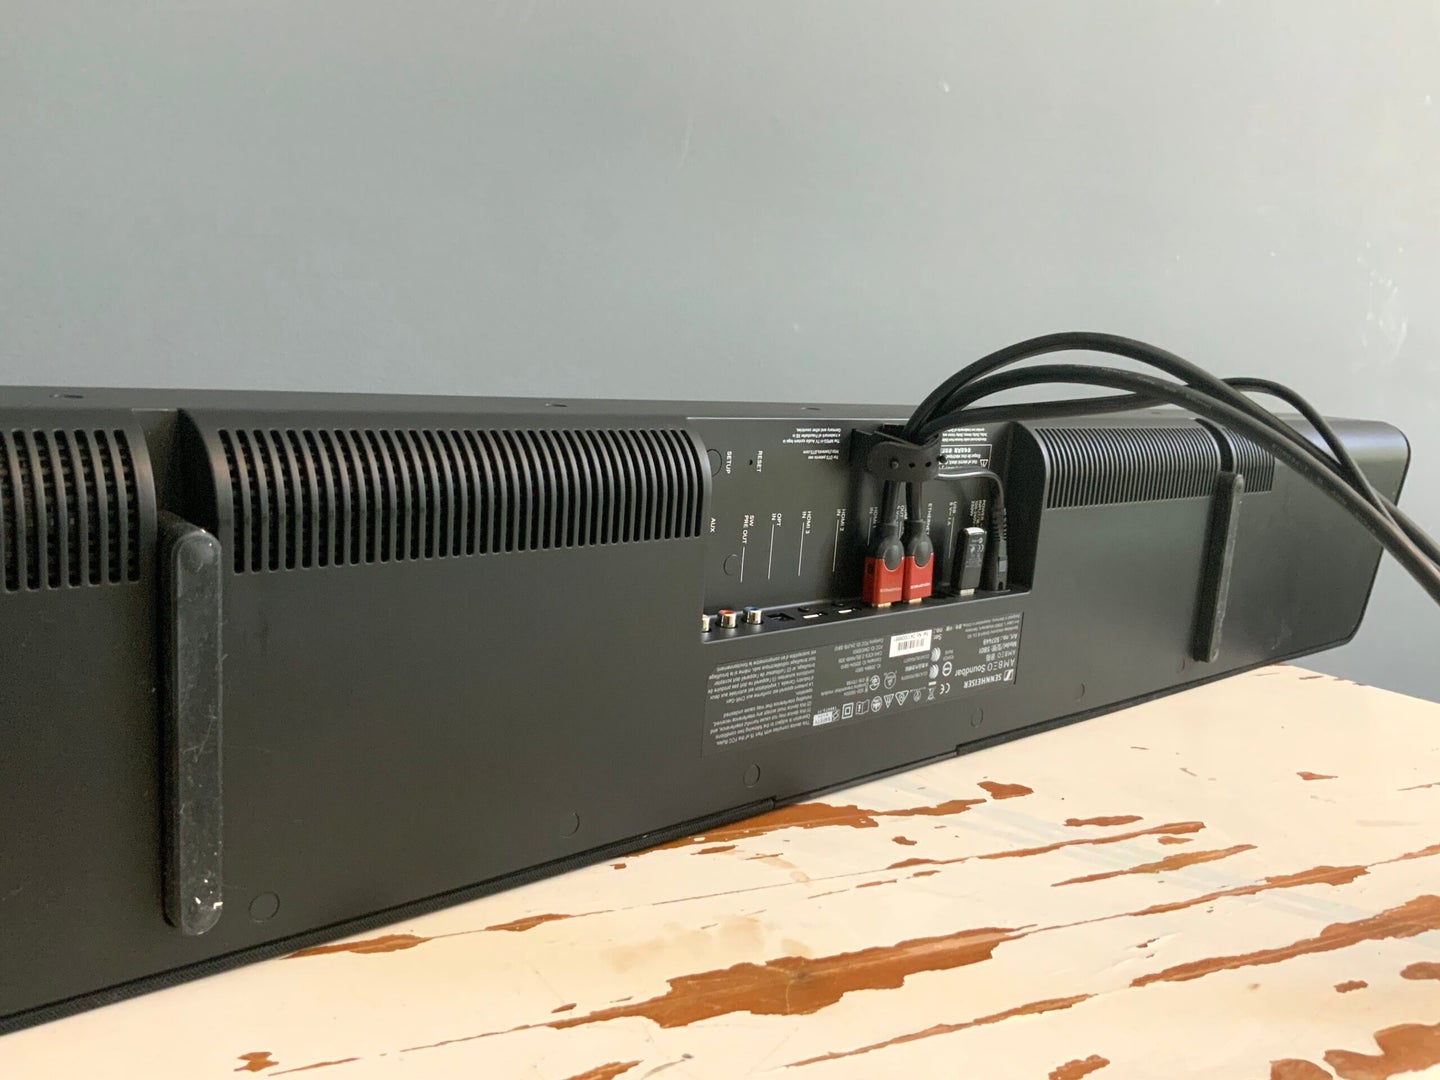
Now that you’ve gathered all the necessary equipment, the next step is to find the optical input on your soundbar. Usually, it’s located on the back of the soundbar, near the other ports. Look for a port labelled “Optical” or “Digital Audio In.” Once you’ve found it, you can move on to the next step. Don’t worry if you’re unsure which port it is, as most soundbars have labels beside the ports for easy identification.
If you have trouble locating the optical input, refer to the user manual that came with your soundbar. It’s essential to connect the optical cable to the correct port on the soundbar for the setup to work correctly. Remember to turn off your soundbar and TV before connecting the ends of the cable. Trust me; it’s better to be safe than sorry.

Step 3: Turn off Soundbar and TV
This is an important step to prevent potential damage to both devices. You don’t want to plug in the cable while the soundbar is on, which can cause a loud static crackle that might damage the speakers. By powering off both devices, you ensure a safe and smooth transition for the soundbar and TV. Once both devices are off, we can proceed to the next step of connecting the optical cable to the soundbar.

Step 4: Connect One End of the Optical Cable to Soundbar
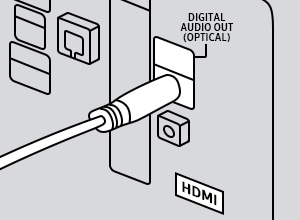
Now that I’ve located the digital audio ports on my TV and soundbar, it’s time to connect the optical cable. This cable is specifically designed for transmitting digital audio signals and is the most common method for connecting a soundbar to a TV. I’ve already found the end of the cable with the plug and labelled “Optical” or “Digital Audio.”
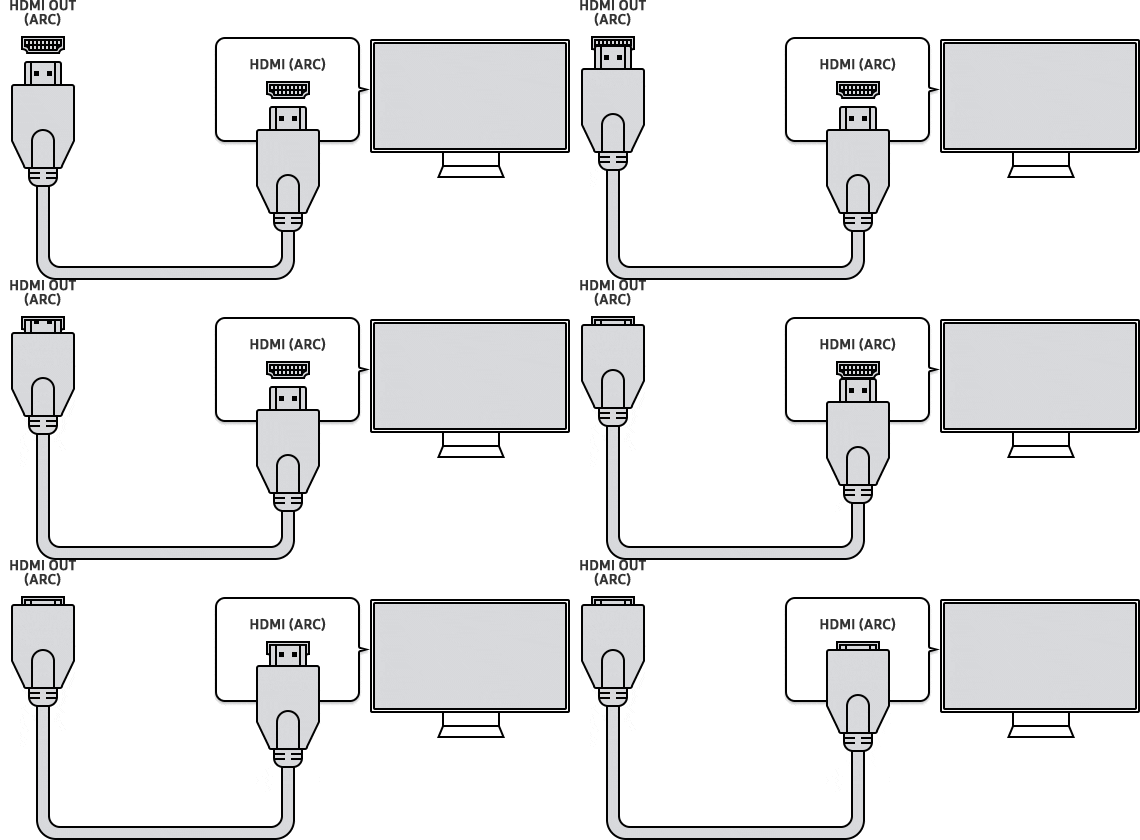
Now it’s time to connect it to the soundbar. I plug one cable end into the back of the soundbar’s Optical In port. It’s important to make sure the cable is securely connected. Once that’s done, I’ll move on to the next step and connect the other end to my TV.
Step 5: Connect the Other End of the Optical Cable to TV
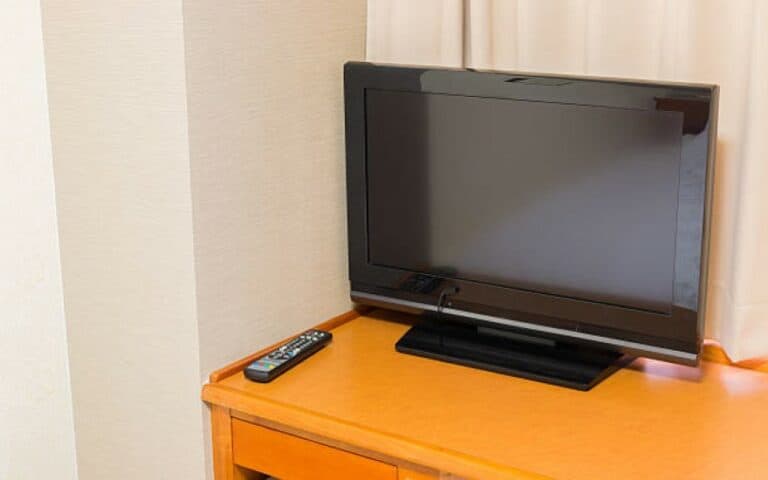
Now that you’ve connected one end of the optical cable to your soundbar, it’s time to connect the other end to your TV. Locate the optical input on your TV and insert the other end of the cable into it. Ensure you insert the connector correctly and securely to avoid connectivity issues. Once you have successfully connected both cable ends, you can proceed to the next step.
If you’re unsure about which port to use on your TV, look for labels such as “Optical” or “Digital Audio”. If you’re having trouble finding these ports, refer to your TV’s manual for further guidance. Once you’ve connected both ends of the optical cable, it’s time to turn on your TV and soundbar.
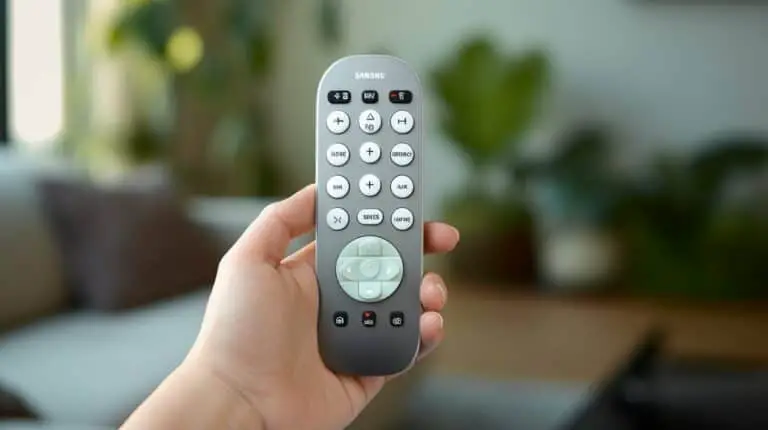
With both devices powered on, select the optical input on your soundbar using the remote or the side panel. Now, you need to adjust the audio settings on your TV to hear the sound through your soundbar. This is the next step that we’ll delve into in detail. Remember that TV models may have different audio settings, but we’ll guide you.
By following these steps, you’ll have a seamless and reliable connection between your soundbar and TV using an optical cable. With your soundbar connected, you’ll enjoy a better audio experience while watching your favourite movies, TV shows or playing games.
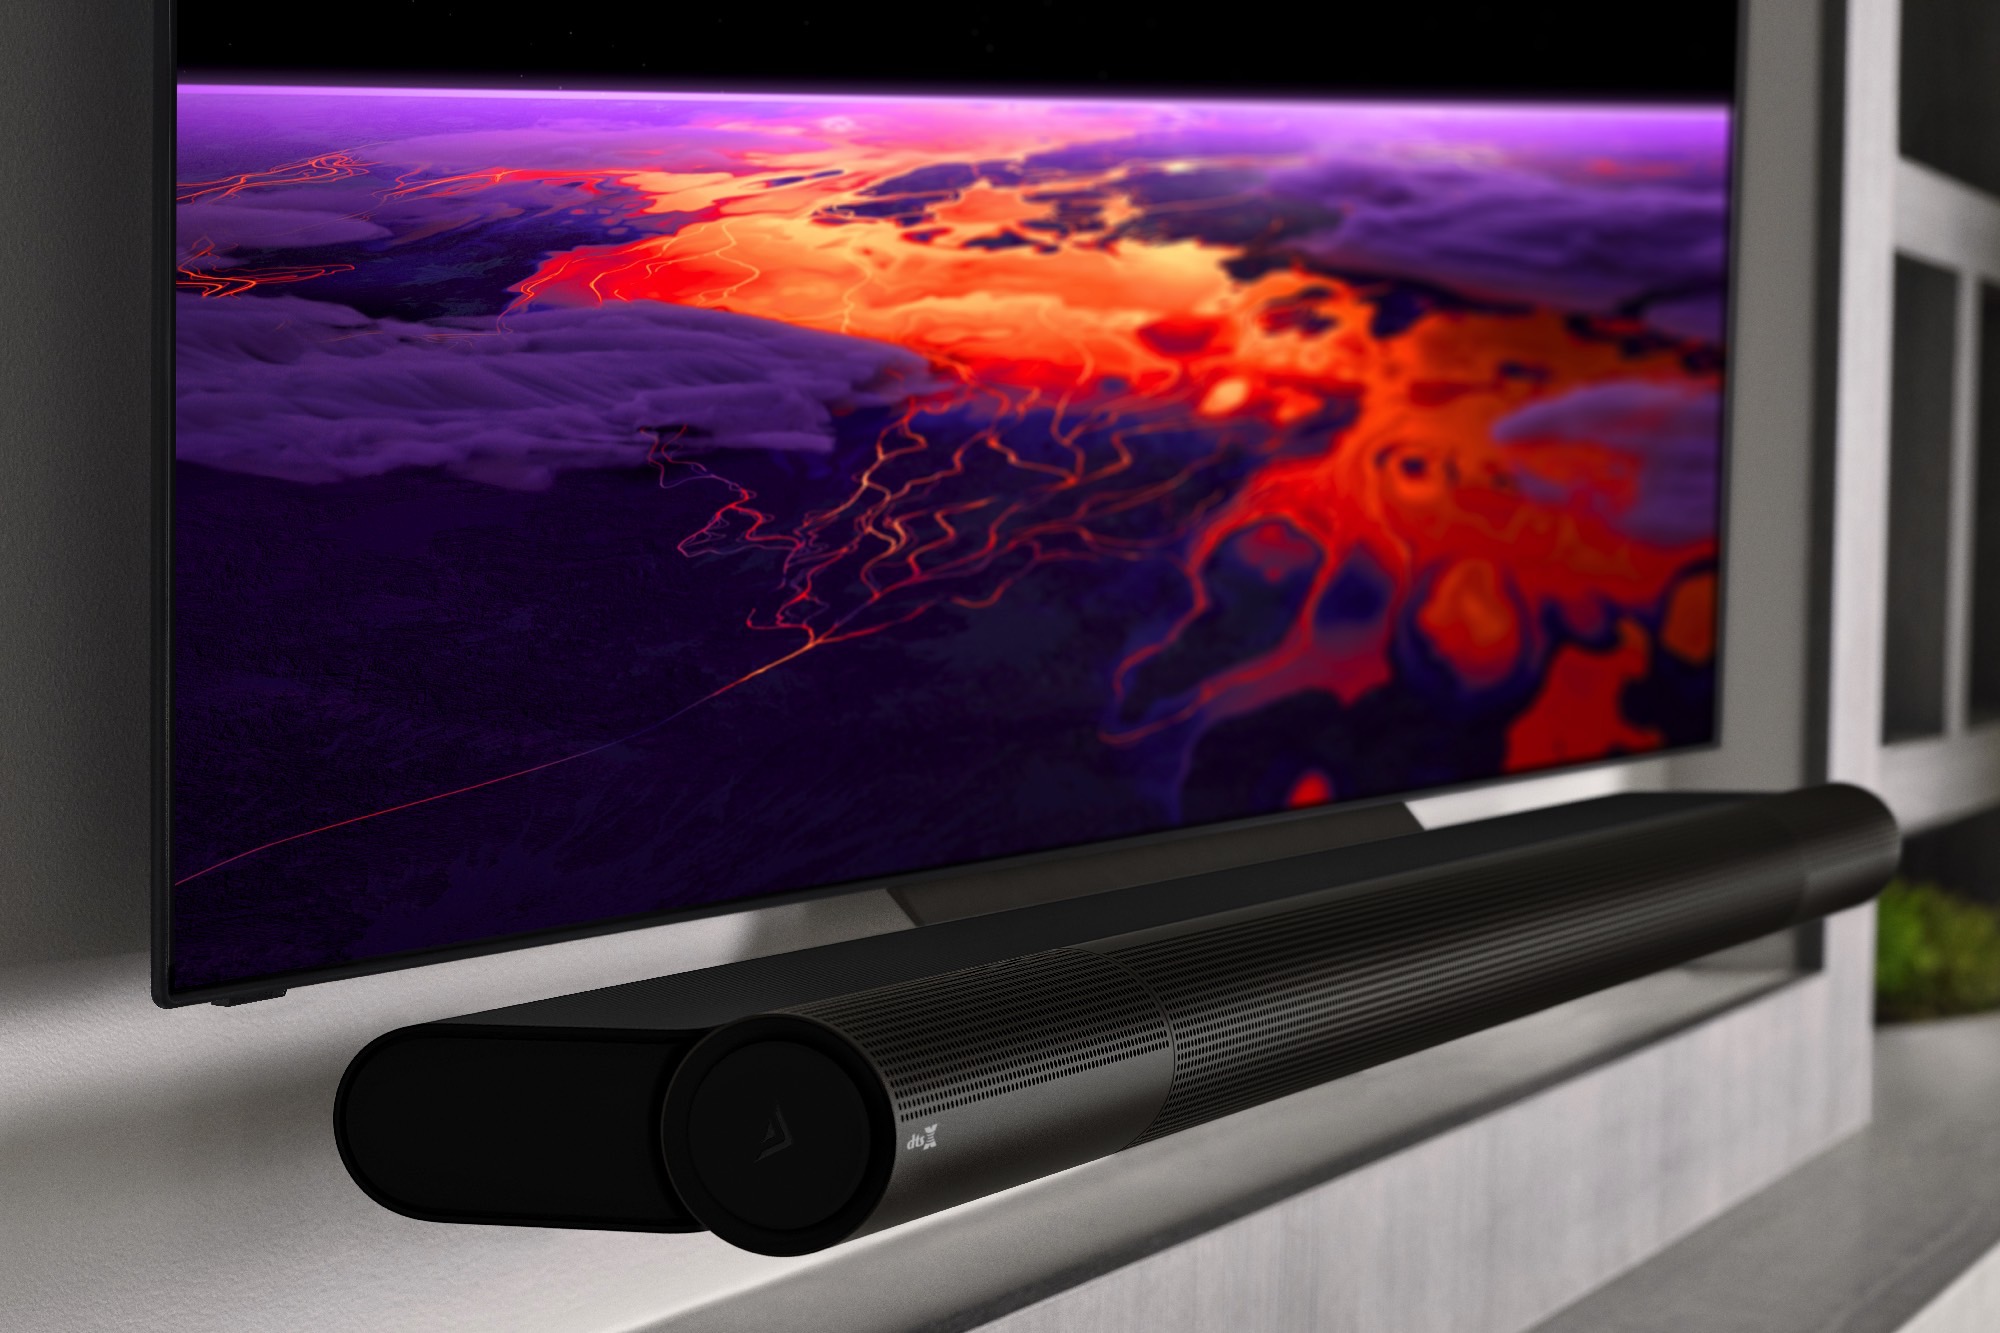
Step 6: Turn on the TV and Soundbar
Before doing so, ensure that the soundbar and TV are turned off. Once off, locate the power button on both devices and turn them on. After turning them on, your soundbar should automatically switch to the optical mode. In case it doesn’t, you can change the function by using the remote control that came with the soundbar.
Now that both devices are on and the soundbar is set to optical mode, it’s time to choose the TV audio settings. This step may vary depending on your TV model. Navigate to the audio settings of your TV and select “Optical Output” or “Bitstream.” If you cannot locate the audio settings, refer to the user manual or contact customer support.
With both devices turned on, the soundbar set to the optical mode, and the TV audio settings adjusted, it’s time to test the connection. Play your favourite movie or TV show and listen to the sound quality. If you’re happy with the results, then congratulations! Your soundbar is successfully connected with an optical cable. Sit back, relax and enjoy your new sound experience.
Step 7: Select Optical Input on Soundbar
After connecting the optical cable to both the TV and soundbar, it’s time to select the Optical Input on your soundbar. You can do this by using the remote control or pressing the corresponding button on the soundbar. Though the process of selecting the Input may differ from one model to another, you have to go through the Input selection process to ensure that the soundbar is receiving the audio signal from your TV.
Once you have selected the Optical Input, you should see a light glow on the soundbar to confirm the connection. Remember to adjust the volume level on the TV and the soundbar to ensure seamless audio delivery. Now you can sit back, relax, and enjoy your favourite music or TV show with impeccable sound quality, thanks to your newly connected soundbar with an optical cable.

Step 8: Choose TV Audio Settings
Once you have successfully connected your soundbar to your TV using an optical cable, it’s time to choose the appropriate audio settings. You can deactivate your TV’s speakers and select the optical cable as your audio output. To do this, navigate to your TV’s audio menu and locate the option to turn off the built-in speakers or select “an Optical cable” as your audio output.
This step is crucial to ensure you get the best sound quality from your soundbar. Additionally, if your soundbar has a remote control, you may need to select the “optical” input on the soundbar to ensure that it receives audio from the TV. Once you have selected the correct audio settings, sit back and enjoy your soundbar with crystal-clear audio!

Step 9: Test the Connection
After connecting the soundbar to the TV using the optical cable, it’s essential to test the connection to ensure it works correctly. To do this, turn on both the soundbar and TV and select the optical input on the soundbar. On your TV, navigate to audio settings and ensure the audio output is set to the soundbar. Then, play some audio or video content to test the sound.
The connection is successful if you can hear the audio through the soundbar. If it’s not playing, double-check the cable connections or refer to the soundbar’s user manual for troubleshooting tips. Don’t hesitate to seek assistance from a professional if you’re unsure about any of the steps or encounter any issues during the process. Once you’ve tested the connection, you can enjoy high-quality sound from your soundbar with the assurance that it’s working correctly.

Step 10: Enjoy Your Soundbar with Optical Cable Connected!
Congratulations! You’ve successfully connected your soundbar to the TV using an optical cable. Now, it’s time to sit back, relax, and enjoy the high-quality sound from your soundbar. Whether you’re watching a movie or playing your favourite video game, you’ll be able to hear every detail of the sound with crystal-clear clarity.
Experiment with different audio settings to get the most out of your soundbar. You can adjust the bass, treble, and other settings. You can also choose different sound modes, such as “movie” or “music,” to enhance your listening experience.
Connecting a soundbar to a TV with an optical cable is a quick and easy way to upgrade your TV’s sound quality. With a few simple steps, you can enjoy the immersive, cinematic sound from the comfort of your own home. So what are you waiting for? Grab some popcorn, sit back, and enjoy the show!
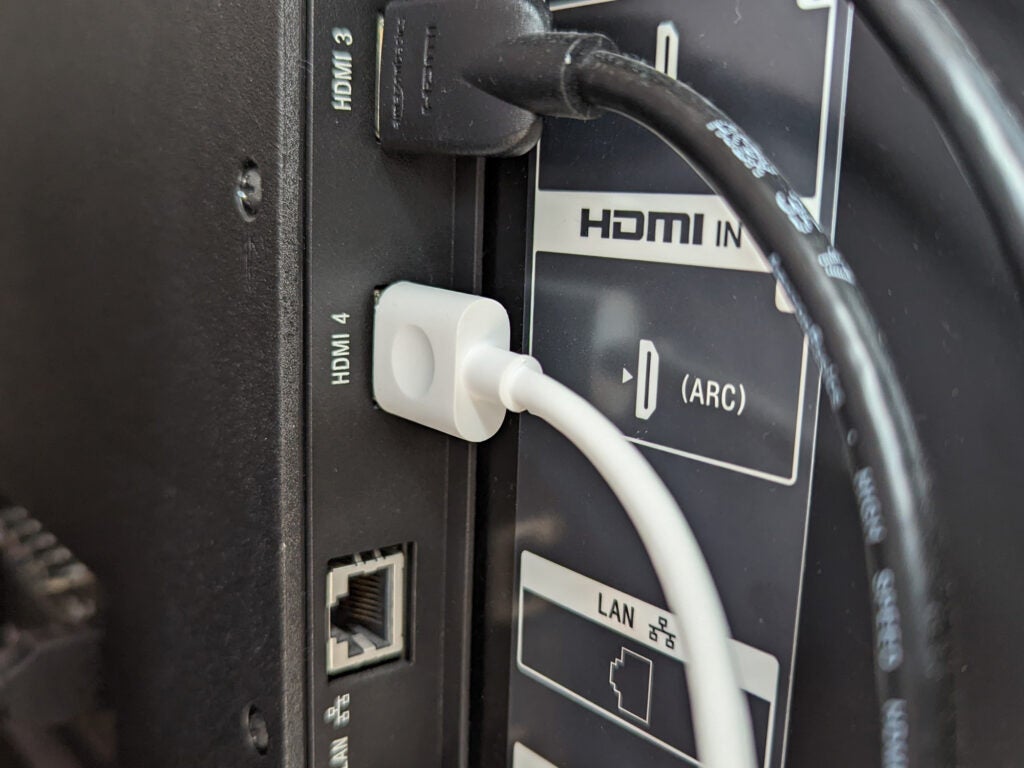
Can you connect a soundbar with just an optical cable?
Yes, you can connect a soundbar with just an optical cable! An optical cable is one of the simplest and most reliable ways to connect your soundbar to your TV.
All you need to do is locate the optical output on your TV and plug one end of the cable into that port. Then, plug the other end into the optical input on your soundbar.
Using an optical cable not only provides great sound quality but also eliminates the need for multiple cords and cables cluttering up your entertainment setup.
So, if you’re looking for an easy and effective way to connect your soundbar to your TV, don’t hesitate to grab an optical cable and set it up!

Why is my sound bar not working with an optical cable?
If you’re having trouble getting your soundbar to work with an optical cable, a few things could be going on. The first thing to check is that the cable is firmly inserted into the soundbar and the TV. If the connection is loose, it can cause problems with the audio signal. You should also ensure the TV is set to output audio via the optical cable.
Finally, there may be a problem with the cable itself. If you’ve ruled out all of these issues and your soundbar still isn’t working with the optical cable, it might be time to consider trying a different type of connection, such as HDMI or RCA. With some troubleshooting, you should be able to get your soundbar working perfectly with the audio input method of your choice.
Do I need to connect an optical cable for the soundbar?
I’ve been asked a few times whether connecting an optical cable to your soundbar is necessary. The answer is yes if your soundbar supports it. An optical cable is a simple way to get high-quality sound from your TV to your soundbar. It will provide a clear and crisp audio experience, which everyone wants.
Connecting the optical cable from the TV to the soundbar is essential because it transmits a digital audio signal that sounds much better than an analogue signal. Without it, you’ll miss out on a significant part of the sound from your TV shows, movies, music, and games. So, if you have an optical input on your soundbar, go ahead and connect it to your TV with an optical cable and enjoy the best sound possible.

Summary
Connecting a soundbar with an optical cable is a great way to improve your audio experience. The process involves gathering the necessary equipment and connecting one end of the optical cable to the soundbar and the other to the TV. Once you turn on your TV and soundbar, selecting the optical input on your soundbar and choosing your TV’s audio settings will allow you to enjoy your soundbar with an optical cable connected.
If you’re having trouble with your soundbar, check that the cable is properly connected and that the soundbar and TV are turned on. In my personal experience, connecting a soundbar with an optical cable has greatly enhanced my audio quality when watching TV or movies.

