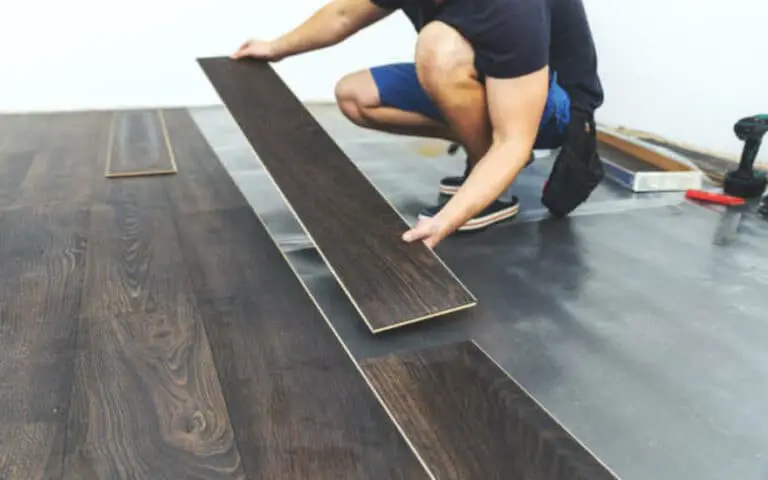
I’ve got the perfect solution! In this blog post, I’ll share the best methods for drawing out moisture and restoring your wood floors to their original glory. Read on to learn more about how you can tackle this problem quickly and easily.
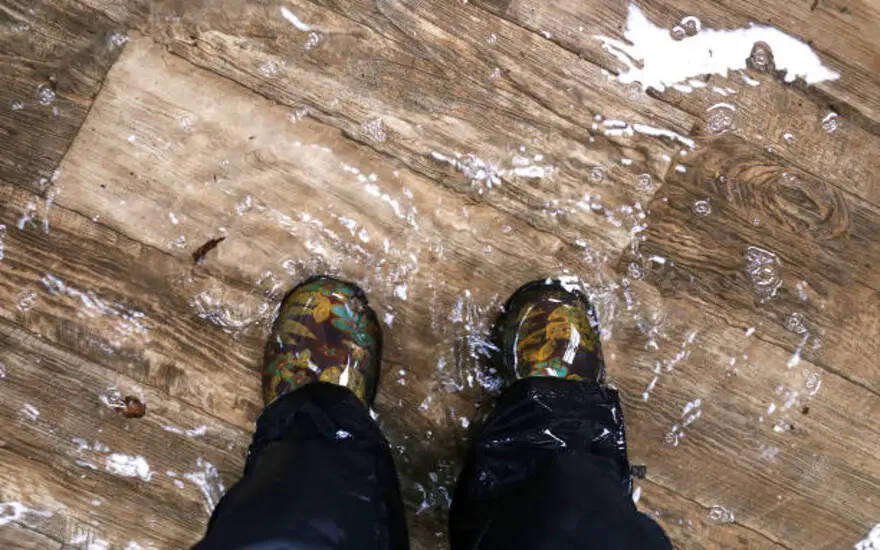
How to draw moisture out of wood (Step by Step Process)
Then, consider using a lead blower to draw moisture from the wood. This is one of the most effective ways to help the wood dry out quickly. After that, use fans to increase airflow in your home, which will help speed up the drying process. Finally, you can use desiccants, dehumidifiers, and dry towels to absorb excess moisture from the room and wipe down surfaces after flooding.
That way, your wood floors will quickly be dry and ready for repair!
Step 1: Use a Wet Vacuum Cleaner to Get Rid of Standing Water
The first step in removing moisture from your wood floors is using a wet vacuum cleaner to remove any standing water. Wet vacuums are explicitly designed to deal with large amounts of water, so they are the perfect tool for this task.
You can quickly and easily remove any standing water accumulated on your floors using a wet vacuum cleaner. This will help prevent further damage and ensure your wood floors remain dry and in good condition.
Step 2: Consider Using a Lead Blower to Draw Moisture
A leaf blower is a great way to draw moisture from the floor and help dry out any wet areas in your home. Use the lowest setting when using a leaf blower, as it will be more effective at drawing out moisture without damaging your hardwood floors.
Move the leaf blower around the area in a circular motion, directing the air toward the wet spots. This may take a few rounds of blowing, but it will help quickly draw out moisture from the floor. Take safety precautions when using a leaf blower, and be sure to unplug it when not in use.
Step 3: Use Fans to Increase Airflow in Your Home After Flooding
After a flood, moving the air is essential to help draw the moisture out of your home. To do this, you should set up several large fans in the affected area and run them on full blast. This will help create a breeze that will push the moist air away and improve the efficiency of your dehumidifier.
Additionally, it would be best to consider placing some fans near the wooden flooring to help draw moisture out from under it. Doing this will help eliminate any dampness that may have seeped into the subfloor and prevent mold from forming. Keep the fans running for several days or until the floors are completely dry.
Step 4: Use Desiccants to Absorb Moisture in the Room
When removing moisture from your wood floors, desiccants can be effective. Desiccants absorb moisture from the air, making them perfect for areas with high humidity.
For example, if your floor is still damp after using a wet vacuum cleaner and blower, you can use desiccants to remove any remaining moisture. Place them around the room, and they will absorb the air’s water. These materials can be reused several times and should be disposed of safely when they can no longer do their job.
Step 5: Use Dehumidifiers to Remove Humidity from the Air
In Step 5 of this process, to draw moisture out of wood floors, using a dehumidifier effectively removes humidity from the air. Dehumidifiers can help to reduce the amount of water in the air, which can help to prevent mold growth and damage to your floor. To use a dehumidifier, you’ll need to open doors and windows in your home to allow for cross-ventilation.
This will help the dehumidifier work more efficiently, drawing out as much moisture as possible. Additionally, ensure that the dehumidifier is placed in an area that receives adequate airflow and is not blocked by furniture or other items. With these steps, you can ensure that your wood floors are safe from damage caused by moisture.
Step 6: Wipe Down Surfaces with Dry Towels
Step 6 of drawing moisture out of wood floors is to wipe down surfaces with dry towels. This will help to absorb any lingering moisture and prevent it from settling into the wood. Make sure to use gentle, lint-free towels.
Rubbing too hard or using abrasive materials can damage the flooring. Pay special attention to areas around walls, doorways, and other tight spaces where moisture may linger. Wiping down surfaces with dry towels can help remove all the water and prevent further damage to your floors.
Step 7: Open Up Windows and Doors for Cross Ventilation
Opening up your windows and doors is one of the most important steps you can take when trying to draw moisture from your wood floors. By creating cross-ventilation, you can increase the airflow in your home and help lower the humidity levels. Doing this will also help reduce condensation, which can cause further damage to your floor.
Opening up your windows and doors is an easy, cost-effective way to help draw out moisture from your wood floors and ensure they stay dry and healthy. Furthermore, it would be best to consider opening windows on the opposite side of the space to create more airflow.
Additionally, you can use exhaust fans to extract moisture if the airflow is mechanically insufficient. These simple steps can help ensure your wood floors stay safe and sound.
Step 8: Check for Plumbing Leaks
In Step 8 of my blog on how to draw moisture out of wood floors, I’ll discuss how to check for plumbing leaks. Identifying and repairing any plumbing issues before attempting to dry out the water-damaged wood floors is essential, as this can cause further damage and may even lead to mold growth.
Therefore, inspecting all pipes in the area for signs of leaks or other issues, such as corrosion, is essential. If any plumbing problems are identified, it’s necessary to have a professional plumber come in and fix them right away.
Once all plumbing issues have been addressed, you can continue drying out your wood floors to restore them to their original state.
Step 9: Replace Damaged Materials
Once you have identified and removed the sources of moisture, it’s time to start replacing any damaged materials. You’ll want to replace any floorboards, trim, baseboards, and other accessories affected by the water damage.
Make sure to use materials that are designed for water resistance and will protect from future flooding. For example, if your floor is made of hardwood, you may consider replacing it with waterproof laminate flooring. Once all the materials are returned, you can start the refinishing process.
Step 10: Clean and Sanitize the Area
Once you have taken all the necessary steps to draw moisture out of your wood floors, it’s time to clean and sanitize the area. Start using a disinfectant cleaner or a mixture of water and vinegar to remove any dirt and debris accumulated on the floor. Scrub around the room’s edges and in any hard-to-reach places.
Once you have finished cleaning, dry the floor with a clean, dry towel. Finally, use an air purifier to help remove any remaining moisture from the air. These steps will ensure that your wood floor is dry and clean so that you can enjoy it for years.
How Can I Remove Moisture From Under My Hardwood Floor?
Removing moisture from beneath hardwood floors can be a tricky task. The best way to do it is to use a wet vacuum cleaner to suction up as much water as possible. You can also use a leaf blower to help draw out the moisture, but ensure you are careful not to over-dry the wood. Fans are great for increasing airflow in the home and assisting the wood floors dry faster.
Desiccants can also absorb the room’s moisture, while dehumidifiers help reduce humidity levels. Finally, open windows and doors for cross ventilation to help circulate air and check for plumbing leaks. Replacing any damaged materials and cleaning and sanitizing the area will help ensure you have successfully removed all moisture from beneath your hardwood flooring.
Mold under hardwood floors: the number one reason to prevent moisture leakage
Mold under hardwood floors can be a severe problem, as it can cause damage to the flooring and cause health issues due to mold spores. To prevent moisture from getting into the wood, it is essential to seal the flooring properly, ensure no plumbing leaks, and ensure that windows and doors are properly closed.
Additionally, regular inspections should be done to identify any potential issues with moisture leakage. Using a dehumidifier in the room can also help draw out excess moisture from the air and reduce the chances of mold forming under the floorboards.
Finally, if you experience water damage, it is essential to act quickly, cleaning up any standing water and drying out the area with fans or other methods. This way, you can ensure that your hardwood floors remain healthy and free from mold and other issues caused by moisture.
How to repair water-damaged wood floors?
If your wood floor has been damaged by moisture, it’s essential to take action quickly. The first step is to remove any standing water from the floor with a wet vacuum cleaner. Once most of the water is gone, you may consider using a leaf blower to draw out additional moisture.
To help increase air circulation in your home, use fans and open windows and doors to create cross ventilation. Desiccants are also great for absorbing extra moisture in the room, while dehumidifiers can help to reduce humidity levels.
In addition, wiping down surfaces with dry towels can help to draw out more water. If the damage is severe, you may need to replace affected boards and sand and refinish the whole floor. Once you’ve done this, checking for plumbing leaks and cleaning and sanitizing the area to prevent mold growth is essential.
Summary
It’s important to remember that water damage can be severe, and taking the necessary steps to draw moisture out of wood floors is essential. There are a few steps you can take to remove moisture from wood floors, such as using a wet vacuum cleaner to get rid of standing water, using a leaf blower to draw moisture, using fans to increase airflow in the home after flooding, and using desiccants and dehumidifiers to absorb moisture.

