Natural stone flooring is a great way to do just that. But, as with any home improvement project, there’s more than meets the eye. In this blog post, I’ll provide all the information you need to install and maintain natural stone flooring in your bathroom. Read on for some helpful tips!
How to install natural stone flooring in a bathroom: Step by step
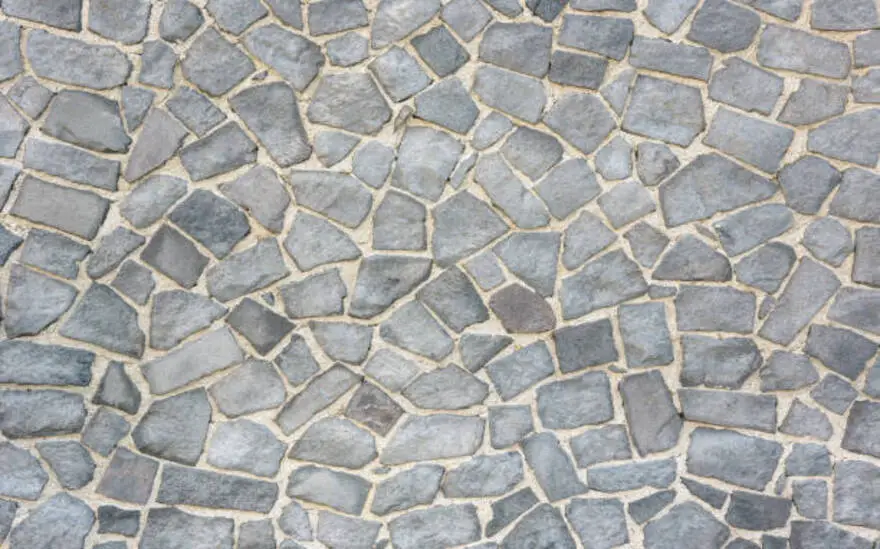
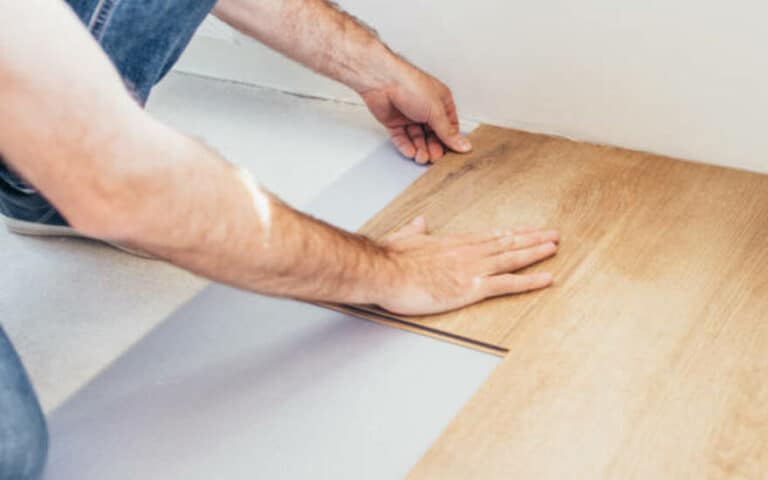
To begin the installation process for natural stone flooring in my bathroom, I must first prepare the subfloor, ensuring it is firm, dry, and clean. To choose the right stone, I should consider the type of stone I want and its porosity and durability. With these steps in mind, I’m ready to begin my natural stone flooring installation project!
1. Preparing the Subfloor
Now that you’ve chosen the right natural stone for your bathroom, it’s time to prepare the subfloor for installation.
This means ensuring the surface is structurally sound, solid, flat, dry, and completely clean of dirt, oil, wax, grease, or asphalt. You also want to ensure no gaps between the subfloor and the walls or other objects in the room.
To do this, you may need to use a leveling or self-leveling compound to fill any irregularities. Once the subfloor is prepped, vacuum and mop it before starting any installation.
2. Choosing the Right Stone
To ensure that you’re choosing the right stone for your bathroom floor, consider the amount of traffic and moisture in the area.
Natural stone tiles come in various types, from polished to honed, refined, and brushed. Before making your selection, it’s important to understand the differences between each finish and how it will affect the look of your floor.
Additionally, it’s important to consider any additional treatments necessary for your chosen stone type, such as sealants or grout. With proper research and preparation, you can find the perfect natural stone tile to bring beauty and durability to your bathroom floor.
3. Laying Out the Stone
Once you’ve chosen the right stone for your bathroom, it’s time to lay it out. Before laying the stone, it’s important to measure and mark the area to ensure it will fit properly.
To do this, measure the area where you’ll be laying the stone and mark it on the floor with a pencil or chalk line. This will help guide where each piece of stone should go.
It’s also important to remember that natural stone tiles can vary in size, so be sure to account for any variations when laying out your stone. Once you have measured and marked the area, you can begin laying out the stone pieces. Start with a quarter or third of a container, and mix more as needed.
Take your time and remix as necessary so each piece is spread evenly throughout the area you cover. Then work it into the grout joints with a trowel, making sure to keep everything level, even as you go along.
4. Cutting and Fitting the Stone
Once I have chosen the right stone and laid out the pieces, it’s time to cut and fit them. This is a crucial step in the installation process as it can make all the difference to the finished look of your bathroom.
Professional installers will ensure that all cuts are made accurately and precisely, but if you’re confident enough to tackle this yourself, you’ll need a few tools for the job.
First, ensure you have a wet saw or tile-cutting machine and a tile nipper and tile cutter for any smaller cuts. You’ll also need grout, thin-set mortar for gluing down the tiles, and sealant to protect them from water damage. I’m ready to begin cutting and fitting the stone pieces with these tools.
5. Cleaning and Sealing the Floor
Once the stone has been laid out and cut to fit, it’s time to clean and seal the floor. Before sealing, removing any dirt or debris from the stone surface with a damp cloth is important.
We recommend using Sure Seal for sealing your stone, as it is a vital part of the installation process. Make sure to carefully read the product labels of any bathroom or grout cleaners you use.
Always blot spills immediately to protect your stone from water, and use a neutral pH detergent or pure soap (such as Liquid Ivory) and warm water for regular cleaning. After cleaning, you can then proceed with sealing the stone tiles.
The best ways to clean and maintain natural stone flooring
As with any natural stone flooring, proper cleaning and maintenance are essential to ensure your bathroom floor looks its best and lasts for years. To keep your natural stone floor in top condition, it’s important to use the right cleaners and sealants.
Always blot spills immediately, and use a mild, pH-neutral detergent or pure soap such as Liquid Ivory and warm water for regular cleaning.
Additionally, frequently dust mops the floor using a clean, non-treated dust mop to remove any sand, dirt, or grit that can scratch or damage the stone surface. Finally, applying a sealant to the stone surface will help protect it from stains, making it easier to clean and maintain.
How to choose the right grout for natural stone flooring?
Choosing the right grout for natural stone flooring is important when installing a natural stone floor in your bathroom.
It is vital to choose a grout appropriate for the type of stone you’re using, its color, and its gap size. For example, if you’re laying down a granite tile floor, you should choose a grout that will help protect it from staining.
If you’re using a dark-colored stone, you may opt for a lighter grout to make it easier to clean. Additionally, the size of the gap between tiles should be considered when selecting a grout. It’s important to choose a grout that can fill in the gaps without leaving any spaces or cracks.
How to seal natural stone flooring?
After laying out the stone, cutting and fitting it, and cleaning it, the next step is to seal the floor. Sealing your natural stone flooring is essential to protect it from moisture and staining.
It also helps to prevent scratches and wear over time. It’s important to use the right sealer for the type of stone you have and to follow the manufacturer’s instructions carefully. The sealer should be applied in thin coats with a brush or roller, allowing each coat to dry completely before applying the next.
The process may need to be repeated several times. Once your floor is sealed, you can enjoy it for years to come knowing that it’s protected from everyday wear and tear.
How to repair and replace damaged natural stone flooring?
If left unrepaired, they can look worn or even become a safety hazard. Fortunately, you can take a few steps to repair and replace any damaged pieces of stone flooring in your bathroom.
Start by assessing the damage; then, you’ll need to clean and sand the area around the damage before applying a new piece of stone and using grout to seal the seam.
If necessary, you may want to hire a professional for more complicated repairs, but with the right tools and techniques, you can complete most repairs yourself.
How to handle cuts and corners when installing natural stone flooring?
You must be careful and precise with your measurements and cuts when handling cuts and corners. You want to ensure that your tiles fit perfectly in the corners, so you don’t have any gaps or uneven edges.
1. Tools needed to cut and fit natural stone flooring
Now that we’ve discussed the steps in installing natural stone flooring in your bathroom, it’s time to review the tools needed to properly cut and fit the stone pieces.
This process requires accuracy and precision, so make sure you have the right tools for the job. The most important tool you will need is a wet saw with a diamond blade designed to cut natural stone.
You will also want to use a chisel and hammer for shaping and cutting and an adhesive for gluing down the stone pieces. You may also need a grout float and sealant for the finishing touches. With these tools, you can ensure that your natural stone flooring will be installed properly and look great!
2. Making measurements and cutting the stone
Once you have chosen the right stone and laid it out, it is time to start making measurements and cutting the stone.
Make sure to use the right tools for this job to ensure that your cuts are precise and that the floor looks professional when it is finished. For this task, you will need a wet saw, a tile cutter, and a grinder.
With these tools, you can make accurate measurements and cut the stones to fit perfectly within your space. Wear protective gear such as goggles or a face mask when cutting the stone since dust particles may be released into the air.
3. Gluing down the stone pieces
After measuring and cutting the stone pieces, I was ready to glue them down onto the floor. To ensure a good bond, I took my time to clean the substrate and make sure that there were no dust particles or debris on the surface.
I used an appropriate adhesive suitable for natural stone tiles and followed the manufacturer’s instructions carefully.
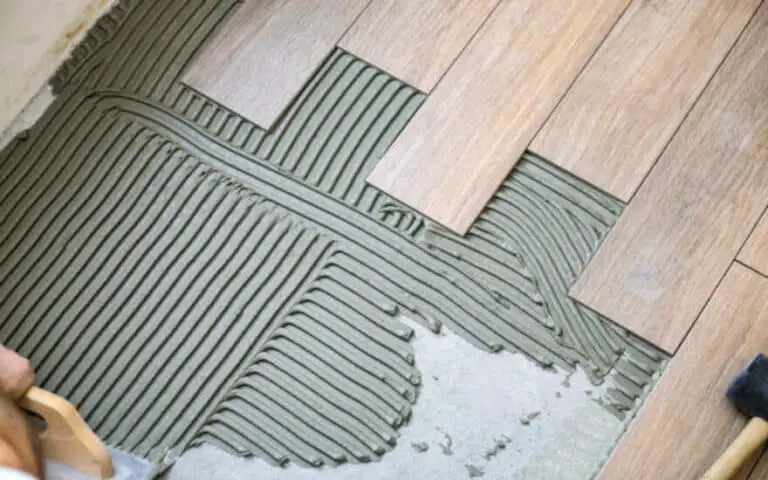
Then, I applied the adhesive evenly with a notched trowel, ensuring that there were no air pockets or gaps between each tile. Once the adhesive had dried completely, it was time to grout my natural stone flooring.
Summary
In summary, natural stone flooring can greatly add value, design, and functionality to your bathroom. It’s important to do your research before starting to ensure you choose the right stone for your project. After that, you’ll need to prepare the subfloor, lay out the stone, cut and fit it, clean and seal it, and maintain it regularly.
You’ll also need to choose the right grout and sealant for your project. Finally, if any parts of your installation are damaged or need replacing, you’ll need to know how to handle these repairs. With careful planning and attention to detail, installing natural stone flooring in your bathroom can be an enjoyable and rewarding experience.

