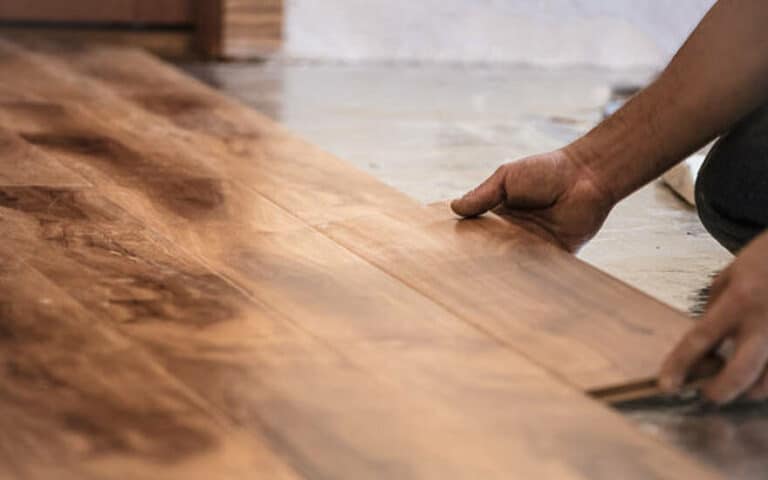
Do you have a single laminate floorboard that needs replacing, but you need help with how to proceed? Don’t worry – I’ve got your back! This blog post will provide all the information and tips you need to replace a single laminate floorboard. Let’s get started!
Can you replace a single laminate floor board?
Yes, you can replace a single laminate board if damaged. You can do it yourself with the right tools and a few spare planks. You need to measure the board to be replaced and check the manufacturer’s website for the right board.
Be sure to compare your measurements with the replacement board specs and check the flooring type and color to ensure a match. You will also need a power saw, hammer, nails or screws, pry bar, wood glue, and the replacement floorboard. You can easily replace your laminate floorboard with the right tools and patience.
How to identify the right replacement board?
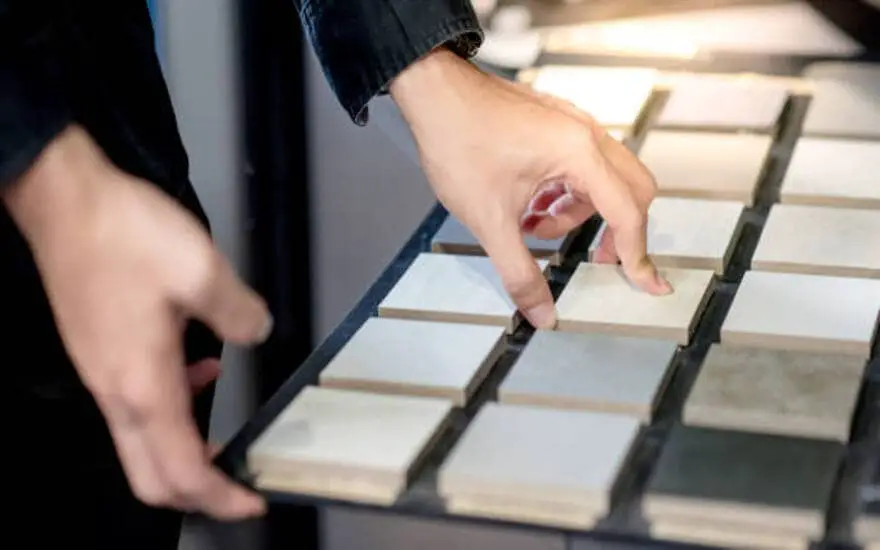
Now that you have the measurements of the board you need to replace, you can start to look for the right replacement. The best place to start is by checking the manufacturer’s website for the flooring type and color that match your existing laminate floor.
Once you have identified the right board, compare the measurements of your board to the specs of the replacement board to ensure a good fit. If everything looks good, you are ready to move on to the next steps.
1. Measure the board you need to replace
Once you have identified the board that needs to be replaced, the next step is to measure it. This will help you find the right replacement board. You need to measure the board’s width, length, and thickness.
Make sure to take accurate measurements, as even a small difference can make a big difference when fitting the replacement board into your flooring. Once you have all your measurements in hand, you can start checking for a replacement board.
2. Check the manufacturer’s website for the right board.
Once you’ve established the plank and flooring type, the next step is to check the manufacturer’s website for the right board to replace the damaged one.
You’ll need to look up the product details to get the exact measurements and color. This is important to ensure that the replacement board will fit properly and match the existing laminate flooring.
3. Compare your measurements with the replacement board specs.
Once you’ve measured the board you need to replace, you should check the manufacturer’s website to ensure that you’re getting the right replacement board. Make sure to compare your measurements with the replacement board specs and check that the flooring type and color match perfectly.
You can then gather the necessary tools for the project, such as a power saw, hammer, nails or screws, pry bar, wood glue, and replacement floorboard. Armed with all of these materials, you can now move on to replacing your damaged laminate floorboard.
4. Check the flooring type and color to ensure a match.
Once you have identified the type of flooring and the color that matches your existing flooring, you can start looking for the right replacement board.
You can check out the manufacturer’s website to find the right board. Compare your measurements with the replacement board specs and make sure they match. Also, check the product reviews to ensure they meet your expectations.
Tools needed for the project
Identifying the right replacement board is essential to get the job done properly. It is important to measure your current board and compare it to the specs on the manufacturer’s website.
Not only should you make sure that the size and shape of the board match, but you should also check for the correct flooring type and color to get a seamless match. Once you’ve identified the right board, you can gather the necessary tools for the job.
1. Power saw
o do this, you’ll need to take a few measurements. Make sure you measure the board’s width, length, and thickness to compare your measurements with those of the replacement board. You should also check if the flooring type and color match your existing flooring.
Once you have these measurements, you can check the manufacturer’s website to find the right replacement board.
2. Hammer
Once you have identified the right replacement board, you must measure it to ensure it fits the space. Consider the board’s length, width, and thickness to ensure it matches perfectly. It is also important to check the type and color of the flooring to ensure that it matches the rest of the floor.
You also must ensure that the original flooring manufacturer has the same board in stock for replacement. Checking their website for availability and specifications is a good place to start.
3. Nails or screws
Identifying the right replacement board is essential to ensure a successful repair job. To ensure you get the right type of board, measure the board you need to replace so you know exactly what size you need.
Once you have these measurements, you can check the manufacturer’s website for the right board. It is important to compare your measurements with the replacement board specs to ensure they will fit correctly on your floor. Also, check to ensure the flooring type and color match the existing flooring so that it blends in seamlessly.
4. Pry bar
Once you have gathered the necessary tools, you must find the right replacement floorboard. The best way to do this is to measure the board you need to replace and compare it with the replacement board specs. This will ensure that the size and shape of the board you’re replacing are identical to the original. Additionally, check the flooring type and color to ensure a perfect match.
5. Wood glue
Once you have chosen the board to replace the damaged one, it is important to ensure that you have the right tools and materials to complete the job. One of the most important components is wood glue, which helps secure the replacement floorboard.
Make sure you choose a wood glue suitable for the type of laminate flooring you have installed. It is also best to use a few small nails or screws to secure the board in place, as this will help keep it stable and ensure that it doesn’t shift or move over time.
6. Replacement floorboard
Identifying the right replacement board is essential for a successful repair job. To do this, you need to measure the board you need to replace and compare it with the specs of the replacement board. You’ll also want to check the flooring type and color to ensure a match.
This information lets you shop and find the right replacement board for your project.
A step-by-step guide to replacing the board
Once you have identified the right replacement board, it’s time to measure the board you need to replace. Check the manufacturer’s website for the right board to ensure a proper fit. You should take careful measurements of the board and compare them to the replacement board specifications.
Make sure to also check the flooring type and color to ensure a match. It’s important to gather the necessary tools for the project before starting: a power saw, hammer, nails or screws, pry bar, wood glue, and a replacement floorboard. Now you are ready to begin replacing the board.
Summary
Replacing a single laminate floorboard is no easy task, but it’s possible to do it yourself with the right tools and materials. To ensure a match, you need to identify the right replacement board, measure it, and compare it with the flooring type and color specs.
The tools you need for the project include a power saw, hammer, nails or screws, pry bar, wood glue, and the replacement floorboard. Following a step-by-step guide can help you complete the project. Replacing a single laminate floorboard with the right tools and preparation can be a rewarding experience.

