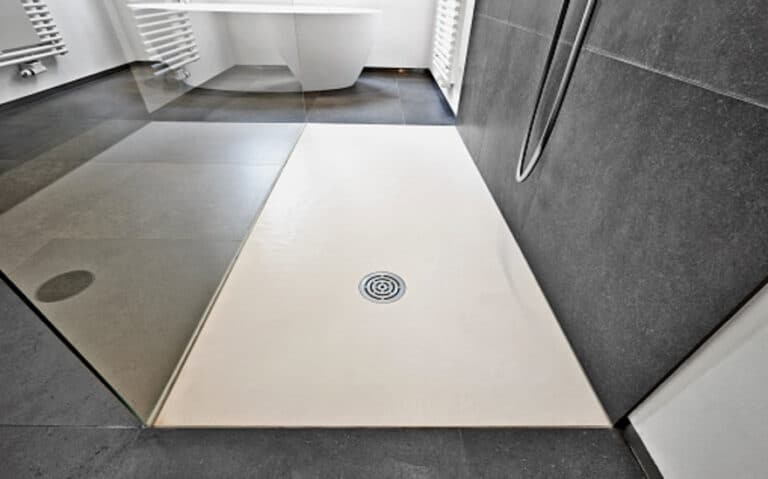
In this blog post, I’ll show you how to easily and quickly replace a floor drain so that your home is safe and secure.
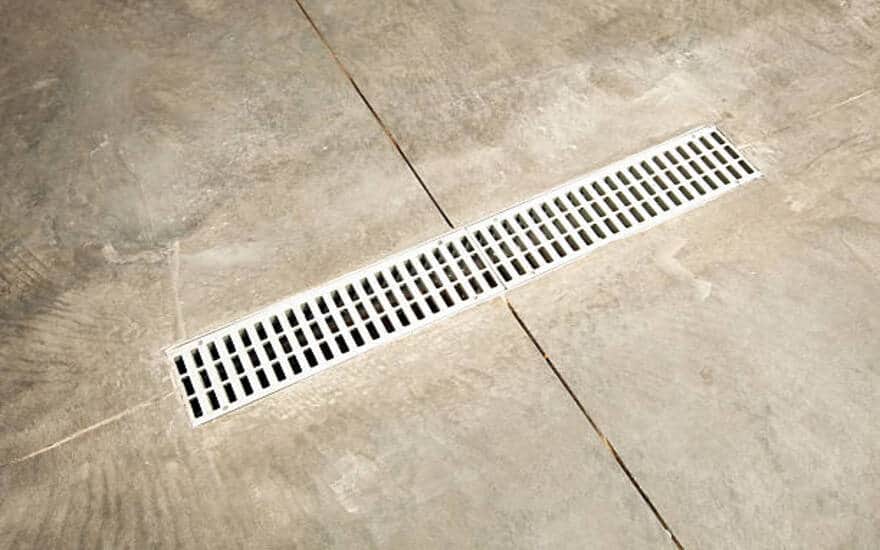
7 Steps How to replace a floor drain
Replacing a floor drain can be tricky, but with the right knowledge and skills, it’s possible to do it yourself. In this section, we’ll provide a step-by-step guide on how to replace a floor drain.
Step 1: Shut off the water supply
Before you start replacing your floor drain, it’s important that you shut off the water supply first. This will prevent flooding or other damage while you’re working on the project. To do this, locate the shut-off valve near the drain and turn it off. Once the water has been shut off, you can begin replacing your floor drain.
Step 2: Remove the Old Drain
Before doing so, it is important to locate the water shut-off valve and turn it off. This will ensure no water is flowing into the old drain and will minimize the risk of flooding when the old drain is removed.
The water supply is cut off; the old drain may be unscrewed with a screwdriver. Carefully pull the old chute out of the floor to avoid damaging the surrounding flooring. Dispose of the old drain according to local regulations.
Step 3: Prepare the New Drain
Once you have removed the old floor drain, it is time to prepare the new one:
- Measure the hole in the floor and double-check that the new floor drain matches the measurements. If it does not check, you may need to cut the hole larger or purchase a drain that is the correct size.
- You should use a hammer and chisel to shape the area around the drain so that it fits snugly.
- Ensure the drain is level and the area around it is debris-free.
Step 4: Set the New Drain
Once the new drain is prepared, it’s time to set it on the floor. Make a hole in the laundry room floor, 2 inches in diameter, where the old floor drain used to use a hole saw or jigsaw. Take caution when cutting the spot, as you don’t want to damage the existing pipe.
Once the hole is created, place the new floor drain into the hole and secure it with the provided screws. Ensure the drain is level and no glue is used to secure it. Once the drain is set, you’re ready to move on to the next step.
Step 5: Attach the Tailpiece and Trap Adapter
Once the new floor drain is in place, the next step is to attach the tailpiece and trap adapter. You will need to use a wrench to secure the tailpiece to the floor drain. Then, you will need to connect the trap adapter to the tailpiece.
Use a sealant around the connections to ensure a tight seal. Once everything is secured, you can test for leaks before re-installing any floor covering.
Step 6: Test for Leaks
Once you have installed the new floor drain, it is important to test it for leaks. To flush the drain, you must activate the water supply. Put a bucket or anything else under the leak to collect the water.
If you see any water, you need to adjust the fittings and ensure that everything is tight and secure. You should also check the pipes to ensure they are properly secured. Once everything is safe, you can turn the water off and move on to the next step.
Step 7: Re-install Floor Covering
Once the new floor drain has been installed and tested for leaks, the last step is re-installing the floor covering. Depending on the type of flooring, this could include tiles, wood, carpet, or other materials.
Make sure to use the right adhesive and any sealants or grout required for the flooring type. This will help ensure that the floor drain is properly sealed and that no water will leak. Once the floor covering is in place, your new drain is ready.
Three things Consider replacing your old floor drain.
Replacing your old floor drain is an important task that should not be taken lightly. Before beginning the process, it is important to assess the damage to your existing floor drain. This includes checking for any corrosion, cracking, or other signs of wear. You should also research the right replacement parts for your drain, including the correct size, material, and type of drain trap. Finally, you should follow proper installation procedures to ensure a successful replacement. With the right preparation and knowledge, replacing your floor drain can be easy and rewarding.
1. Assess the damage to your existing floor drain
If the drain is cracked or leaking, it needs to be replaced. Examine the size of the hole in the floor and compare it to the size of the new drain. If the gap is too small, you may need to enlarge it to fit the new drain.
In addition to assessing the damage, you should research the right replacement parts and follow the proper installation procedures. Doing this will ensure that your new floor drain is securely and properly installed.
2. Research the right replacement parts
When replacing a floor drain, it is important to research the right replacement parts. The water must be turned on and allowed into the drain. If water is spilling, capture it in a bucket or other container. If you plan to replace a floor drain with concrete, you may need to use a more specialized material, such as PVC pipe.
Make sure to purchase the correct floor drain size and all the necessary components. It is also important to assess the damage to your existing floor drain to ensure you have the right replacement parts and to make sure you follow proper installation procedures.
3. Follow proper installation procedures.
When replacing a floor drain, it is important to follow the proper installation procedures to ensure it is properly installed and working correctly. Here are a few things to consider before beginning the installation:
Assess the damage to your existing floor drain:
It is important to assess the damage to your current floor drain. This will help you determine if you need to repair or replace the drain and what type of replacement drain will be required.
Research the right replacement parts:
Researching the right replacement parts for your floor drain is essential. You need to ensure you get the right size, shape, and material for your drain.
Follow proper installation procedures:
When replacing a floor drain, it is important to follow the guidelines. You may expect the greatest results if you prepare well in advance by gathering all the required supplies and equipment and following the manufacturer’s directions carefully.
How to replace a floor drain in concrete?
To start, you will need to locate and cut a hole in the concrete. You can use a hammer, a 2-inch hole saw, or a jigsaw. Once the hole is cut, you can place the floor drain on the drain hole and make sure that you have purchased the correct floor drain size. Cutting holes in the floor to reposition fixtures like toilets, tubs, and sinks is strictly forbidden in bathrooms.
Next, you will need to attach the tailpiece and trap adapter. This is a crucial step as it will ensure that the drain functions properly. Ensure the tailpiece and trap adapter are securely fastened to the floor drain. Then, attach the piping to the trap adapter and ensure that all connections are secure.
Finally, you should test for leaks before re-installing the floor covering. If there is any leakage, fix it before re-installing the floor covering.
How does a basement drain work?
A basement drain is an important part of your home’s plumbing system, and it is important to understand how it works. When water enters a basement drain, it is directed away from the house and into the main sewer line. This helps to prevent flooding and water damage in the basement. The basement drain is connected to a series of pipes and links to the main sewer line.
The tubes are typically made of PVC and are designed to withstand the pressure of the water as it flows through them. The pipes are also designed with a trap which helps to keep out any dangerous gases that could be present in the sewer lines. Once the water has passed through the basement drain and into the main line, it is sent to the municipal wastewater treatment plant.
Final Verdict
It is essential to take time while installing a floor drain to avoid flooding the room. Changing out an old floor drain with a new one is not always crucial, but it is a good idea if the damage is too extensive or if you just want to give your house a facelift. Find the relevant replacement components and install them according to the manual.
It is also crucial to know how the basement drain works and to make the hole in the concrete floor in the right spot if you ever need to replace a floor drain. Replacing a floor drain may be a satisfying and useful weekend endeavor if you know what you’re doing and follow the proper procedures.



![How To Cut Laminate Flooring Lengthwise [Easy Guide] 5 How To Cut Laminate Flooring Lengthwise [Easy Guide]](https://homequeries.com/wp-content/uploads/2023/02/istockphoto-1162520121-612x612_880x550-768x480.jpg)
