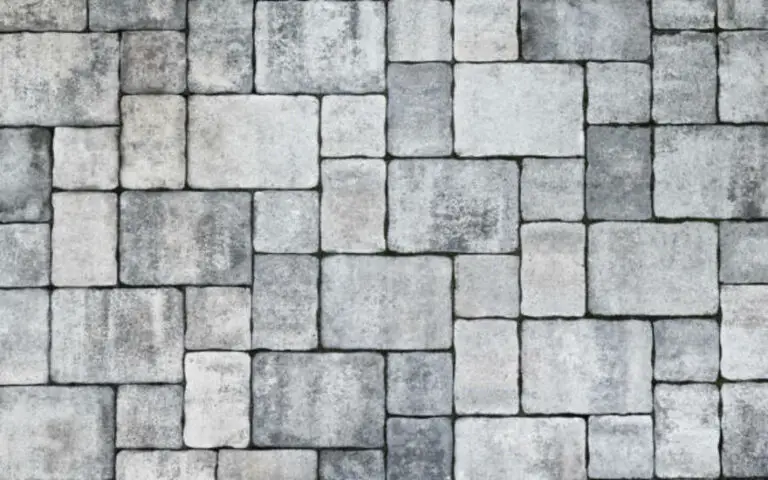
In this blog post, I’ll go over the basics of installing and maintaining your porcelain tile bathroom flooring. I’ll also share tips for getting the most out of your new installation.
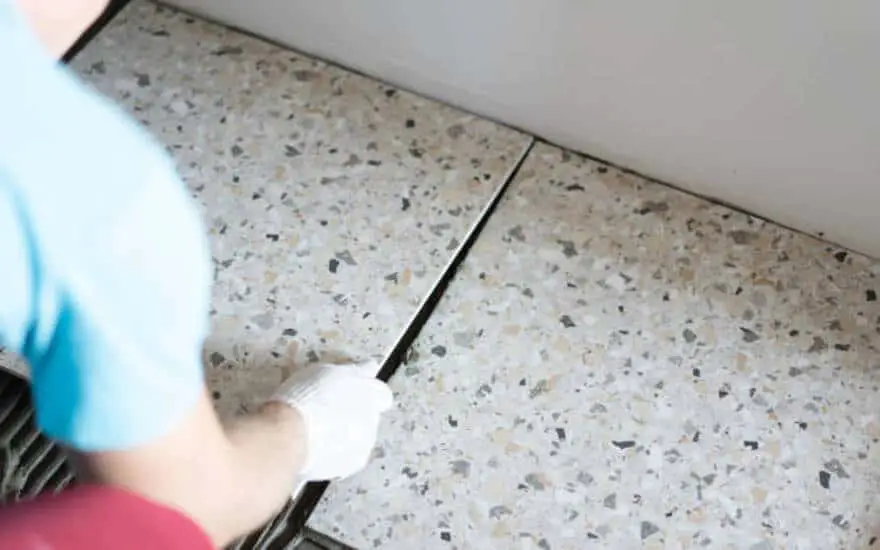
How to install porcelain tile bathroom flooring: Step-By-Step
Installing porcelain tile bathroom flooring requires some preparation and planning. Before laying the tiles, you’ll need to ensure that the subfloor is clean, level, and free of any waxes, sealers, or other floor finishes.
Use a tile sealer and adhesive remover to remove any existing sealers, waxes, or finishes from porcelain tile or countertops. It’s also important to draw a layout of your finished tile design on your subfloor so you know where to start laying your tiles. Once you’ve done all the preparation, you can start dry laying a row of tiles (including spacers) to plan your layout.
1. Preparing the Bathroom Floor
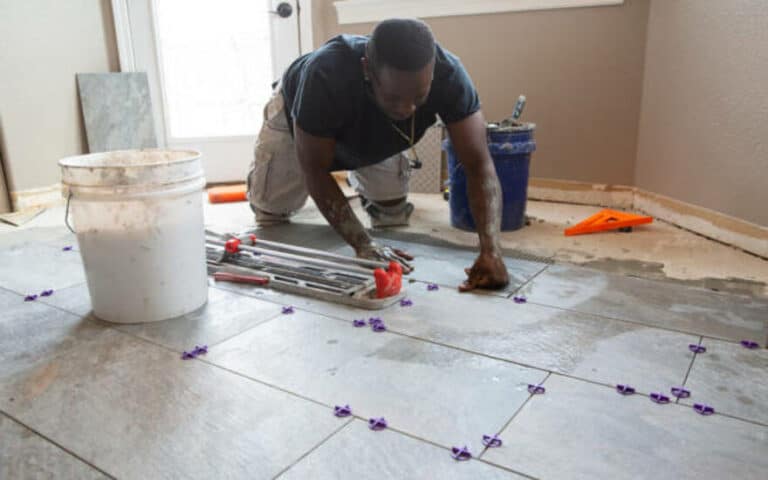
Once your bathroom floor is prepared, you can begin laying the tiles. Before laying the tiles, it is important to use spacers to ensure a consistent gap and grout line. Additionally, thin-set mortar should be used to attach the tile to the floor.
Ensure the thin-set is cured for at least 24 hours before stepping on tiles. It is also important to use a notched trowel when spreading adhesive for an even application. Once the tiles are laid and set, wait 24 hours before adding grout. After that time has passed, remove all tile spacers and mix your grout. Spread it with a grout float and let it dry before sponging off any excess grout.
2. Cutting and Laying the Tiles
Once you’ve gathered your materials, estimated the number of tiles you need, and prepared the floor, it’s time to cut and lay the tiles.
It’s important to lay the tiles with care and precision, as this is where you can create a beautiful and professional-looking finish. Start by mixing your mortar according to the instructions on the package.
Then, begin laying your tiles in the pattern you determined in your layout. Use spacers between each tile to ensure an even gap between them. If you work on an existing surface, such as a level concrete floor, you can lay the tiles directly onto the surface without adding a subfloor.
Once you have laid out all of your tiles in their intended pattern, you can move on to grouting them.
3. Grouting the Tiles
Once the tiles have been laid, it’s time to grout them. This is important as it helps ensure the tiles are securely in place. Use a rubber float to push the grout into the joints, and take your time while you grout the tiles.
Always have a moist sponge handy to remove any excess grout from the tiles as you work. If you’re not going to move on to the following phase for at least 24 hours after grouting, you should probably grout once.
4. Cleaning and Sealing the Tiles
After applying the grout, the tiles need to be cleaned and then sealed. Any extra grout or dirt may be easily washed away with a light detergent.
Once the tiles are washed, they should be rinsed with clean, warm water. It is important to avoid waxing the tile since this can affect the finish. To help keep the tile cleaner for longer, use a masonry float to spread the grout in different directions.
After completing this step, it is time to seal the tile with a sealant designed for porcelain tile. This will help protect it from moisture and staining for years to come.
5. Maintenance Tips for Porcelain Tile Bathroom Floors
It’s important to properly maintain porcelain tile bathroom floors to keep them looking great and lasting a long time.
To get the most out of your bathroom floor, you must ensure it is properly cleaned, sealed, and waterproofed. Proper maintenance includes regular cleaning and stain removal for porcelain tile bathroom floors.
To ensure maximum longevity and performance, you should use the right grout and sealant for your porcelain tile bathroom floor. It’s also important to repair and replace damaged tiles as soon as possible. With proper installation, care, and maintenance, your porcelain tile bathroom floor should remain beautiful and durable for years to come.
The best ways to clean and maintain porcelain tile bathroom flooring
Maintaining your porcelain tile bathroom flooring is a breeze when you follow the right steps. Regular sweeping and vacuuming will help keep dirt and debris from building up.
You can also use a gentle multipurpose spray cleaner for regular cleaning, but for deep cleaning, you should use a pH-neutral or mildly alkaline cleaner. It’s also important to dry mop and vacuum before adding any liquid cleaner.
Finally, the best way to clean porcelain tile flooring in a bathroom is with a traditional mop and a pail of hot water with a few drops of dish soap. Doing this weekly will ensure that your bathroom looks pristine and that your tiles last!
1. Moistureproofing porcelain tile bathroom flooring
In addition to installing and grouting your porcelain tile bathroom flooring, you should also ensure that your floor is moistureproof. This can be done by applying a sealant to the newly installed tiles.
This will help to protect your tiles from water damage, staining, and mold. Once the sealant has been applied, it’s important to regularly maintain it to keep it in good condition and ensure the longevity of your flooring.
2. Sealing porcelain tile bathroom flooring
Sealing porcelain tile bathroom flooring is essential for protecting it from moisture and everyday wear and tear.
Sealing the grout lines is also important for keeping it looking clean and new. After installing your porcelain tile bathroom flooring, please wait 48 hours before sealing it. This will give the grout time to dry completely. Once dry, apply a sealer with a brush or roller, following the manufacturer’s instructions.
Ensure you cover the entire surface and grout lines, as this will help protect it from dirt and stains. Now that your porcelain tile bathroom flooring is sealed, you must clean it regularly and use appropriate products to keep it looking its best.
3. Stain removal for porcelain tile bathroom flooring
Stain removal for porcelain tile bathroom flooring is an important step in maintaining the quality of your bathroom flooring.
It is important to treat spills and stains as soon as possible to avoid staining your floors. For regular cleaning, sweep away debris, wipe with clean water, and thoroughly dry. For deep cleaning, use a pH-neutral or mildly alkaline cleaner, and you can make the same vinegar solution used to clean other types of flooring.
Avoid using anything oil-based or containing bleach or ammonia. Use a soft nylon brush with warm water for localized stains, and clean in a circular motion. Let’s have a look at some ways to keep your porcelain tile bathroom flooring in pristine condition now that you know how to clean it and get rid of stains.
How to choose the right grout for porcelain tile bathroom flooring?
The right grout is just as important as the tile you choose for your bathroom flooring. Cementitious grouts are the most common and least expensive of the grout options, but sanded grout is great for porcelain tiles.
High-quality epoxy grouts are also available and are easy to work with. For tips on selecting the right grout color or hiring a tile installer, check out our blog post on porcelain tile bathroom flooring – Installation and maintenance.
Now let’s look at how to choose the right grout for your porcelain tile bathroom flooring.
How to seal porcelain tile bathroom flooring?
For the longest life from your new porcelain tile bathroom flooring, it is highly recommended that you seal the tiles and grout as soon as possible following installation.
To do this, use a tile sealer and adhesive remover to remove sealers, waxes, and other floor finishes from the tiles and countertops. After that, sealing your ceramic tile floor with a long-lasting clear gloss tile sealer will rejuvenate and protect the floor, making it much easier to clean.
For most ceramic and porcelain tiles, a light application of a penetrating sealer is needed. However, some natural stone tiles, like limestone, should be sealed before grouting. You can also use a grout additive that provides stain resistance.
You may consider using a sealer with a built-in applicator or pick up a grout sealer application bottle for added convenience.
How to repair and replace damaged porcelain tile bathroom flooring?
Accidents can happen; occasionally, you may find a broken wall or floor tile that needs replacing. We’ll explain how to repair it in this section.
First, using a grout saw or utility knife, cut the grout surrounding the damaged tile. Then, pry up the tiles that have shattered using a chisel and hammer. Then, prepare the subfloor for a new tile by patching or replacing damaged areas.
After that, you can lay down your new tile in the desired pattern. Finally, use a rubber float to grout the tile into the floor. Make sure to clean and seal the tiles after installation for maximum durability.
Summary
Installing porcelain tile in the bathroom can be time-consuming and physically laborious.
However, it is worth the effort as the porcelain tile is highly resistant to wear and lasts longer than standard ceramic tile. As such, it requires minimal maintenance and upkeep, with regular sweeping and good-quality floor mats in high-traffic locations.
Sealing the tiles after installation is also recommended to keep them looking new for longer. In addition, proper moistureproofing is essential to maintain the integrity of the tiles and grout. Finally, stain removal should be done immediately to prevent discoloration or damage to the tiles.
With these tips in mind, you can ensure your porcelain tile bathroom floor will look great for years to come.

![How To Cut Laminate Flooring Lengthwise [Easy Guide] 2 How To Cut Laminate Flooring Lengthwise [Easy Guide]](https://homequeries.com/wp-content/uploads/2023/02/istockphoto-1162520121-612x612_880x550-768x480.jpg)
