I’ve compiled 15 tips to help you create the perfect tiled floor. From choosing the right tiles to following the right steps, I have it all covered. So read on and get ready to make your dream bathroom a reality!
14 tips for tiling bathroom floor
Tiling a bathroom floor can be daunting, but with the right preparation and a few key tips, it can be done with ease. This blog will walk you through 15 essential tips for tiling a bathroom floor.
1. Measure the room and plan your layout
Before beginning your bathroom tiling project, you’ll want to measure the room and plan your layout. Taking accurate measurements is key to ensuring that your tile floor looks great and lasts for years.
Make sure you account for all fixtures, such as the toilet and bathtub, and any walls that may require cut tiles. Once you have your measurements, you can use them to plan your tile rows and determine where tiles need to be cut. Planning will help you avoid any installation issues down the line.
2. Select the tiles you want to use
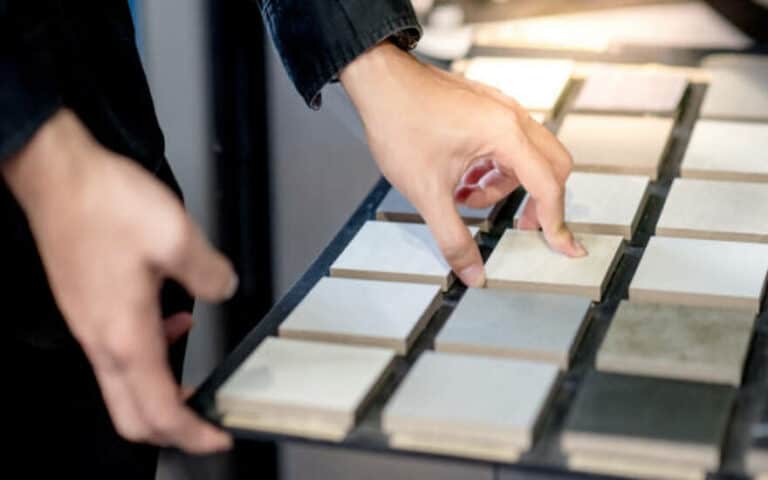
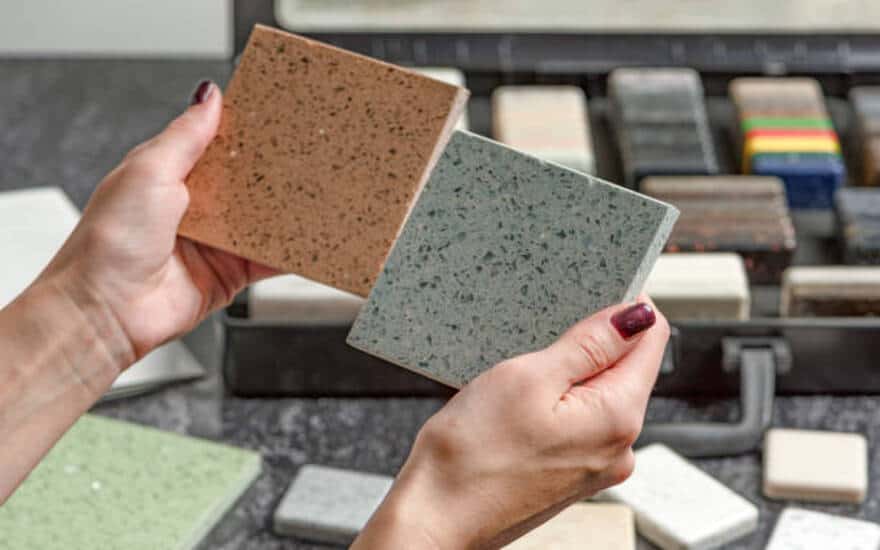
Once you have a plan for the layout, it’s time to select the tiles you want to use. There are many types of tiles to choose from, so take your time and consider all your options. Think about the color, texture, and style of the tile, as well as its durability and maintenance requirements.
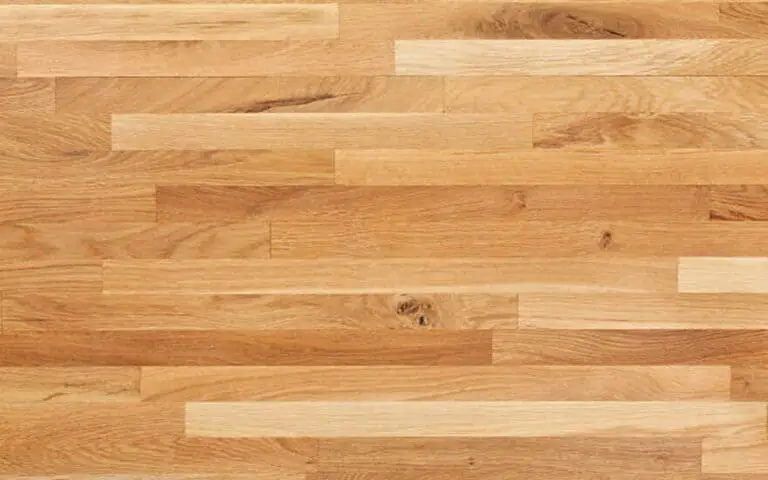
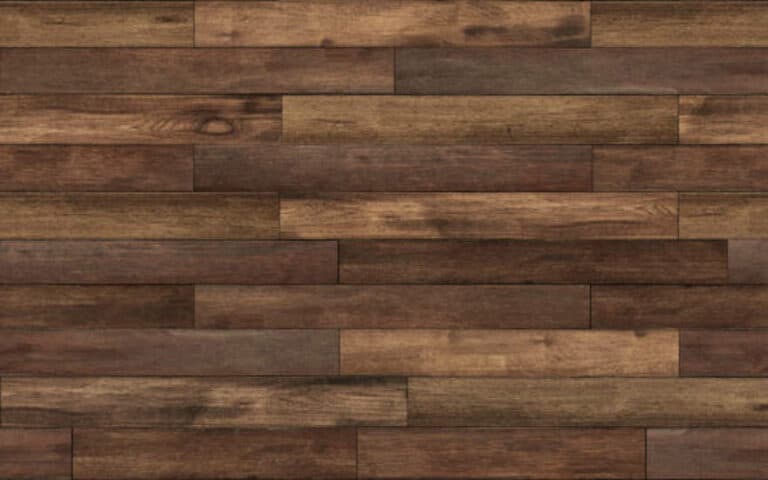
Get some samples to help you make the right decision. Natural materials like wood don’t fare well in bathrooms, so wood-effect floor tiles are a great alternative. Plus, they’re cheaper and easier to maintain.
3. Check for any problems in the subfloor
This will help you avoid issues later on. Make sure the subfloor is level, clean, and flat. If there are any bumps or unevenness, you may need to use a self-leveling compound to flatten it out. You should also check for any cracks, holes, or other damage. If you find any, repair them before proceeding with the tiling.
4. Prepare the subfloor for tiling
Preparing the subfloor is an incredibly important step in the tiling process. Before you begin laying down any tile, you should check for any issues in the subfloor. Be sure to look for any visible cracks, unevenness, or other signs of damage.
If you find any problems, you may need to repair them before continuing. Once the subfloor is ready, you’ll need to apply a concrete backer board to the surface. This will provide a strong and even base for the tiles. Taking the time to properly prepare the subfloor will help ensure that your finished tile floor looks professional and lasts for years.
5. Cut and fit the tiles
Once you have measured the room and selected your tiles, it’s time to start cutting and fitting them. When cutting tiles, it’s important to use the right tools.
A wet saw is ideal for cutting bathroom tiles, producing a clean, professional finish. When cutting tiles, leave a 1/4-inch gap between the tiles for expansion and contraction. You should also avoid cutting tiles to widths less than two inches.
6. Remove excess adhesive
Once you’ve laid your tiles, removing any excess adhesive is important. This is especially important if you’re using a product with a strong bond. Leaving excess glue on the tiles can create an uneven surface and make it more difficult to clean.
To remove the excess adhesive, use a damp cloth to gently scrub away any residue. Be sure to clean any residue from the grout lines as well. Once the excess glue has been removed, the tiles will look much better, and your bathroom floor will be ready for the next step.
7. Grout the tiles properly
Once the tiles have been laid, the next step is to grout them tiles. This will ensure that the tiles stay in place and that the floor looks neat. To do this, use a rubber float and press the grout into the joints.
Make sure to remove any excess grout with a damp sponge and use a grout sealer to protect the grout from any future staining. This will help ensure that the floor looks its best for years.
8. Apply sealant to protect the grout
Once you have finished grouting your bathroom floor tiles, the next step is to apply a sealant. A sealant will help protect the grout from water, dirt, and bacteria. It also helps to keep the grout looking fresh and clean. When using the adhesive, make sure you cover all of the grout lines and apply it evenly.
9. Caulk around the edges of the tile flooring
Caulking is a crucial step when it comes to tiling your bathroom floor. It helps to ensure that your tile flooring is properly sealed, preventing water from seeping through and causing damage. To caulk around the edges of your tile flooring:
- Start by applying a thin line of caulk along the edge of the tile, making sure to get into any cracks or crevices.
- Use a caulk gun to ensure the caulk is applied evenly, and smooth it out with a damp cloth.
- Please don’t step on the caulk until it’s entirely dry.
- Clean up any excess sealant or grout
10. Let it dry completely before walking on it
Once the tiles, grout, and sealant are in place, you will need to give your bathroom floor time to dry completely before walking on it. This is important as the adhesive and grout need to be completely cured before they can be exposed to water or foot traffic.
Depending on the cement and grout used, this may take several hours or even a full day. To ensure that the tile and grout are properly cured, use a fan to circulate the air in the bathroom. This helps speed up the drying process and will ensure that your new tile floor is in perfect condition when you’re ready to walk on it.
11. Reattach the toilet after the tiling is complete
Once the tiling is complete and the adhesive has dried, you’ll need to reattach the toilet to the floor. To do this, you’ll need to unscrew the bathroom from the bottom, clean off the old adhesive, and apply new glue to the floor.
You may need to use special tools such as a wrench or pliers to unscrew the bolts. Once the adhesive has had time to dry, you can reattach the toilet to the floor. Make sure to check the bolts are secure and that the bathroom is level before you move on to the next step.
12. Inspect all edges for any irregularities
Once the tiles have been laid and grouted, it’s important to inspect all the edges to ensure that they are even and that there are no irregularities. This will help ensure that the tile flooring is even and prevent water from seeping into cracks and causing damage.
Use a straight edge and level to check for any irregularities and use a damp cloth to wipe away any excess grout. Once satisfied with the edges, you can move on to the next step.
13. Apply a protective coating
After all your hard work, it’s time to enjoy your beautiful new bathroom floor! Before you start using it, it’s important to apply a protective coating to help keep it looking its best. This will also help to protect it from water damage, as well as everyday wear and tear.
There are a variety of sealants and coatings available, so make sure to choose one suitable for the type of tiles you have installed. Once you have applied the layer, let it dry completely before walking on it.
14. Enjoy your new bathroom floor
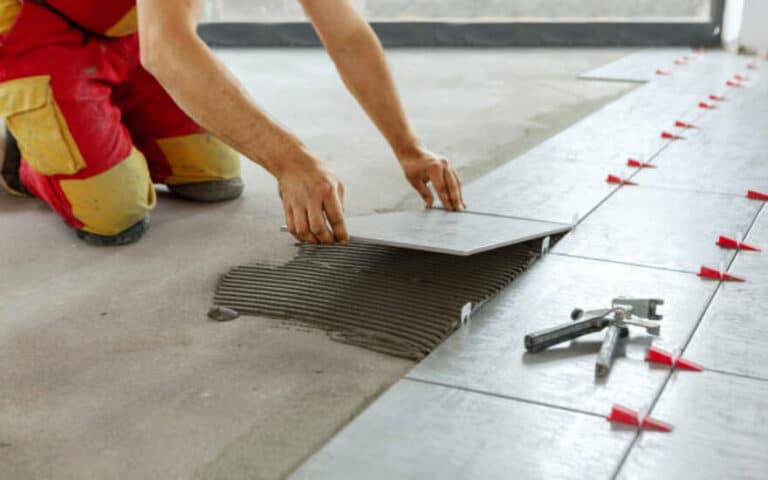
Now that you’ve planned and prepped, it’s time to get tile-laying! It’s important to lay the tiles correctly for a long-lasting, attractive finish. Before you begin, check that your tiles are level and flat – especially if you’re also planning on adding wall tile.
Use a 4-ft. level to ensure your tiles are level and flat. To get an even finish, lay out the tiles in advance and use spacers to ensure consistent spacing between tiles. This will also make sure that there are no gaps or uneven edges. Check our How to Tile a Bathroom Floor guide for detailed instructions.
What is the best way to tile a bathroom floor?
Firstly, preparation is key. Ensure that the floor is level and flat before you start tiling. It would be best if you also got some samples to check the color and tile size. Secondly, planning is essential. You should plan your tile rows carefully to ensure a professional finish.
Additionally, it is important to avoid narrow tiles along walls and cut them to widths less than two inches. Thirdly, you should consider the entire room’s color scheme when selecting the tiles. Natural materials like wood don’t fare well in bathrooms, so opting for wood-effect floor tiles is a great alternative. Finally, make sure you install water-resistant tiles for better durability and convenience.
Is it hard to tile a bathroom floor?
Tiling a bathroom floor is relatively easy, but the job does require patience and precision. It’s important to take your time and measure twice for accurate results. It’s also important to ensure that the subfloor is properly prepared before you begin.
This will ensure that the tile adheres correctly. You should also know what type of tile to use for a bathroom floor and what kind of adhesive to use. Lastly, use the right tools and materials to ensure a professional-looking finish. With the right preparation and careful execution, tiling a bathroom floor can be a satisfying DIY project.
How to tile a floor for beginners?
Tiling a bathroom floor can be a daunting task for beginners. However, with the right preparation and some expert tips, you can easily achieve a professional-looking finish. Here are some suggestions for tiling a bathroom floor for beginners:
1. Preparation is key. Make sure that the surface is clean and level before you start. Any uneven areas should be evened out using a self-leveling compound.
2. Planning is essential. Estimate the number of tiles you’ll need and plan the layout of the tiles before you start.
3. Get the right materials. Porcelain and ceramic tiles are popular choices, but a natural stone or wood-effect tiles may better fit your space.
4. Check for level and flatness. Use a 4-ft group to make sure the floor is level and flat. This will help ensure a professional finish.
5. Use concrete backer. This is the bottom layer when laying bathroom floor tiles. It provides a base for the tiles to stick to and helps reduce the risk of cracking.
6. Choose wider tiles. Avoid narrow tiles along walls. Ideally, you’ll end up with tiles cut to half size or larger.
7. Consider color. When choosing bathroom tiles, think about the entire room’s color scheme. This will help you visualize the tile colors in the space.
8. Get the look of natural materials. Natural materials like wood don’t fare well in bathrooms, so wood-effect floor tiles are the perfect alternative.
Summary
With simple tips and tricks, you can have a beautiful bathroom floor in no time. If you’re a beginner, remember to measure your space and plan ahead before beginning the project.
Make sure you select the right tile for your bathroom’s needs and use the right adhesive and grout. Finally, take the time to properly cut and lay the tiles, ensuring they’re level and flat. When you’re done, you’ll have an attractive and durable tile floor that will last for years.

