In this blog post, I’ll go over some of the common causes of this problem and provide some simple solutions so you can get your project back on track.
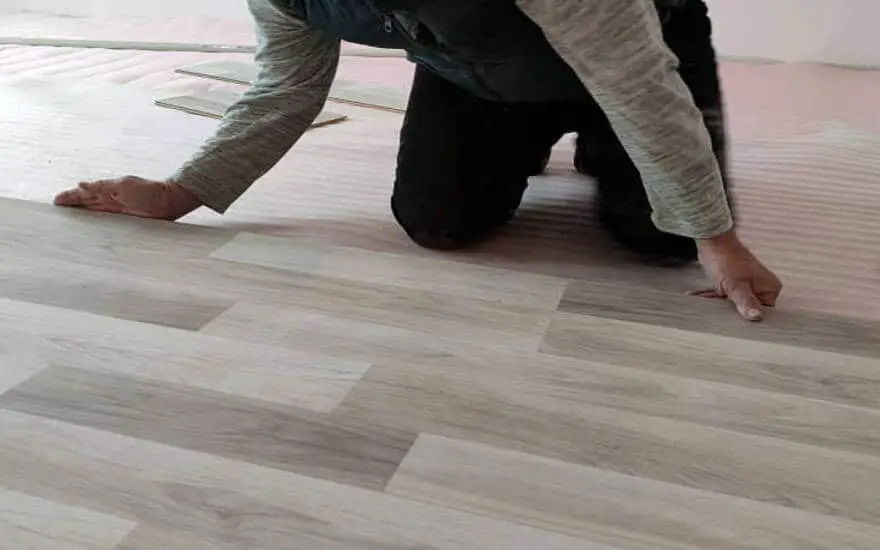
What to do when laminate flooring doesn’t snap together
If you’re having trouble installing your laminate flooring because it won’t snap together, don’t worry! There are several things you can do to fix the problem. First, make sure that the laminate pieces fit together properly. If they do, double-check the planks’ angle and use a rubber mallet to fit them together.
You can also use a pull bar to help you complete the fitting process. Finally, you can secure the laminate floors together by using a hammer and a block of wood, tapping the floor planks together, or using a rubber mallet and a tapping block. If your laminate floor is lifting, you may need to re-glue it to the subfloor. With these tips, you should be able to get your laminate flooring looking perfect in no time!
Quick Navigation: How To Snap Laminate Flooring Together?
Now that you know why your laminate flooring doesn’t snap together, let’s look at some solutions. Installing laminate flooring is a relatively simple process, but it can be long and frustrating if you don’t do it correctly. So, let’s look at how to snap laminate flooring together properly.
Step 1: Check if the laminate pieces fit together properly.
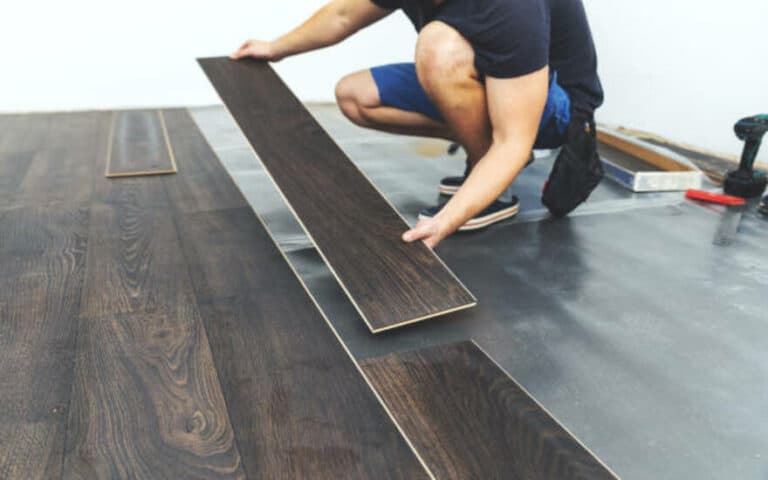
Before installing the first row of laminate flooring, it’s important to ensure that the planks fit together properly. If they don’t, you may need help getting them to snap into place. To check this, arrange four or five flooring pieces in a line and ensure they are properly aligned. If they fit together snugly, you can begin installing the flooring in your home.
Step 2: Double-check the angle of the planks
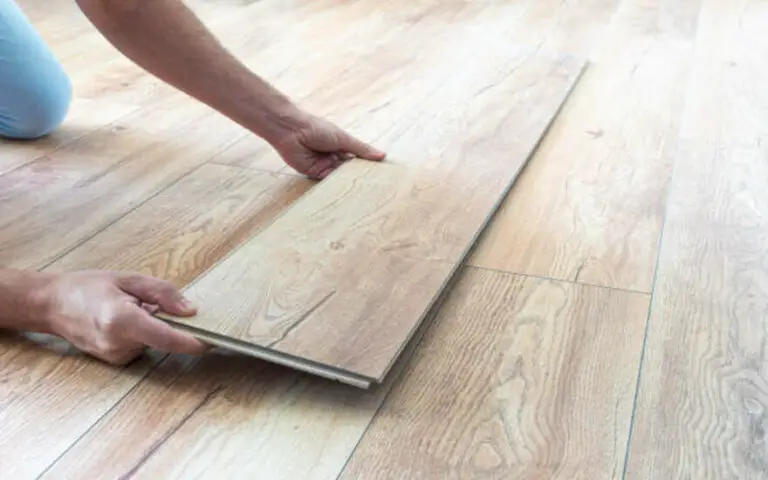
After you have checked that the pieces fit together properly, the next step is to double-check the angle of the planks. It is essential to ensure that the planks are at the correct angle before attempting to snap them together.
To do this, you should place one plank on top of the other, ensuring they are aligned properly. Next, gently press down on one plank and make sure that it is at a 90° angle to the other. If they are not at a 90° angle, you will need to adjust the planks until they are. This process is critical to ensure that your laminate flooring will snap together properly.
Step 3: Tap the flooring into place
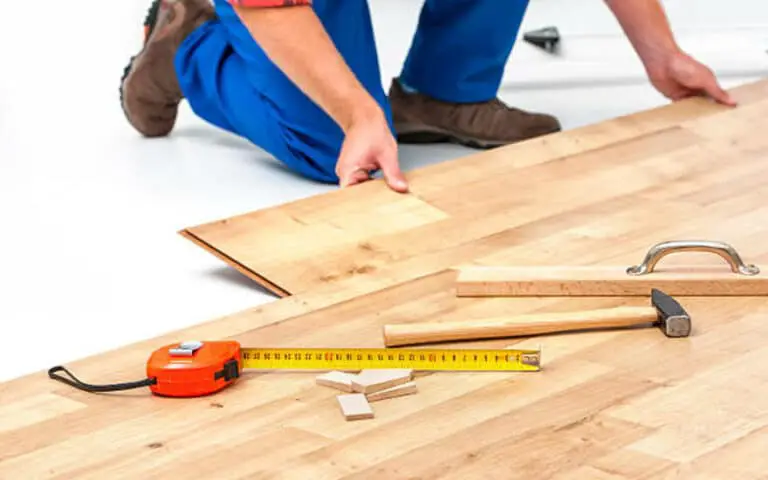
Once you’ve double-checked the angle of the planks, it’s time to start tapping them into place. For this, you’ll need a hammer and a block of wood. The wood block should be placed between the laminate planks, and the hammer should be used to tap the plank into place.
This will help ensure that the planks are properly aligned and firmly attached. Be sure to use a soft cloth or rubber mallet instead of metal to avoid damaging the laminate flooring.
Step 4: Use a rubber mallet to secure the laminate pieces together
Once you’ve double-checked the angle of the planks and ensured that they fit together properly, it’s time to secure them in place. You’ll need a rubber mallet and a tapping block to do this.
The rubber mallet will help you gently tap the flooring into place without damaging it, while the tapping block will make sure the laminate pieces stay in place. Once both pieces of laminate flooring are in place and secure, you can move on to the next step of your installation.
Step 5: Use a pull bar to complete the fitting process
Once the floor planks have been tapped into place, you can use a pull bar to complete the fitting process. A pull bar is a tool designed to help you secure the laminate pieces together. To use a pull bar, start by inserting it between the two laminate pieces and then slightly pulling them apart.
This will create a gap between the planks, allowing you to insert the tongue of one plank into the groove of the other plank. Once both pieces are inserted, use the pull bar to press down on them until they snap together. With practice, you will find that this is an easy and effective way to secure laminate flooring into place.
How do you secure laminate floors together?
In addition to the methods mentioned above, there are a few other ways to secure laminate floors together. One of the most popular methods is to use a hammer and a block of wood. This will help to ensure that the boards are stable and secure. Another way to secure the laminate floors is by tapping the floor planks together.
1. Using a hammer and a block of wood
If the planks still don’t snap together, you may need to use a hammer and a wood block to secure them. Place the block of wood at the edge of the plank and hit it with the hammer until it clicks into place. Make sure to use a light touch, so you don’t damage your floor. Also, ensure that you wear eye protection to protect yourself from flying debris.
2. Tapping the floor planks together
The next step in securing your laminate flooring is tapping it into place. It’s important to make sure the pieces fit together properly before you do this. Once the pieces fit together, take a rubber mallet and tap it lightly along the edges of the planks.
This will help to secure them together. You may need to use a bit of force, or you may need to use a block of wood with the mallet. Be sure to keep an even pressure along the edges of the planks to ensure a tight fit.
3. Using a rubber mallet and a tapping block
Once you have checked the angle and alignment of the planks, the next step is to tap the flooring into place using a rubber mallet and a tapping block. The tapping block is essential because it prevents the laminate pieces from chipping or cracking when you tap them together.
Place the tapping block on top of one of the planks and use the rubber mallet to gently tap it down until the two pieces snap together. Ensure you don’t hit the tapping block too hard, as this could cause damage to your laminate flooring.
How do you fix a laminate floor that is lifting?
Fortunately, there are a few steps you can take to fix your laminate floor that is lifting. If the problem is with the plank itself, check for moisture damage, chips, and scratches that could be causing the lifting. If your laminate floor is separating on the long side, you can realign the floorboard by gently tapping it into place.
To do this, lift the lifted sections from the floor and look at the subfloor below it to find lifted or depressed areas. If humidity is the cause of your laminate problem, you should cover it with a moisture barrier when replacing the floorboards. To secure laminate floors together, you can use a hammer and a block of wood, tap the floor planks together, or use a rubber mallet and a tapping block. With these steps, your laminate floor should be secured and stable again.
Summary
This blog has looked at the steps you should take when laminate flooring doesn’t snap together. From checking the fit of the pieces to using a rubber mallet, we’ve covered all the basics you’ll need to know to get your laminate flooring securely in place. We’ve also discussed the best way to secure laminate floors together and how to fix a laminate floor that is lifting. With all this information, you can successfully lay down your laminate floor with minimal effort and frustration.

