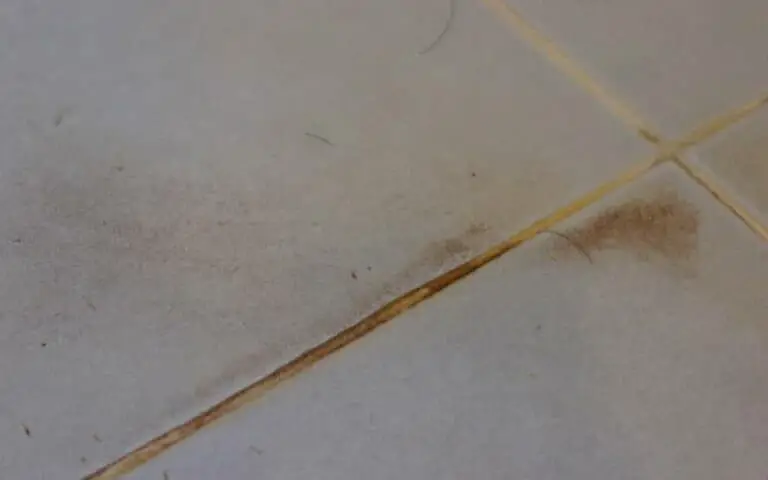
This article will discuss the types of bathroom floor repair, the tools you’ll need, and the step-by-step guide to repairing your bathroom floor. We’ll also provide tips and tricks to help you with the repair process, troubleshooting common problems, and dealing with water damage. We’ll even discuss the pros and cons of DIY vs. professional bathroom floor repair. Read on to learn all you need to know about repairing your bathroom floor.
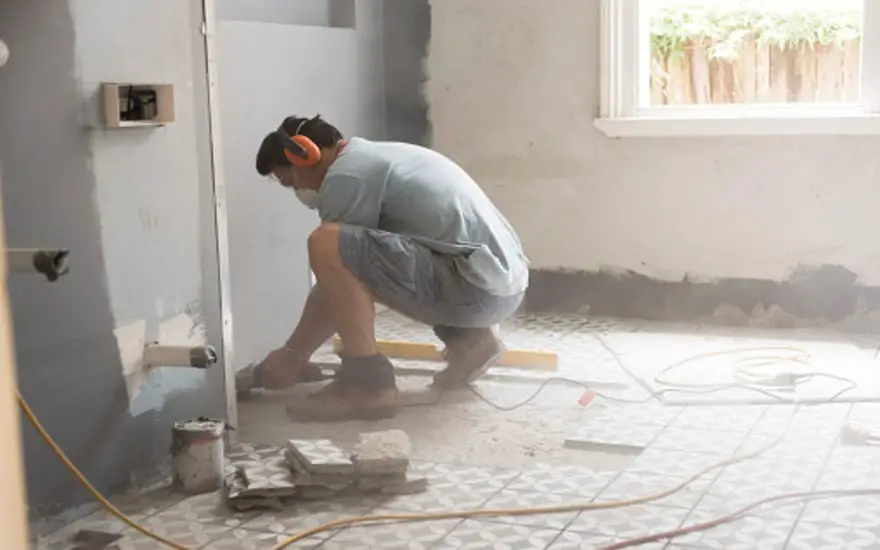
Types of Bathroom Floor Repair
Before you can begin repairing your bathroom floor, you need to know what type of repair is necessary. Depending on the type of damage, you may need to use different tools and techniques. Here are the most common types of bathroom floor repair:
- Cracks: Cracks in your bathroom floor can be caused by a variety of things, such as thermal expansion, loose tiles, or even poor installation. To repair cracks, you’ll need to fill the cracks with an epoxy filler and then sand them down.
- Chips: Chips in your bathroom floor can be caused by wear and tear or even accidental damage. You’ll need a matching putty or epoxy filler to repair chips.
- Dents: Dents on your bathroom floor are usually caused by heavy objects being dropped. To repair dents, you’ll need to use a putty knife to fill the dent with an epoxy filler.
- Water Damage: Water damage can be caused by leaks in the pipes or water seeping through the tiles. To repair water damage, you’ll need to seal the affected area with a waterproof sealant and then replace any affected tiles or grout.
Tools Needed to Repair Bathroom Floors
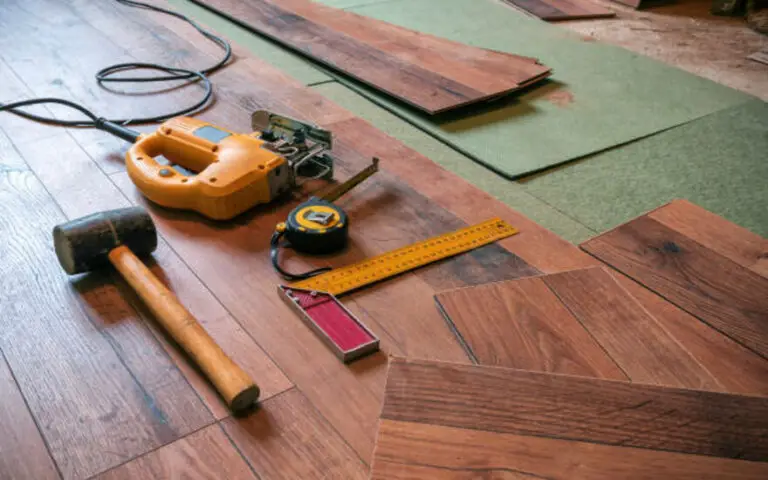
Once you have identified the type of repair needed, it’s time to gather the tools necessary to complete the job. Here is a list of tools that you will need to repair your bathroom floor:
- Putty knife
- Sandpaper
- Epoxy filler
- Waterproof sealant
- Tile adhesive
- Grout
- Utility knife
- Hammer
- Trowel
- Drill
- Screwdriver
Preparing the Area for Repair
Before you begin the repair process, preparing the area for the repair is important. First, you’ll need to remove any furniture and other items from the area. Then, you’ll need to clean the area thoroughly to remove any dirt, dust, or debris. Finally, you’ll need to check for loose tiles or grout and repair them if necessary.
Step-by-Step Guide to Repairing Bathroom Floors
Now that you have the necessary tools and have prepared the area, you are ready to begin the repair process. Here is a step-by-step guide to repairing your bathroom floor:
- Step 1: Begin by filling in any cracks with an epoxy filler and then sanding them down.
- Step 2: If there are any chips on the floor, fill them in with a matching putty or epoxy filler.
- Step 3: If there are any dents in the floor, fill them in with an epoxy filler.
- Step 4: If there is any water damage, seal the affected area with a waterproof sealant and replace any affected tiles or grout.
- Step 5: If necessary, replace old or damaged tiles with new ones.
- Step 6: Apply a tile adhesive to the back of the new tiles and place them in the desired position.
- Step 7: Use a trowel to spread the grout across the tiles, and then use a damp cloth to wipe away any excess grout.
- Step 8: Allow the grout to dry, and then use a utility knife to trim any excess grout.
- Step 9: Finally, use a damp cloth to clean the area, and you’re done!
Tips and Tricks to Help the Repair Process
Now that you know the steps to repairing your bathroom floor, here are some tips and tricks to help the repair process:
- Always wear protective gear, such as gloves and safety glasses, when working with any type of tool.
- Make sure to use the right type of epoxy filler for the type of repair needed.
- Make sure to use a waterproof sealant when dealing with water damage.
- Make sure to follow the directions on the products you are using.
- Take your time working with tiles and grout to ensure a good seal.
- Use a level to make sure the tiles are even before applying the grout.
- Allow the grout to dry completely before trimming any excess.
Common Problems and Solutions
When repairing your bathroom floor, you may run into some common problems. Here are some common problems and their solutions:
- Cracks: If the cracks are too wide or deep, you may need to use a patching compound to fill them in.
- Chips: If the chips are too large, you’ll need to use a putty knife to fill them in with an epoxy filler.
- Dents: If the dents are too deep, you may need to use a hammer to flatten them out before filling them in with an epoxy filler.
- Water Damage: If the water damage is extensive, you may need to replace the entire floor.
Dealing with Water Damage
Water damage can be one of the most difficult types of repairs to deal with. To repair water damage, you’ll need to locate the source of the leak and repair it. Once the leak is fixed, you’ll need to seal the affected area with a waterproof sealant and replace any affected tiles or grout. You may need to replace the entire floor if the water damage is extensive.
DIY vs. Professional Bathroom Floor Repair
When it comes to repairing your bathroom floor, you have two options: DIY or professional. DIY repairs are a great option if you are on a budget, but they can be time-consuming and require a certain level of skill. Professional repairs can be more expensive but are often faster and more thorough. Ultimately, the decision to do it yourself or hire a professional is up to you.
Summary
Repairing your bathroom floor can be daunting, but with the right tools, knowledge, and preparation, it can be done. This article discussed the types of bathroom floor repair, the tools you’ll need, and a step-by-step guide to repairing your bathroom floor. We also provided tips and tricks to help you with the repair process, troubleshooting common problems, and dealing with water damage. Finally, we discussed the pros and cons of DIY vs. professional bathroom floor repair. Now that you know all you need to know about repairing your bathroom floor, you are ready to get started. Good luck!
Now that you know how to fix my bathroom floor, why not give it a try? If you’re not confident about tackling the repairs yourself, don’t hesitate to hire a professional. With the help of this guide, you’ll be able to find the perfect solution for your bathroom floor needs.


