Yes.
Peel-and-stick vinyl flooring is a great option! Not only is it an affordable solution, but it’s also easy to install. In this blog post, I’ll discuss the pros and cons of peel-and-stick bathroom vinyl flooring.
is peeled and stick vinyl flooring suitable for a bathroom?
Yes, peel-and-stick vinyl flooring is an excellent option for bathrooms! It is easy to install, moisture resistant, and very durable.
I have had great success with this type of flooring in my bathroom. I’ve had it for almost two years, and it still looks as good as new. It is also very cost-effective, making it an excellent solution for anyone looking to spruce up their bathroom without breaking the bank.
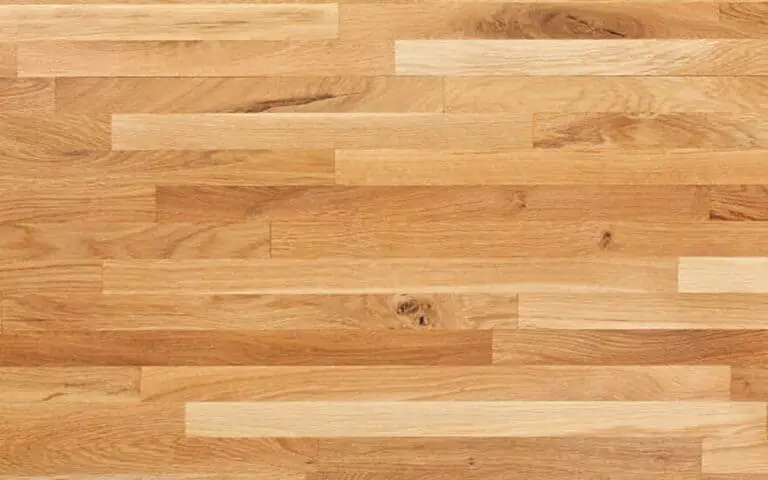
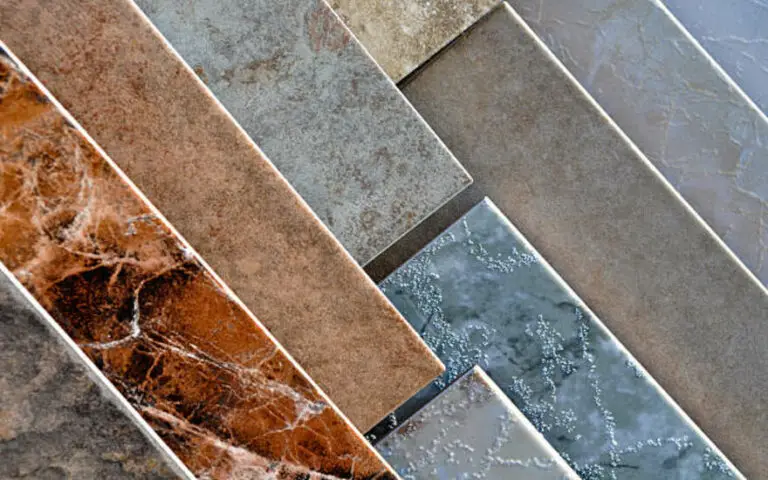
Plus, it comes in various styles and colors, so you can find something that fits your design aesthetic. All in all, peel-and-stick vinyl flooring is an excellent choice for any bathroom!
How to Install Stick Vinyl Flooring: 10 Steps
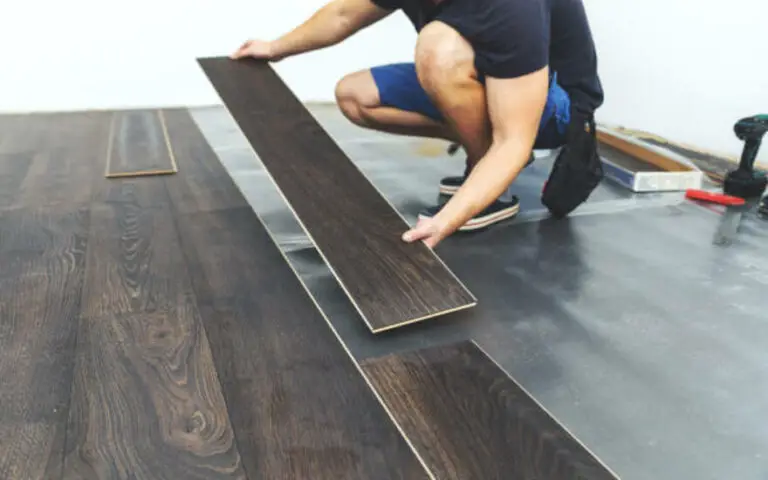
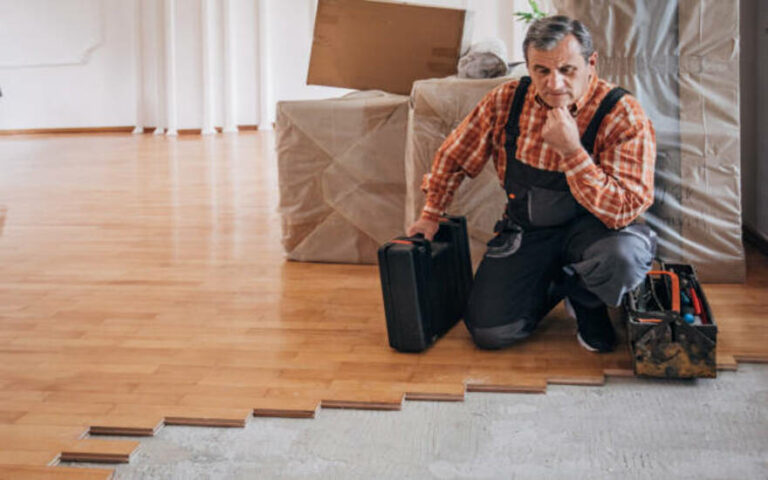
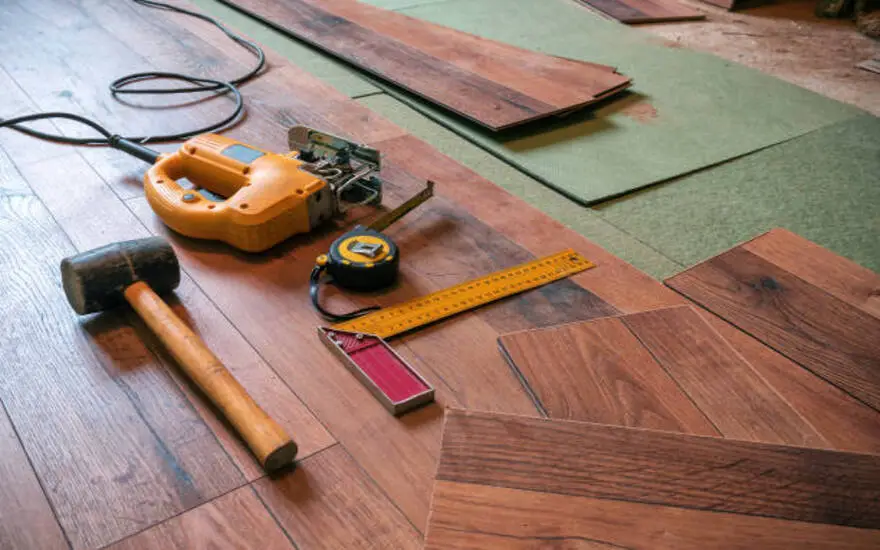
Installing peel-and-stick vinyl flooring isn’t as difficult as it might seem. All you need is suitable materials, some preparation, and patience. The first step is to buy the appropriate flooring for your bathroom.
You’ll then need to prepare the subfloor, measure the room, install underlayment, cut the vinyl planks or tiles, apply adhesive, and lay the first row. When you get to fixtures, you may need to cut and fit pieces around them.
Finally, seal any edges with caulk and enjoy your new flooring! By following these steps, you can rest assured that your peel-and-stick vinyl flooring will be secure and durable for years.
Step 1: Buy the Appropriate Flooring
Before starting the project, buying the appropriate type of peel-and-stick vinyl flooring for your bathroom is essential. Vinyl flooring comes in sheets, planks, or tiles and is available in various colors and textures.
It’s essential to ensure that you select a waterproof, thin, and durable product. Once you’ve chosen the right product for your needs, it’s time to start preparing the subfloor and measuring the room before laying the first row of planks or tiles.
Step 2: Prepare the Subfloor
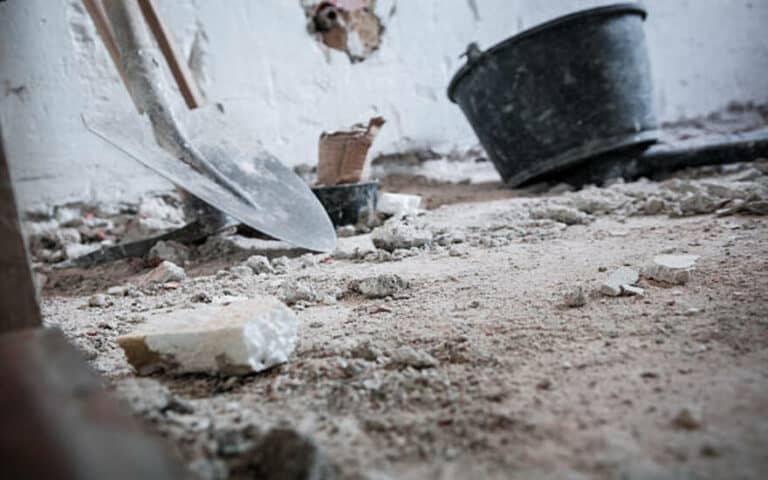
Once I had bought the appropriate flooring, it was time to prepare the subfloor. I had to ensure the surface was clean, dry, and level. I vacuumed all dirt, dust, and debris from the concrete surface.
I then checked for any cracks or holes in the surface and filled them with a concrete patch. This ensured that the adhesive would stick adequately and would not be weakened by any imperfections in the subfloor. After completing these steps, I was ready to start laying my peel-and-stick vinyl flooring.
Step 3: Measure the Room
Once you have all the materials you need, it’s time to measure your room so you know how many tiles or planks you will need to buy. To get an accurate measurement, use a tape measure to measure the length and width of the room.
In addition, you should also measure any fixtures, such as windows or doors. This will help you determine how many pieces of peel-and-stick vinyl flooring you need to purchase and if you need to cut any pieces to fit around them. Having the proper measurements is critical to the successful installation of your new flooring.
Step 4: Install Underlayment
When installing your new vinyl flooring, the underlayment is an important step. Underlayment provides cushion and insulation, preventing moisture from seeping through and damaging the floor.
Make sure to buy the appropriate type of underlayment for your vinyl flooring – you may need to buy a different style depending on the type of vinyl you choose. Once you have the proper underlayment, follow the instructions on the packaging and install it properly before laying down your vinyl planks or tiles. If you skip this step, your floor won’t be as comfortable or last as long!
Step 5: Cut the Vinyl Planks and Tiles
Once you have prepared your subfloor and installed the underlayment, it’s time to cut the vinyl planks and tiles. When cutting them, use a sharp utility knife and a straight edge. This will ensure that you get an accurate cut and a professional-looking finish.
Make sure you measure twice and cut once! After you’ve missed the planks and tiles, you can fit them around any fixtures or walls for a snug fit. This is essential to ensure your flooring is as secure as possible.
Step 6: Apply Adhesive
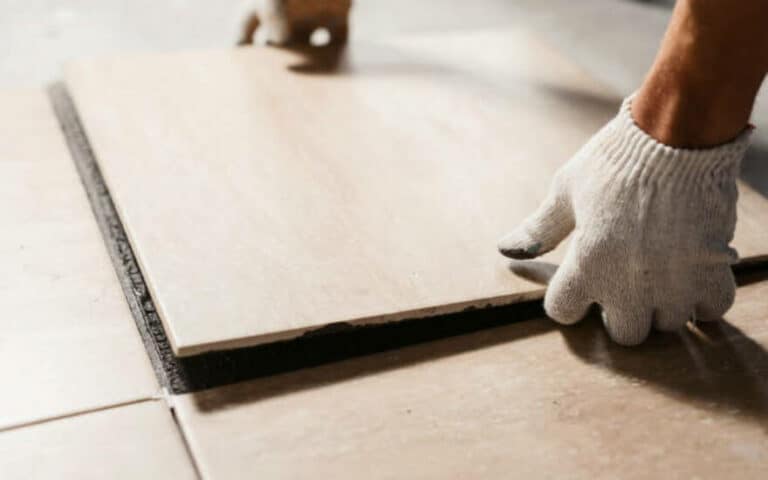
Once you have prepared your subfloor and cut the vinyl planks or tiles, it’s time to apply adhesive. Before you start, ensure the entire surface area is clean and free from dust and debris. Also, make sure that the underside of the planks or tiles is also free from dirt and grime.
Peel-and-stick vinyl flooring typically comes with self-adhesive backing, so you only need to remove the paper backing from the tile and press it firmly into place on the floor. Before proceeding to the next one, you’ll want to ensure that each tile is firmly secured to the subfloor. Once all your tiles are in place, you can lay them out in your desired pattern.
Step 7: Lay the First Row of Planks or Tiles
Once your floor is prepped and measured, it’s time to start laying the first row of your peel-and-stick vinyl planks or tiles. Start in one corner of the room and ensure your first row is straight and level.
Peel off the backing paper from the first plank and align it with the wall. Press firmly on the plank to ensure a strong bond with the subfloor. Continue to lay down each plank or tile in a row, ensuring that it is firmly attached to the floor. Once you’ve laid out the first row, you can lay out the rest of the flooring planks or tiles.
Step 8: Cut and Fit Pieces Around Fixtures
Once you have laid the first row of planks or tiles, it’s time to start cutting and fitting pieces around fixtures.
You can do this by using a measuring tape and marking the pieces that need to be cut, then cut them with a utility knife. You’ll want to ensure the pieces fit snugly around the fixtures and leave a tiny gap between the vinyl and the institution.
This will allow for the expansion and contraction of the vinyl over time. Taking time when measuring and cutting is essential, as it will help ensure a professional finish.
Step 9: Seal Edges with Caulk
Once you have installed the vinyl planks and tiles, the last step is to seal the edges with caulk. This will ensure that all the seams are properly sealed and that your flooring has no gaps or cracks. Caulk is an easy-to-use material in various colors to match most vinyl flooring types.
Apply it to all the edges of your flooring, making sure to smooth it out with a damp cloth or sponge. That way, you’ll enjoy your new flooring without worrying about dirt or water getting underneath and causing damage.
Step 10: Enjoy Your New Flooring
Now that you’ve finished installing your peel-and-stick vinyl flooring, it’s time to enjoy your new floor! You’ll appreciate this product’s durability, waterproof qualities, ease of installation, and maintenance.
Plus, you can now be proud of your beautiful new floor without the hassle of a long, expensive installation process. You can quickly have a stylish and modern base with a few simple steps. Plus, you can rest assured that this flooring is perfect for both bathrooms and kitchens – so why not enjoy your new floors in style?
Comparison: peel vinyl flooring and stick vinyl flooring
| Feature | Peel Vinyl Flooring | Stick Vinyl Flooring |
|---|---|---|
| Installation | Easy to install, requires no glue or special tools | Easy to install, requires no glue or special tools |
| Durability | Durable and long-lasting, it can withstand heavy foot traffic | Durable and stable, it can withstand heavy foot traffic |
| Maintenance | Low maintenance, easy to clean | Low maintenance, easy to clean |
| Water resistance | Generally water-resistant but not waterproof | Generally water-resistant but not waterproof |
| Cost | Affordable compared to traditional flooring options | Affordable compared to traditional flooring options |
| Style Options | A wide range of styles and patterns are available | A wide range of styles and designs are available |
| Comfort | Soft and warm underfoot | Soft and warm underfoot |
| Environmental Impact | More environmentally friendly than traditional flooring options | More environmentally friendly than conventional flooring options |
Note: Both peel vinyl flooring and stick vinyl flooring share many of the same features and benefits. The choice between the two often comes down to personal preference and the desired style and pattern.
Summary
Peel-and-stick vinyl flooring is an excellent option for bathrooms and laundry rooms. It is moisture-resistant, easy to install, and comes in large sheets that can be installed in smaller bathrooms without any seams. Additionally, it can go anywhere inside your home and is an excellent choice for those looking for a quick flooring fix. With the appropriate tools and patience, installing stick vinyl flooring is a relatively straightforward DIY project that will yield lasting results.

