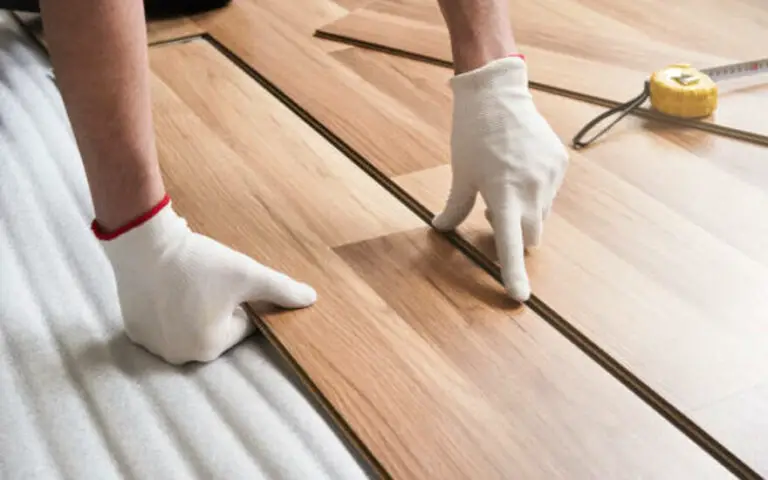
I’ll discuss how to cut laminate flooring installed in your home. From the tools and materials to the cutting technique, I’ve got everything you need to know about quickly and safely updating your floors.
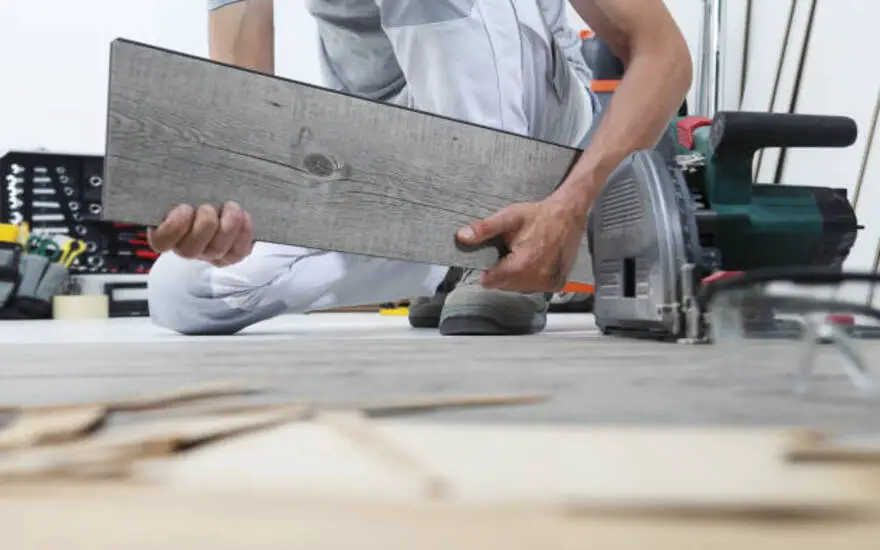
How to cut laminate flooring already installed: Step By Step
Cutting laminate flooring already installed can be a daunting task, but it doesn’t have to be. You can ensure your cuts are precise and even with the right tools and technique. Step by step:
Step 1: Prepare the area
When installing cutting laminate flooring, the first step is preparing the area. This includes ensuring that the site is clean and free of debris and that any furniture or items in the way have been removed.
Additionally, you’ll want to measure the room’s area and ensure you have enough material to complete the job. Once these steps are complete, you can begin cutting the laminate flooring confidently, knowing you’re ready for a successful project.
Step 2: Score the flooring with a utility knife
In Step 2 of cutting laminate flooring already installed, it’s time to score the flooring with a utility knife. This is the most crucial step, ensuring your cuts are straight and accurate. Make sure you have a sharp blade for this step, and first, mark your cutting shape on the flooring with a pencil.
Then, carefully score the surface with a straight edge and the utility knife. Be sure to take your time and press firmly but not too hard. Once you’ve made your score, you can move on to the next step and snap at the score line.
Step 3: Cut through the Laminate with a jigsaw
When it comes to cutting through the Laminate with a jigsaw, I find it to be the best option. The jigsaw is perfect for getting tight corners and curves in your cuts. Additionally, it can be used to cut larger pieces of Laminate.
When using a jigsaw, laminate-specific blades are designed to cut through the material quickly and cleanly. It’s also essential to secure the pieces of Laminate in place before cutting so your cuts are precise and clean. This will also help prevent chipping and splintering.
Step 4: Remove the excess material
Once you have cut through the laminate flooring with a saw blade or jigsaw, it’s time to remove the excess material. Use a pry bar to lift carefully and discard the cut pieces. Be sure to wear protective gloves when handling the sharp edges of the laminate planks.
After removing the excess material, use a vacuum or broom to clean up any dust or debris that may have been created during the cutting process. Once you have removed the excess material, your laminate floor is ready for installation.
Step 5: Install replacement pieces
Once the cut is complete, it’s time to install the replacement pieces. Start by ensuring the edges of the replacement pieces fit perfectly with the existing flooring. If there are any gaps, use a flooring adhesive to fill them in.
Spread the adhesive evenly and wait to dry before laying the replacement pieces. Once everything is in place, gently press down on the replacement pieces to ensure they are secured. Finally, use a hammer and a tapping block to connect the pieces. With these steps complete, your laminate floor should look as good as new!
Step 6: Finishing touches
Once you’ve finished installing your laminate flooring, the last step is to add some finishing touches. This includes removing the spacers from the walls and installing door thresholds. You can also add a baseboard to give your room a finished look.
Using a miter saw is best to ensure the baseboard pieces’ angles are accurate. You can add molding around windows and doors for a custom look. Once you’re done with these steps, your laminate flooring will be ready to enjoy!
How to Cut Floor Boards Without Chipping?
When cutting laminate floorboards, the key is to minimize chipping. I recommend starting with a circular saw with a sharp blade set at a low speed to do this. Once your edge is ready, use a straightedge or guideline to ensure your cut is straight.
Switch to a jigsaw if you need to cut tighter spaces or curves. Lastly, secure the board so it doesn’t move and cause chipping during the cutting process. With these tips, you can ensure your floorboards are cut without chipping.
1. Use a circular saw with a sharp blade
Using a circular saw with a sharp blade is the best way to cut laminate flooring without chipping it. The carbide-tipped edges are the most recommended option when cutting Laminate, as they reduce wear and tear on edge.
Creating a guideline before cutting is essential to ensure the cut is straight and precise. It’s also necessary to secure the board firmly to the surface to prevent chipping. Once you have prepared your workspace and materials, you can confidently use a circular saw for your laminate flooring project.
2. Create a guideline to make sure the cut is straight
Creating an approach is one of the most critical steps when cutting laminate flooring. This will ensure that your cut is straight and precise. To make a guideline, mark the area you want to cut with a pencil or chalk. You can use a level or a straight edge to ensure your bar is even.
Once your line is marked, you can use a circular saw or jigsaw to cut the Laminate along the guideline. For more intricate cuts, you may need to use a jigsaw and take extra care not to chip the Laminate. With patience and some practice, you’ll be cutting like a pro in no time!
3. Use a jigsaw for tighter spaces and curves
Using a jigsaw for tighter spaces and curves is one of the best ways to cut laminate flooring without chipping. It’s light and easy to maneuver, so you don’t have to worry about the flooring chipping or cracking.
It can also be used in miter and circular saws for finer cuts. Be sure to use a carbide-tipped blade for a clean cut every time. When cutting curves in laminate tiles, secure them so they don’t move or shift while cutting. This will help you get a smooth and even edge without worrying about chipping.
4. Secure the board to prevent chipping
When cutting laminate floorboards, securing the board is one of the most critical steps to ensure a clean and precise cut. This will help prevent chipping or other damage to the board. To do this, you can use clamps or double-sided tape.
Clamps are a great way to hold the board in place as you cut it, as they will grip it tightly and ensure it doesn’t move around as you make your cuts. The double-sided tape also works well and can be used instead of clamps if you have none. Whichever method you choose, secure the board firmly before attempting to make any cuts.
How to cut Laminate Tiles?
Cutting laminate tiles can be tricky, but you can get the job done quickly and easily with the right tools and patience. The best way to get accurate cuts is to use a circular saw with a sharp blade. Make sure to create a guideline to ensure the cut is straight. For tighter spaces and curves, it’s best to use a jigsaw. To prevent chipping, make sure to secure the board before cutting. Once you’ve made your cuts, you can start laying your laminate tiles!
Final Verdict
Cutting laminate flooring can be tricky, but with the right tools and techniques, it doesn’t have to be. You can easily cut through laminate flooring installed with a circular saw, while a jigsaw is ideal for curves and tight spaces. A utility knife is the best tool for the job of laminating tiles. And don’t forget to use a fine-toothed blade to minimize chipping. With these tips in mind, you should have no trouble getting your laminate floor looking perfect!

![How To Install Floating Vinyl Plank Flooring In A Bathroom [East Steps] 5 How To Install Floating Vinyl Plank Flooring In A Bathroom [East Steps]](https://homequeries.com/wp-content/uploads/2023/02/istockphoto-1423993715-612x612_880x550-768x480.jpg)
