Floating vinyl plank flooring is an excellent option for DIYers of all skill levels. In this blog post, I’ll show you step-by-step instructions on installing vinyl plank flooring in your bathroom. So let’s get started!
![How To Install Floating Vinyl Plank Flooring In A Bathroom [East Steps] 1 istockphoto 1423993715](https://homequeries.com/wp-content/uploads/2023/02/istockphoto-1423993715-612x612_880x550.jpg)
How To Install Floating Vinyl Plank Flooring In A Bathroom [Easy Step]
Installing luxury vinyl plank flooring in a bathroom is a great way to give your bathroom a modern and stylish look.
Step 1: Remove the Toilet
Before you begin installing your new floating vinyl plank flooring in the bathroom, it’s essential to start by removing the toilet. This is a crucial first step in the process, as it will make it easier to lay the planks and ensure that everything is level and even.
To remove the toilet, turn off the water to the tank, then disconnect the water line. After that, use a wrench to unscrew the two bolts that hold the toilet to the floor. Finally, lift and remove the toilet from the bathroom. Once you have removed the toilet, move to Step 2: Prep Subfloor.
Step 2: Measure and Cut the Vinyl Plank Flooring
Once you have removed the toilet, it’s time to measure and cut the vinyl plank flooring. It’s essential to get accurate measurements to ensure your floor looks great and fits appropriately. You’ll need to measure the area where the floor will be installed and mark it on the planks.
When cutting, make sure that you use a sharp utility knife and a straight edge for a clean cut. Use a jigsaw to make minor adjustments so that the planks fit perfectly. You can create beautiful floating vinyl plank flooring in your bathroom with careful measuring and precision cutting.
Step 3: Lay the First Plank
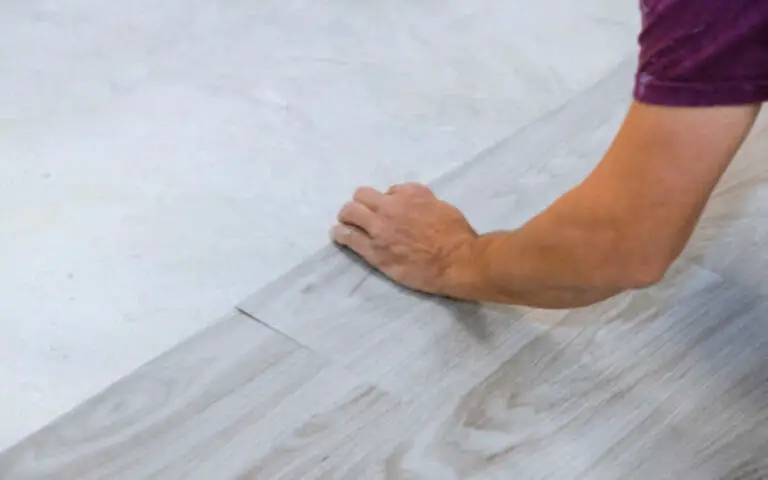
After preparing the subfloor and installing the underlayment, it’s time to lay the first vinyl plank. Measure and cut the plank accordingly, as you’ll need a snug fit. Begin by aligning the plank along one wall, with the tongue side facing towards the wall.
Leave a gap of about 1/4 inch between the wall and the plank. Then, press the plank into place and tap it down firmly with a hammer. The vinyl planks will click together at their edges, creating a tight fit. Continue laying planks until you reach the other side of the bathroom. Now you’re ready to move on to Step 4!
Step 4: Install the Second Plank
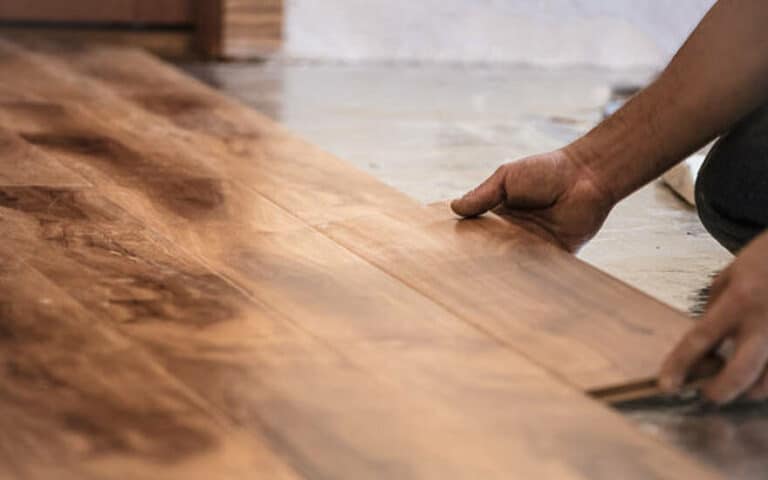
Once you’ve laid the first plank, it’s time to install the second. Ensure that the tongue and groove of the first plank line up with the second plank. You may need to adjust the plank’s position slightly to ensure they fit snugly together.
You may also need a tapping block and a rubber mallet to ensure a tight fit. If you have any overhang, you can trim it to size with a utility knife or jigsaw. Once all the planks are in place, you’ll have a beautiful new floating vinyl plank floor in your bathroom!
Step 5: Continue Installing Planks
Once you have laid the first two planks, it is time to continue installing them. Start by aligning the next plank with the groove of the first plank and pressing down firmly. Make sure to stagger your planks so that the short end of one plank is not next to the short end of another plank. This will ensure your flooring is stable and secure.
It would be best to use a rubber mallet and tapping block to ensure a tight fit between the planks. For any areas that are difficult to connect, use a utility knife or saw to cut away any excess material. Once all the planks have been installed, it’s time to move on to the next step.
Step 6: Cut and Install Around the Toilet Flange
Once you have all your planks laid, the next step is to cut and install them around the toilet flange. This can be tricky as you must ensure the plank pieces fit snugly around the flange.
To do this, lay a piece of vinyl plank flooring and any underlayment you’ll use next to your toilet flange. Then, use a jigsaw to cut out the parts that fit around it.
It’s essential to leave a small gap between the flange and flooring so that you can easily connect the two later on.
Once you’ve made all the cuts, lay down your pieces and secure them with adhesive. Finally, use silicone sealant to help fill gaps and ensure your floor is sealed correctly.
Step 7: Install Underlayment
Once you’ve removed the toilet, measured and cut the vinyl planks, and laid the first planks down, it’s time to start installing underlayment.
Though not always necessary, having an underlayment layer creates a smoother surface for your floating vinyl plank flooring. It also adds insulation and absorbs sound, making for a more comfortable space.
If you install over a concrete floor, you will want to use an underlayment. Those not installing underlayments risk their floating floors by not providing enough protection from moisture and other elements that can damage the flooring.
Installing the underlayment is easy – roll it out on top of your subfloor before laying down your vinyl planks. Once the underlayment is in place, you can continue installing your vinyl planks.
Step 8: Connect Planks Around the Toilet Flange
Once you have installed the vinyl plank flooring around the toilet flange, connecting the planks for a seamless look is essential. Using a jigsaw to cut the planks around and below the toilet flange would be best.
Be sure to measure twice, as mistakes can be costly. Once you have made the cuts, you can connect the planks tightly with adhesive. Use waterproof glue to ensure your floor is properly sealed and protected from water damage.
When connecting the planks, it is essential to press firmly along each edge and allow for ample drying time before walking on it or adding additional layers of flooring. You can create a beautiful, waterproof vinyl plank floor in your bathroom with patience and precision!
Step 9: Install Molding and Trim
Once you have all of the planks installed, it’s time to finish the floor with trim. To ensure a professional-looking finish, you’ll need to use stair nosing and molding around the room’s edges.
This will help to create a seamless transition between the vinyl plank flooring and other surfaces in the bathroom. First, measure the area where your trim will go and cut it to size with a miter saw or jigsaw.
Then, attach a hammer and nails to the wall and floor. Make sure to predrill any holes to prevent splitting or cracking. Finally, use caulk or silicone sealant to fill any gaps along the edges of the trim for a perfect fit.
Step 10: Clean and Enjoy Your New Floor
Once your vinyl plank flooring installation is complete, it’s time to sit back and enjoy the beauty of your new floor.
Before you do, however, it’s essential to ensure the flooring is clean. Start by vacuuming the floor with a brush attachment to pick up any dust or debris that may have gotten stuck between planks.
Then mop the floor with a damp mop and a mild detergent to remove any residue. Once the floor is clean, sliders on heavy furniture can be used to avoid scratching or denting the planks. Finally, enjoy your beautiful new floating vinyl plank flooring in your bathroom!
Is there a way to waterproof vinyl plank flooring?
Yes, there is a way to waterproof vinyl plank flooring! Vinyl plank flooring is designed with a particular layer that makes it waterproof and highly moisture-resistant.
This layer also helps protect it from dirt, dust, and stains. Not only is it waterproof, but it is also highly durable and easy to maintain. You can submerge a piece of Luxury Vinyl Plank in water, and it will look the same!
That’s why vinyl plank flooring is an excellent choice for bathrooms and other areas where spills are likely.
Is it necessary to lower the toilet flange?
Yes, it is necessary to lower the toilet flange when installing floating vinyl plank flooring in a bathroom.
This helps to ensure that the toilet flange is flush with the floor, giving the best results. This is true whether you install vinyl, laminate, or another flooring. The same goes for installing a new bed, pedestal sink, and toilet.
When put in place, the laminate flooring should be installed first, so it’s under the sink and toilet. Lowering the toilet flange will help create a better appearance for your bathroom overall.
Summary
Installing vinyl plank flooring in a bathroom is a great way to update the look of your space while also providing a durable and waterproof flooring option.
In this blog, we’ve outlined the steps to install floating vinyl plank flooring in a bathroom. First, you must remove the toilet and measure and cut the planks accordingly.
You’ll then need to lay the first plank and install the second, followed by continuing to install planks around the toilet flange. Ensure to cut and install underlayment around the flange and connect planks.
Lastly, finish up with molding and trim installation before cleaning and enjoying your new floor. While there are ways to waterproof vinyl plank flooring, it is always best practice to check with your manufacturer first.
It is unnecessary to lower the toilet flange when installing; however, follow local building codes if you choose to do so.


