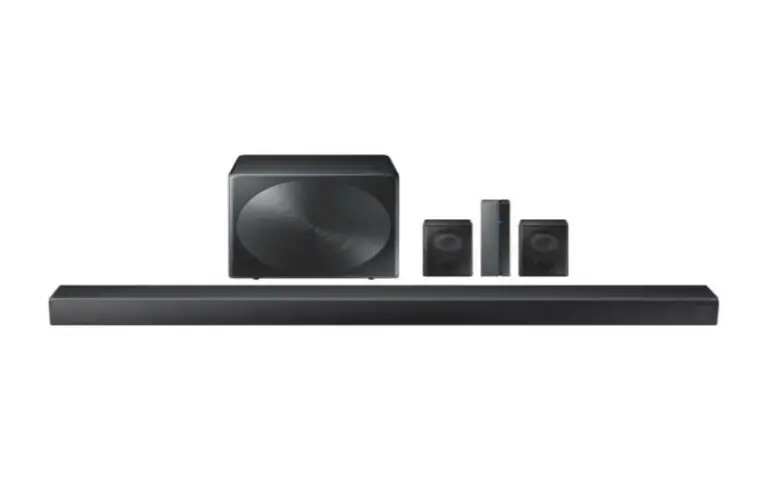
Are you intimidated by the idea of hooking up a soundbar to your TV? Well, fear not! Setting up a soundbar can be a breeze with just a few simple steps. In this post, I’ll walk through everything you need to know to connect your soundbar for an epic audio experience. Whether you consider yourself a tech whiz or a complete newbie, this guide is designed to make hooking up your soundbar as easy as possible. So grab your remote and let’s get started!

How To Hook Up A Soundbar For Dummies: Full Guide
First, let’s connect an HDMI cable from your TV’s HDMI ARC port to your soundbar’s corresponding port. Next, power up your soundbar and recognize the HDMI ARC port it’s connected to. To make installation quick and painless, use the cable that came in the box and take advantage of your soundbar’s compatibility with Dolby Digital technology.
If your TV doesn’t have an HDMI ARC port, don’t worry, you can still use an optical cable to connect your soundbar. When selecting an ideal placement for your soundbar, consider placing it under the TV for optimal sound quality. Finally, don’t forget to connect the audio output socket and explore the easy and versatile setup options available. With these basic steps, you’ll be enjoying high-quality sound from your soundbar in no time!
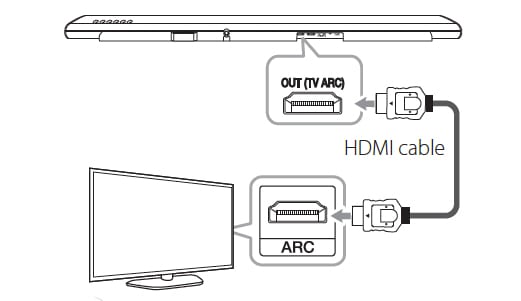
1. HDMI cable connection between TV and Soundbar
Okay, so let’s talk about connecting your soundbar to your TV using an HDMI cable. This is one of the easiest and most popular methods of connecting your devices, as it offers high quality audio and video transmission. Simply connect one end of the HDMI cable to your TV, and the other end to your soundbar.
Make sure your TV is set to the proper HDMI input and turn on your soundbar. Voila! You should now be able to enjoy enhanced sound quality from your TV. And the best part? You can also use the Control for HDMI function to seamlessly control your soundbar with your TV remote. This really is a quick and painless installation option, perfect for anyone who has limited time or patience.
2. Powering up your Soundbar
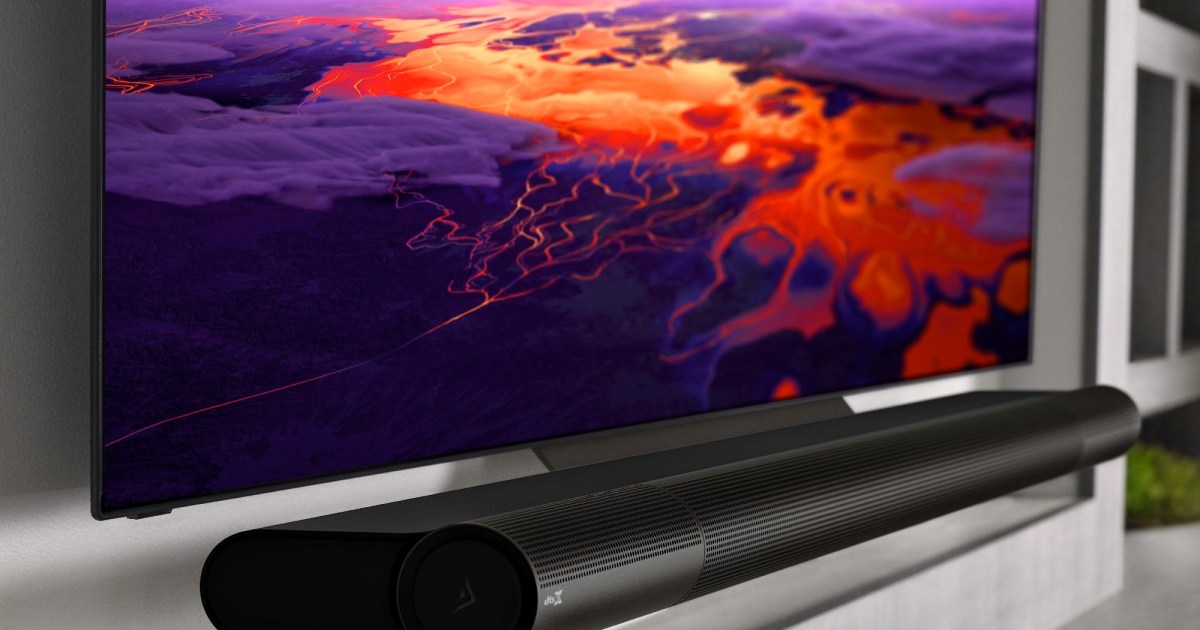
Now that I’ve connected my HDMI cable and recognized the ARC port, it’s time to power up my Soundbar. This step is crucial before we move on to adjusting the sound settings on our Soundbar. It’s essential to connect the Soundbar to a power source, whether it’s plugged into a wall outlet or connected to a surge protector.
Once connected, it’s time to turn on the Soundbar and make sure the LED indicators light up to confirm a successful installation. With that done, we are now ready to adjust the sound settings on our Soundbar and enjoy the quality audio that comes with it.
3. Recognizing the HDMI ARC port
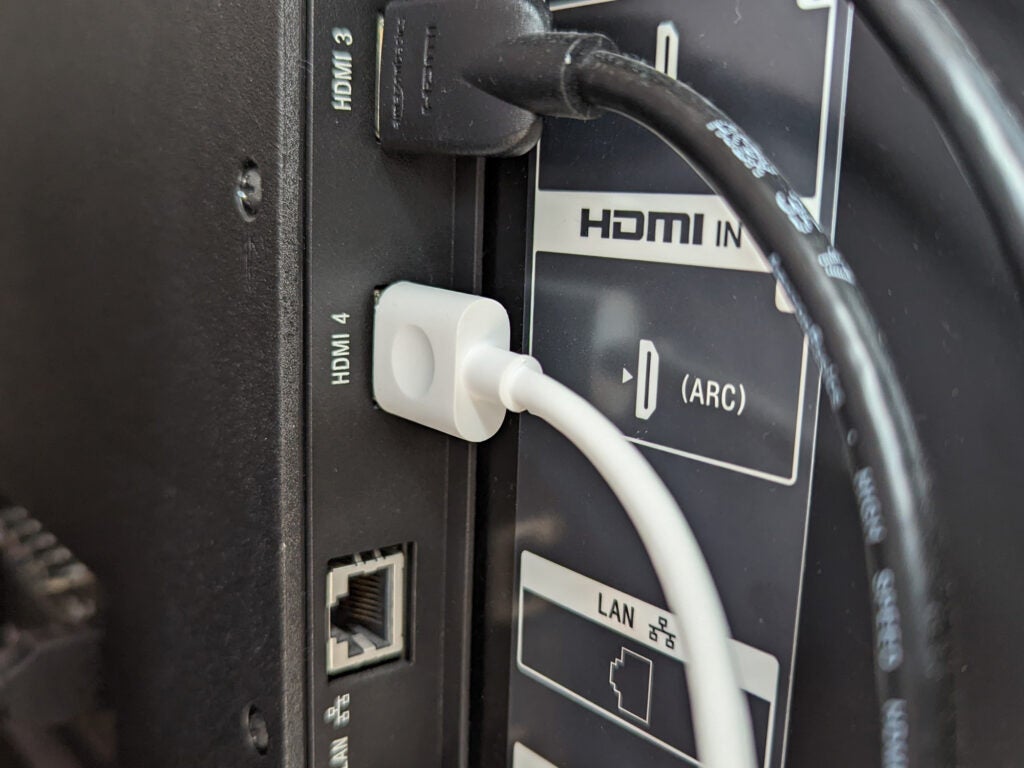
It’s important to note that not all TVs have an HDMI ARC port, so be sure to check the labels next to the ports on the back or side of your TV. Once you’ve identified the HDMI ARC port, simply connect one end of the HDMI cable (sold separately) to that port on your TV and the other end to the HDMI IN (ARC) port on your soundbar.
With the HDMI ARC connection, you’ll be able to send audio from your TV and any connected devices to your soundbar for a more immersive audio experience. It’s a quick and easy solution for anyone looking to upgrade their home theater setup.

4. Cable connection for quick and painless installation
Okay, let’s talk about the easy part – connecting your soundbar to your TV. This is where it gets quick and painless, my friends! All you need to do is connect the soundbar to the TV using a cable that came in the box. If your TV has an HDMI ARC (Audio Return Channel) port, then you can simply use an HDMI cable to make the connection.
This will allow your TV and soundbar to communicate with each other, and it will even turn on the soundbar whenever you turn on your TV. If your TV doesn’t have an HDMI ARC port, don’t worry – you can use a digital optical or digital coaxial cable instead.
These cables are capable of transferring digital audio signals, and they’re perfect if you want to avoid using multiple cables. Plus, with just a single cable solution, you can avoid a longer installation time for component connection. How easy is that?

5. Dolby Digital technology compatibility
This feature is what makes your audio experience truly exceptional. By incorporating Dolby Digital into your sound system, you’ll be able to enjoy superior audio quality, which is perfect for when you’re streaming your favorite movies, streaming music or playing games.
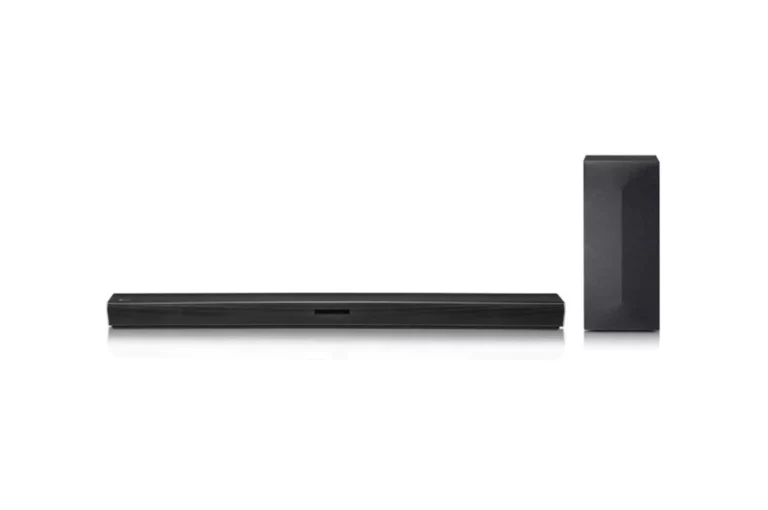
The Dolby Digital technology compatibility in our LG soundbar, for instance, delivers high-resolution audio that is truly immersive. It comes equipped with a subwoofer that ensures true-to-life sound reproduction, so you feel like you’re in the middle of the action. Our JBL Bar 5 also features Dolby Digital with Dolby Pro Logic II, so you can experience stunning audio with deep and rich tones.
Connecting your soundbar to your TV with Dolby Digital technology compatibility is just as easy as following steps one through four. You’ll need to ensure that your TV and soundbar are compatible and then connect them with an HDMI cable. This will allow you to enjoy all the benefits of this advanced audio technology.
In conclusion, Dolby Digital technology compatibility is an essential feature to consider when purchasing a soundbar. It is what sets apart a good audio experience from a great one. With the technology in our LG and JBL soundbars, you can be assured of an audio experience that is truly immersive and unforgettable.

6. Single cable solution for TV connection
When it comes to connecting my soundbar to my TV, I always opt for the single cable solution with HDMI. This makes installation quick and painless, as I only have to run one cable to the TV. Plus, many new soundbars have HDMI ports, so compatibility is usually not an issue.
HDMI cables can carry more data than optical ones, meaning I can route all of my devices – like my DVD player and media streamer – through the soundbar and into the TV. This simplifies the setup process and ensures that I get the highest-quality audio and video. Overall, choosing the single cable solution for TV connection with HDMI is an easy and effective way to hook up my soundbar for an immersive entertainment experience.

7. Longer installation time for component connection
So, if you’re planning to connect your components to your soundbar, be aware that it may take a bit longer for installation. But don’t worry, it’s still a straightforward process. Make sure to connect all of your video sources to the soundbar first before wiring it up to your TV. Then, use the soundbar’s HDMI out port to connect to your TV.
This may add a few more minutes to the setup time, but trust me, it’s worth it. By doing this, you’ll ensure that you have the best possible sound quality. So, take your time to set it up correctly, and you’ll be enjoying movie nights with superior sound in no time!

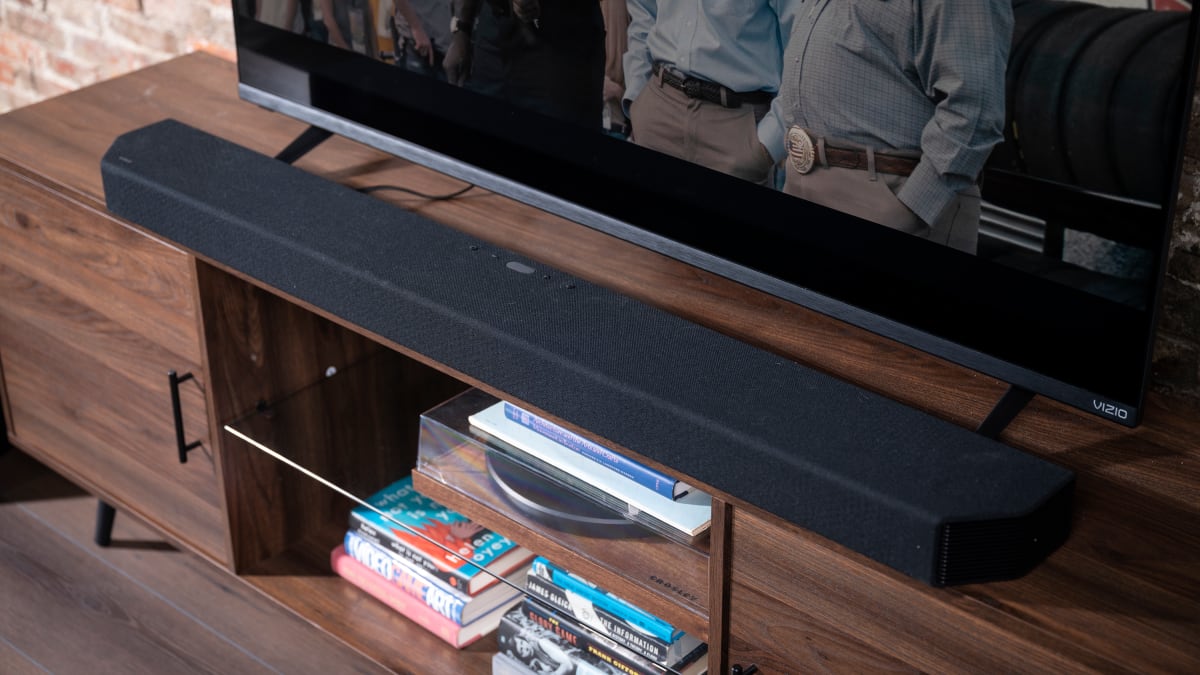
8. Ideal placement for Soundbar under TV
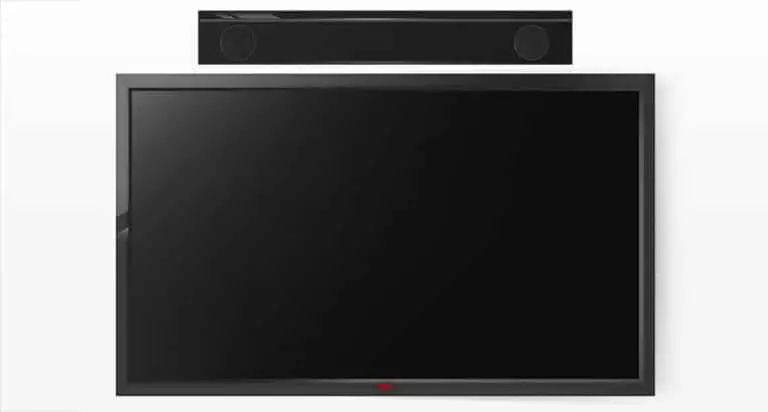
When it comes to getting the ideal placement for your Soundbar, the space beneath your TV is the best spot. It not only saves you countertop space but also provides an optimal sound experience. Firstly, I power up my Soundbar and TV, making sure the HDMI ARC port is recognised. Next, I connect the cables between the TV and Soundbar for a quick and painless installation.
It’s good practice to ensure Dolby Digital technology compatibility to take full advantage of your sound system. Furthermore, a single cable solution for TV connection makes the whole process easy and fuss-free. While the process takes a little longer for component connection, the installation time is well worth it.
By placing the Soundbar beneath the TV, I reduce clutter and make my setup look sleek and tidy. Finally, tuning the audio output socket connection completes the setup process. In summary, following these steps leads to versatile setup options and guarantees customer satisfaction in achieving an optimal sound solution.

9. Audio output socket connection
This is an important step to ensure that your soundbar is actually producing sound. Most soundbars come with multiple audio input options, so it’s important to select the one that’s compatible with your TV. You’ll typically find audio output socket connections on the back of your TV, and they can vary depending on the make and model.
Once you’ve located the audio output socket, you’ll need to connect it to the corresponding input on your soundbar. This will allow audio to flow from your TV to your soundbar, giving you the enhanced audio experience you’re looking for. Remember, if you run into any issues or have questions, consult the user manual or contact customer support for assistance. Happy listening!
10. Easy and versatile setup options
One of the great things about soundbars is that they offer a lot of versatility in terms of placement and connection options. Depending on your setup and preferences, you can use an HDMI cable, an optical cable, or even a Bluetooth connection to link your soundbar to your TV. Many soundbars also come with wireless subwoofers, which can be placed anywhere in the room for optimal sound quality.
Another important consideration is the placement of your soundbar itself – ideally, you want it to be positioned directly under your TV for the best audio experience. With all of these easy and versatile setup options, it’s never been simpler to upgrade your home entertainment system with a high-quality soundbar.

Summary
To sum up, connecting a soundbar to your TV is a simple process that can greatly enhance your viewing experience. By using the HDMI ARC port and a single cable, you can quickly and painlessly install your soundbar. And if you choose to connect your components to your soundbar, the setup may take a bit longer, but it opens up more possibilities for your entertainment system.
When positioning your soundbar, it’s ideal to place it just below your TV for optimal sound quality. And with versatile and easy setup options, even those new to soundbars can enjoy their benefits. So, whether you’re watching a movie, playing a game, or just listening to music, a soundbar is a great way to boost your audio experience.

How do I connect my soundbar to my TV?
Connecting your soundbar to your TV is a simple process that can enhance your entire entertainment experience. To get started, make sure you have the right cable. Most modern soundbars rely on an HDMI cable to connect to TVs. Locate the HDMI ARC port on your TV and soundbar and connect the HDMI cable between the two. Another option is to use an optical cable.
Once the cable is connected, power up your soundbar and your TV, and you should be good to go. If you want to adjust the sound settings on your soundbar, refer to the instruction manual that came with it. Overall, connecting a soundbar to your TV is quick and easy, and it can make a huge difference in your audio experience.

How do I adjust the sound settings on my soundbar?
Now that you’ve successfully hooked up your soundbar to your TV, it’s time to adjust the sound settings to get the best audio experience. Most soundbars come with a remote control that allows you to adjust various sound settings such as bass, treble, and volume. You can also adjust the EQ settings for a more personalized audio experience.
Another feature to look out for is the sound mode, which allows you to select from different pre-set audio modes such as movie, music, or sports. Don’t forget to enable any additional sound features your soundbar may have, such as virtual surround sound or dialogue enhancement. Overall, tweaking the sound settings will help you achieve the best audio quality for your personal preferences.

Can I use a soundbar with a non-smart TV?
Yes, you definitely can use a soundbar with a non-smart TV! In fact, using a soundbar can actually enhance your viewing experience with better sound quality. The good news is that setting up a soundbar with a non-smart TV is just as easy as setting it up with a smart one.
You simply need to connect it using an HDMI cable or an AUX cable, depending on what inputs your TV and soundbar have. Once it’s plugged in, you’ll be able to enjoy your favorite shows, movies and games with amazing sound quality. Don’t let not having a smart TV hold you back from enjoying the benefits of a soundbar.

