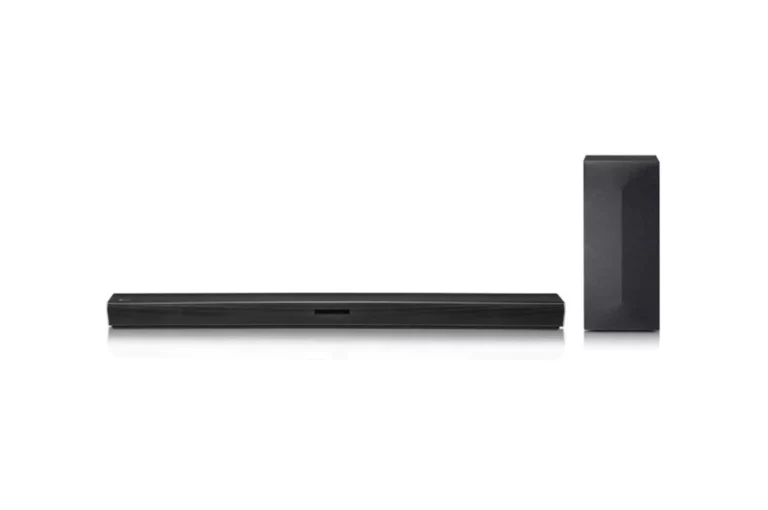
If you’re looking to upgrade your home entertainment system, a soundbar is an excellent addition. Not only do they offer improved audio quality, but they also conserve space and provide a sleek, modern look. Mounting your soundbar on the wall takes your setup one step further by ensuring that the sound is coming from the same height as the screen. If you’re unsure of how to do it yourself, don’t worry! In this guide, I will take you through step-by-step instructions on how to mount a soundbar on the wall. With just a few tools and some patience, you’ll have your soundbar up in no time!

How To Mount Soundbar On Wall: Step by step
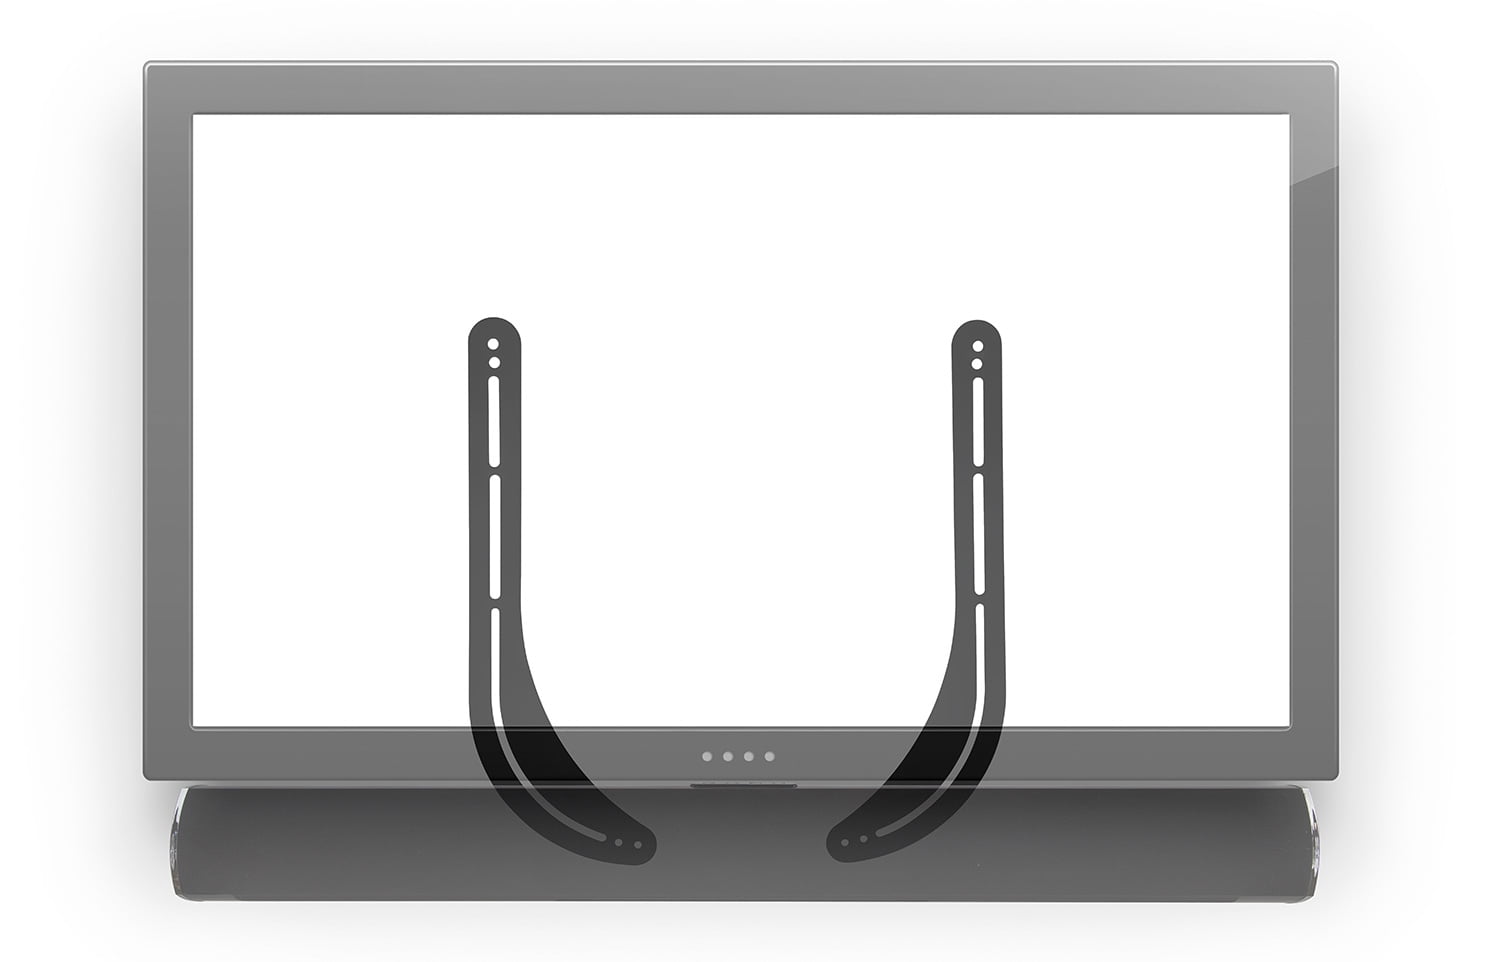
I personally prefer the wall mount guides that look like little shelves to rest my speaker on, but there are other types of brackets out there as well. Once we have our brackets ready, I can align them with the studs on the wall and attach them using screws. This is where I need to make sure the screws are securely fastened into the screw marks on the “SCREW LINE” printed on the wall mount guide.
Now that the brackets are attached, it’s time to place the soundbar onto them and secure it in place. This is a crucial step, as I want to make sure our soundbar doesn’t fall off the wall! After the soundbar is secured, Ican connect it to our TV and test the sound quality. This is where I can adjust the settings as needed to achieve the best sound for our setup. And there I have it, I have successfully mounted our soundbar to the wall! Now it’s time to sit back, relax, and enjoy our new sound setup.

1. Measure the distance from the TV to the wall
Before mounting your soundbar to the wall, it’s important to measure the distance from the TV to the wall. This will help ensure that the soundbar is mounted at the appropriate height and distance for optimal sound quality. To measure the distance, simply use a tape measure to determine how far the TV is from the wall. Make note of this measurement so that you can choose the appropriate mounting brackets for your soundbar.
Keep in mind that the ideal height for a soundbar is typically between 2-4 inches above the TV, but this can vary depending on the size and placement of your TV. By taking the time to measure the distance and properly align your mounting brackets, you can enjoy a high-quality sound experience in your home.

2. Locate the studs on the wall
This step is crucial to ensure that your soundbar is mounted securely and won’t come crashing down unexpectedly. To locate the studs, I recommend using a stud finder. It’s a handy tool that can easily detect studs behind the wall’s surface. Once you’ve identified the studs, mark them with a pencil or masking tape.
Make sure the brackets you’ve chosen to mount your soundbar align with the studs to ensure a strong and stable mount. Remember, finding and securing the studs are perhaps the most important steps in the process of mounting your soundbar, so take your time and do it right.

3. Choose the mounting brackets for the soundbar
Since I’ve already determined the distance from the TV to the wall, we can now look for brackets that will line up with the studs. It’s important to choose brackets that are made for your specific soundbar model, as well as ones that can support its weight. Wall-mounting brackets are available in various sizes, shapes, and materials.
You can choose between brackets that attach directly to the wall or ones that attach to the TV mount. Personally, I prefer ones that attach to the wall, as they provide a more secure hold. Make sure to read the instructions carefully and gather all necessary tools and hardware before attaching the brackets to the wall.

4. Align the mounting brackets with the studs on the wall
This step is crucial in ensuring that the weight of your soundbar is properly supported and won’t come crashing down.
To begin, take your mounting brackets and slide them over the two arms of your soundbar. Once the brackets are securely attached to the soundbar, place the wall mount guide against the wall and align it straight. Next, align the bumps on the soundbar with the holes on the wall mount template. Attach the two sheets of guide paper and use a pencil to mark pilot holes for the TV wall mount.
Now that the pilot holes are drilled, it’s time to attach the brackets to the wall. Using a power drill or screwdriver, use the included mounting screws to secure the wall bracket to the studs in the wall. Make sure the bracket is level and secure before moving on to the next step.
If you’ve already mounted your TV, you’ll need to remove it temporarily to align the holes properly. To do this, take a blank piece of paper that covers both keyholes, shade over the holes with a pencil, and use the marks as a guide to align the TV mount with the bracket.
With the mounting brackets securely attached to the wall and your soundbar attached to the brackets, you’re one step closer to enjoying your new sound setup!

5. Attach the brackets to the wall using screws
I like to use a power drill to make the job quicker, but you can use a screwdriver if that’s what you have on hand. Place the brackets over the studs and mark the holes where you need to drill the screws. Then, use the power drill to secure the bracket to the wall.
Make sure the bracket is level and aligned with the TV mount or wall mount. Once the brackets are securely in place, it’s time to attach the soundbar by resting it on top of the brackets. Finally, use the screws or bolts provided with the soundbar mount to secure the soundbar to the brackets. With the hard work done, it’s time to sit back, relax, and enjoy your new sound setup!
6. Place the soundbar onto the mounting brackets
Now comes the exciting part of mounting your soundbar onto the brackets! Gently lift the soundbar and place it onto the previously installed mounting brackets. Make sure it’s evenly positioned and centered with the TV. If your soundbar allows for adjustable positioning, adjust it to your preferred angle. Once it’s set in place, use the provided screws to securely attach it to the brackets.
It’s important to note that some soundbars may require additional tools or steps to mount onto the brackets, so always refer to your soundbar’s instruction manual for specific details.
Now that your soundbar is securely mounted, it’s time to connect it to your TV and test the sound quality. Sit back, relax, and enjoy the enhanced audio experience that your soundbar brings to your home entertainment setup!

7. Secure the soundbar to the brackets
Now that your soundbar is securely mounted to the brackets, it’s time to make sure it’s completely secure by attaching it to the brackets themselves. This step is essential, as it will prevent any accidental detachment of the soundbar from the wall. Start by carefully lifting the soundbar and placing it onto the bracket arms.
Make sure the soundbar is centered and level before tightening the screws to secure it in place. Once the soundbar is firmly attached, give it a gentle tug to make sure it is securely mounted. Double check that all screws are in place and tightened properly. You don’t want to risk your soundbar falling off the wall! Once your soundbar is fully secured, you’re ready to move onto the next step of connecting it to your TV and enjoying superior sound quality.
8. Connect the soundbar to your TV
Now that your soundbar is securely mounted on the wall, it’s time to connect it to your TV. Depending on the model of your TV and soundbar, you can use either HDMI, optical, or RCA cables to connect them. Check the ports on both devices and use the appropriate cable to connect them. Make sure to turn off both the TV and soundbar before connecting the cables.
Once you have everything plugged in, turn on your devices and change the audio settings on your TV to output sound through the soundbar. Don’t forget to adjust the volume and other settings as needed to get the best audio quality from your new sound setup. Congratulations, you’ve successfully mounted and connected your soundbar to your TV!
9. Test the sound quality and adjust settings as needed
Once you’ve mounted your soundbar on the wall, it’s time to test the sound quality and adjust the settings as needed. I always recommend doing this step to ensure that you get the best audio experience possible. First, make sure that your soundbar is turned on and that it’s connected to your TV.
Play some audio and see if you’re getting the full sound range that you were expecting. If not, you may need to adjust the equalizer settings or the placement of your soundbar. You can also try different audio modes to find the one that best suits your needs. Once you’ve made the necessary adjustments, play some more audio and see if you’re happy with the sound quality. If everything sounds good, sit back, relax, and enjoy your new sound setup!

10. Enjoy your new sound setup!
Finally, sit back and enjoy your new sound setup! Now that your soundbar is mounted to the wall and connected to your TV, you can take your movie-watching experience to the next level. Adjust the sound settings as needed to find the perfect balance and immerse yourself in your favorite movies and shows.
With your soundbar mounted securely to the wall, you don’t have to worry about it getting in the way or taking up valuable space on your entertainment center. Just sit back, relax, and enjoy the amazing sound quality that comes with a properly mounted soundbar.
Is it OK to mount soundbar to a wall?
In my experience, it is definitely OK to mount a soundbar to a wall. In fact, it can actually enhance your overall viewing experience. Not only does it free up space on your entertainment center, but it also creates a sleek, modern look.
Of course, it’s important to ensure that the soundbar is securely mounted to the wall, and that it is installed at the proper distance from the TV (at least 10 cm). It’s also important to choose the correct mounting brackets and attach them to the wall studs for maximum stability. But when done correctly, mounting a soundbar to a wall can be a great way to improve your home theater setup.

Where should a soundbar be placed on the wall?
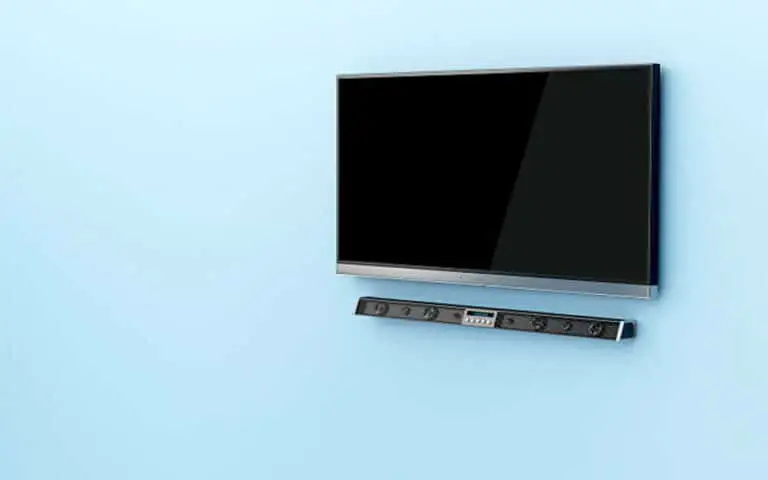
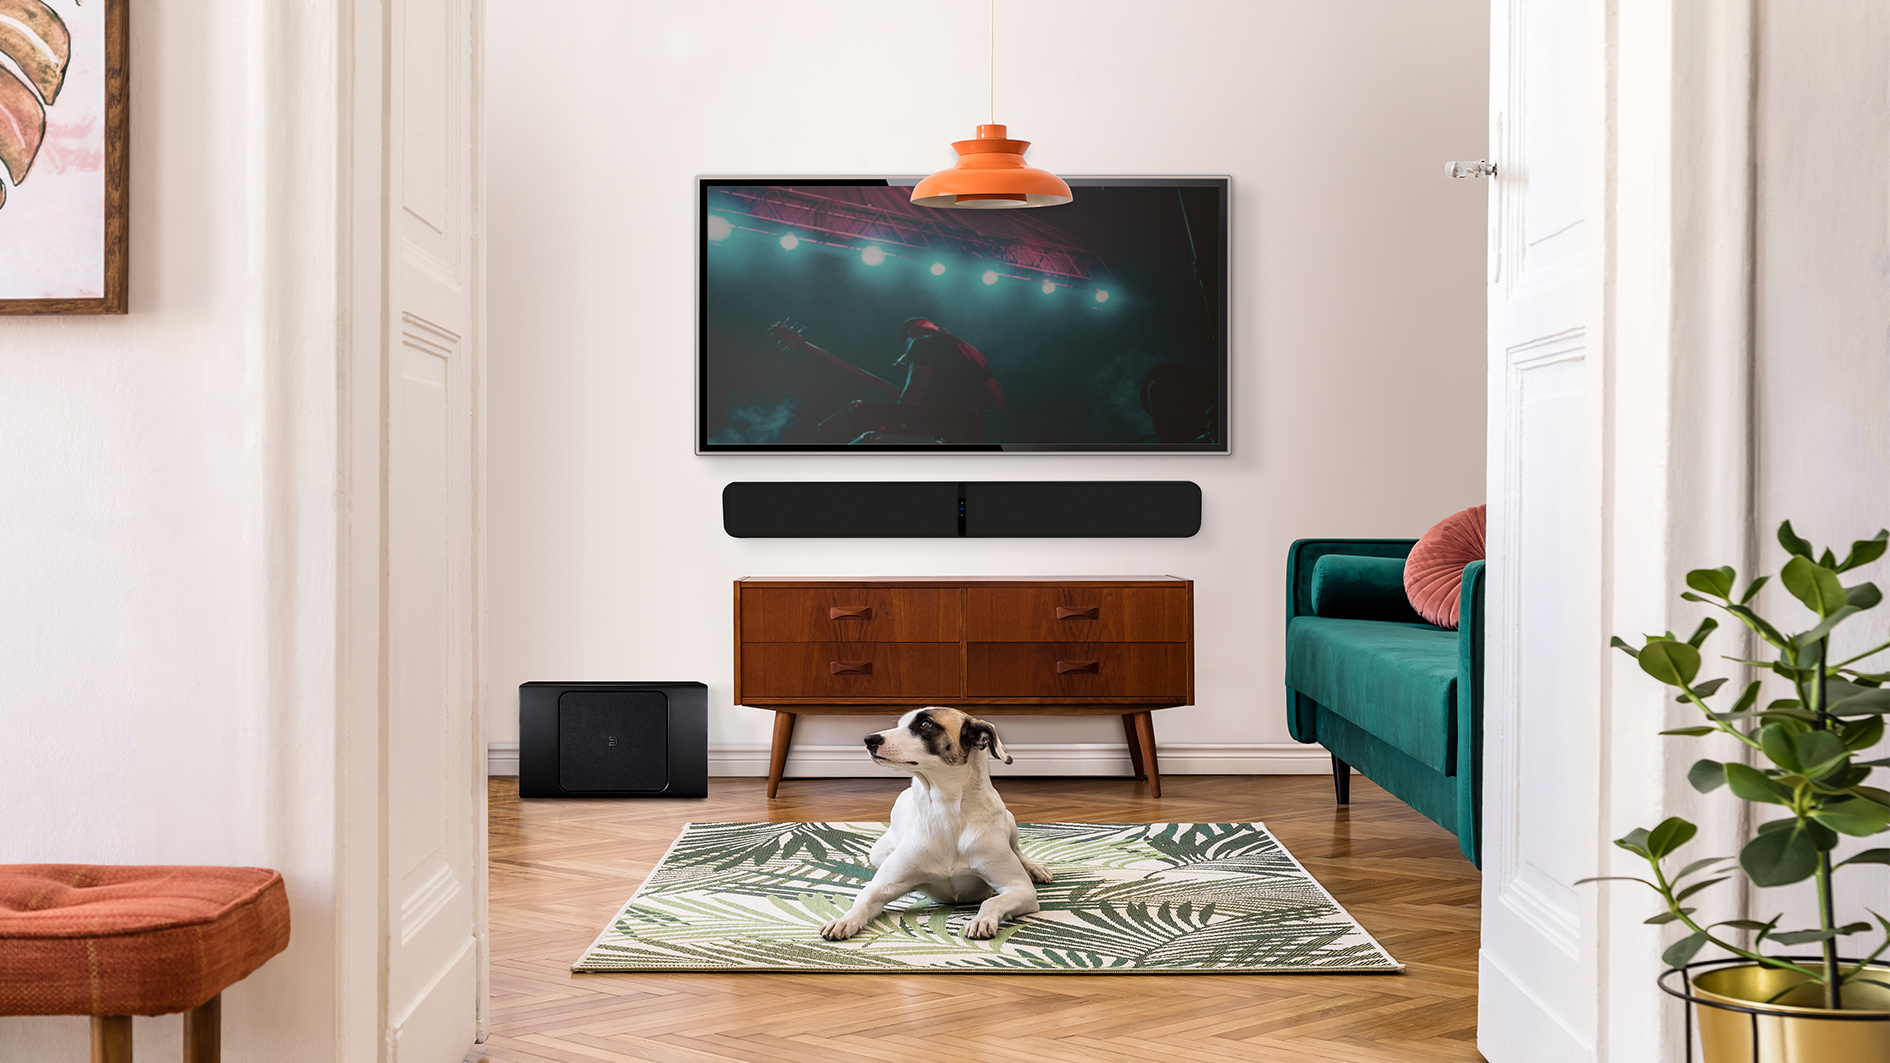
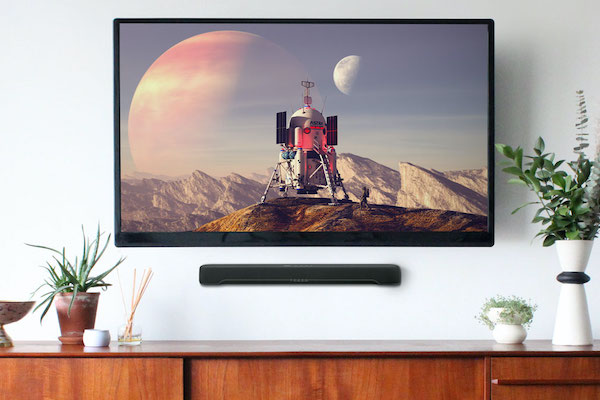
When mounting a soundbar on the wall, it’s important to consider its placement. Ideally, the soundbar should be mounted right below the TV for optimal sound projection towards the listener. This ensures that the sound is directed towards your ears rather than being dispersed randomly across the room.
In addition, it’s essential to place the soundbar at a height where it’s parallel to your ear level. This height allows for proper sound dispersion, providing a more immersive sound experience. Overall, it’s crucial to take the time to carefully plan and consider the placement of your soundbar to get the most out of your home entertainment setup.

Is it better to mount soundbar to TV or wall?
In my personal experience, it is better to mount a soundbar to the wall rather than to the TV. Mounting the soundbar to the wall ensures that it is in the optimal position for sound quality and also saves space on the TV stand. Additionally, when the soundbar is mounted to the wall, it is less likely to be knocked over or damaged.
However, it is important to make sure that the wall mount is properly installed and can support the weight of the soundbar. If you are unsure about the process or do not feel comfortable mounting the soundbar yourself, it may be best to hire a professional to do it for you. Regardless of where you choose to mount your soundbar, following the steps outlined in the previous sections will help ensure that it is securely installed and provides high-quality sound.

Summary
Overall, mounting your soundbar to the wall can enhance your home theatre experience by providing better sound quality and a sleeker look. Here are the steps we covered in this guide:
1. Measure the distance from the TV to the wall
2. Locate the studs on the wall
3. Choose the mounting brackets for the soundbar
4. Align the mounting brackets with the studs on the wall
5. Attach the brackets to the wall using screws
6. Place the soundbar onto the mounting brackets
7. Secure the soundbar to the brackets
8. Connect the soundbar to your TV
9. Test the sound quality and adjust settings as needed
10. Enjoy your new sound setup!
Mounting your soundbar to the wall is definitely possible and recommended if you want to save space and optimize your sound setup. It’s important to use the right brackets and follow the instructions carefully to avoid any accidents or damage to your device. Whether you choose to mount your soundbar directly to the wall or onto the TV mount, make sure it’s secure and level to get the best results. Happy sound listening!

