Want to give your bathroom a facelift? Is it your desire to finally replace the dated vinyl flooring you now have? We’ll walk you through the process of repairing bathroom vinyl flooring and recommend the best materials to use in their place.
Prepare the Room for Removal
Before removing the vinyl flooring in your bathroom, you should first prepare the area. Start by removing all the furniture and other items in the room, such as rugs, curtains, and other décor. You’ll also need to remove the toilet and the baseboard molding. This will give you enough space to work without any obstructions. Once the room is cleared and ready to go, you can start the removal process.
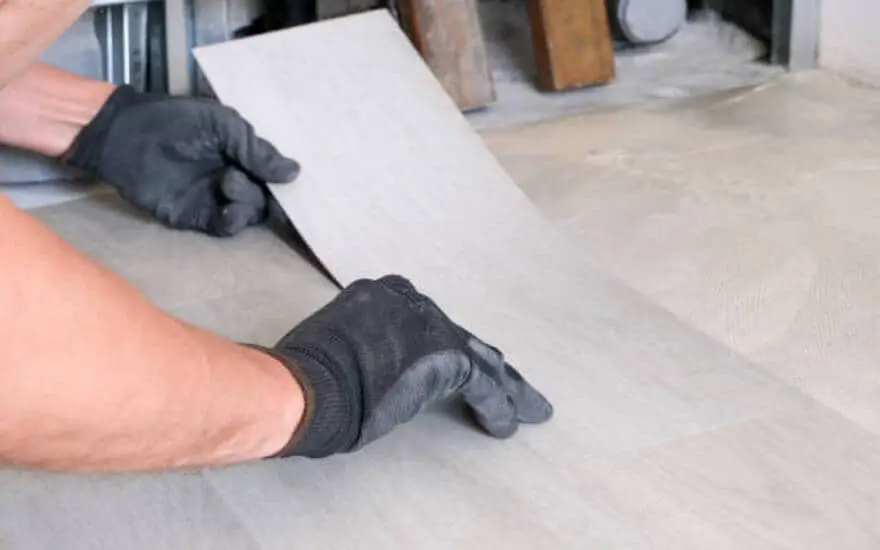
Remove all furniture and items from the room
Before you begin the process of removing your old bathroom vinyl flooring, it is vital that you first prepare the room for removal. This includes clearing out all furniture, appliances, and other objects from the room.
Additionally, you should also remove the toilet and any baseboard molding. Once you have cleared the room, you can begin removing the flooring.
Remove the Toilet
Before you can begin to remove the old vinyl flooring, you need to first prepare the room. This includes removing the toilet. The toilet can be removed easily by turning off the water supply, disconnecting the water line, draining the tank and bowl, unscrewing the toilet bolts, and lifting it out. Once the toilet is out of the way, you can proceed to the next step in removal.
Remove the Baseboard Molding
Before removing the old vinyl flooring, you must first remove the baseboard molding that runs along the room’s perimeter. This is important to ensure that the wall and floor meet correctly when you install your new flooring.
To remove the molding, carefully use a pry bar to lift the trim away from the wall. Be sure not to damage the wall as you pull the edge away. Once the frame is removed, inspect the subfloor underneath for any loose nails or screws that may have come loose during the removal process.
Remove any nails or screws that need to be addressed before continuing with the process of removing the old vinyl flooring.
Cut the Vinyl into Strips
Once the baseboard moldings and toilet have been removed, and the room is ready to pull the vinyl flooring, the next step is to cut the vinyl into strips. Using a utility knife, score the floor in strips about 12 inches wide. This will make it more comfortable to pull the vinyl in manageable strips. Be sure to slice through the vinyl’s backing but not so deep as to damage the subfloor.
Start from One Edge and Peel the Strips Away
Once all the furniture and items have been removed, the toilet was taken out, and the baseboard molding was carefully removed, you can start to cut the vinyl floor into strips. You can use a utility knife, a carpet knife, or a floor scraper. Make sure to jump from one edge and work your way out, peeling the strips away from the floor.
This will help to ensure the adhesive underneath is wholly separated from the subfloor. Be careful not to damage the subfloor as you peel away the strips.
Remove Residue from the Floor Surface
Once you have removed the vinyl flooring, you may have some residue on the floor surface. It is essential to remove this residue before installing new flooring. To remove residue, use a scraper to chip away any remaining old flooring and adhesive pieces.
You can also use a putty knife or a stiff-bristle brush to remove stubborn bits of residue once you have removed them as much as possible.
Clean the Subfloor
Once you have removed all the old vinyl flooring and adhesive, it is essential to thoroughly clean the subfloor surface. This will help ensure a smooth and even installation of your new flooring. To clean the subfloor:
- Operate a vacuum cleaner to empty any dust, debris, and particles that remain.
- Vacuum along the room’s edges to remove all dirt and dust.
- After vacuuming, use a damp mop to clean the subfloor and remove any remaining residue.
- Allow the subfloor to dry before proceeding to the next step.
Check for Damages in the Subfloor
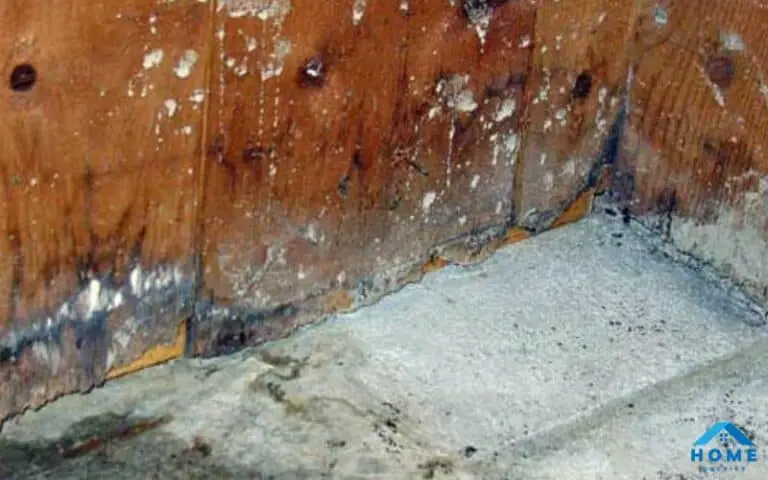
Once you’ve removed the old vinyl flooring and all adhesive residue, it’s essential to check for any subfloor damage. This could include soft spots, water damage, and cracks. These issues can lead to problems when installing new floorings, such as uneven floors, squeaks, and more if left unrepaired.
Be sure to repair any damage before installing new flooring. If you notice any significant damage, you may want to consider replacing the subfloor entirely.
Assess Your Flooring Options
Once you have removed your old bathroom vinyl floorings, it is time to assess your flooring options. You may want to consider replacing the floor with a new vinyl option or even a different type of flooring, such as hardwood, tile, or stone. Consider the cost, durability, and look you want for your new bathroom floor.
You should also consider the maintenance required for each type of flooring and whether or not it is suitable for the climate and usage of the room. Once you have decided on the flooring you would like to install, you can begin the installation process.
Install New Flooring
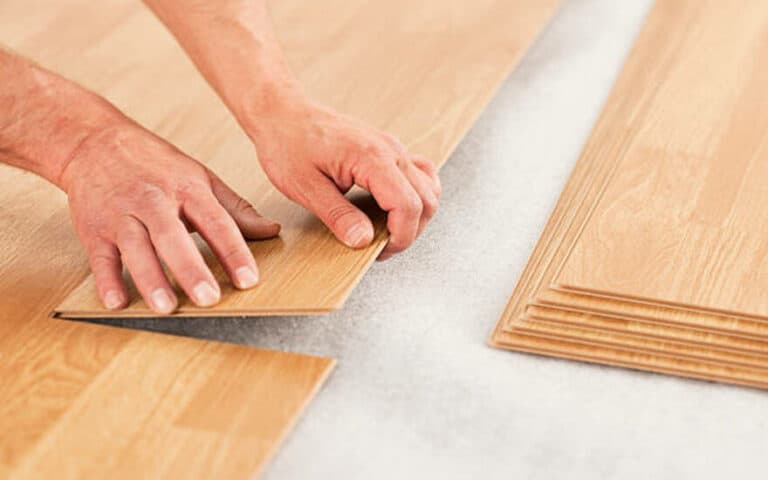
Depending on the subfloor’s condition, you may need to install a new underlayment before installing your new flooring. If the subfloor is in good condition, you can install the new flooring directly on top of it. To determine the type of flooring you should install, consider factors such as foot traffic, water resistance, and ease of maintenance.
For example, a luxury vinyl plank is an excellent option for a bathroom because it’s water-resistant and easy to clean. Ceramic tile is also a popular choice for bathrooms because it’s impervious to water and very durable. Once you’ve chosen the flooring you want to install, you can begin installing it.
How do you dispose of old vinyl flooring?
Once you’ve successfully removed your old vinyl flooring, you’ll need to decide how to dispose of it safely and responsibly. Most flooring companies will accept vinyl flooring for recycling. You can check with your local municipality to find out if there are any regulations or restrictions for disposing of old vinyl flooring in your area.
If you have a large amount of material, you may require to lease a dumpster or hire a professional disposal company to help with the job.
How to remove vinyl flooring without glue?
Removing old vinyl flooring without glue may seem daunting, but it doesn’t have to be. The first step is to score the vinyl using a floor scraper, then use a pry bar to lift and remove the vinyl. If an adhesive is underneath, you can use a warmth gun to buffer it and then scrape it away.
After removing the sealant, use a damp cloth to clean the subfloor. Once the subfloor is clean, you can assess your flooring options and start your new installation.
How do you strip and replace a vinyl floor?
Once you have removed the old vinyl flooring, it’s time to start the process of replacing it. Start by cleaning the subfloor and repairing any damages. Once the subfloor is willing, you can begin laying the new vinyl. Start by laying down a layer of underlayment on the subfloor.
Next, you can start laying down the new vinyl sheets. Use a roller to press the vinyl firmly into place.
Finish by trimming the edges with a sharp knife and installing the baseboards. With patience and know-how, you can easily strip and replace your old vinyl flooring for a new look in no time.
Final Verdict
Removing old vinyl flooring can be a daunting task, but it is essential to do so to make sure your new flooring is installed correctly. With the right tools, you can easily remove your old bathroom vinyl flooring and prepare the room to install your new flooring. Peel the strips away from one edge and remove any residue from the floor surface. Be sure to check for any damages in the subfloor and clean the subfloor before installing your new flooring.

