In this blog post, I will provide a breakdown of the pros and cons of laying vinyl flooring in each direction so that you can decide which option is best for your home.
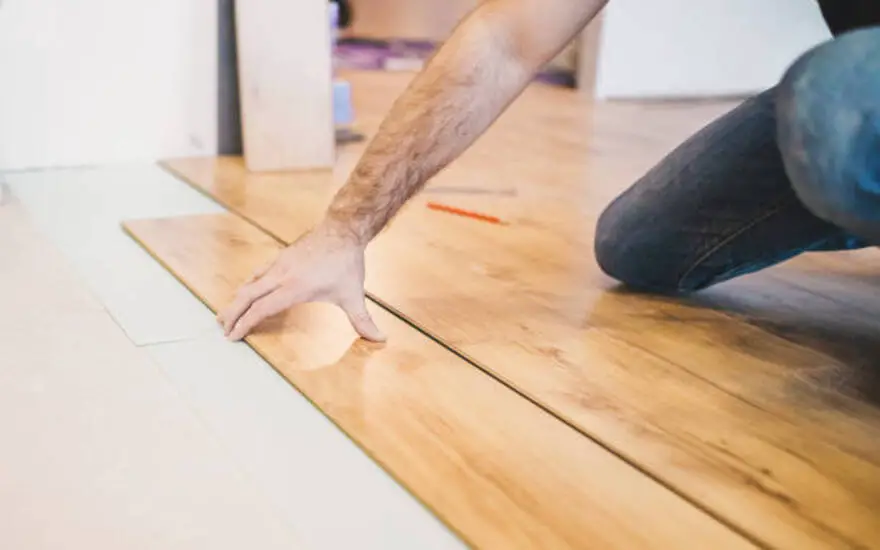
How do I determine which direction to Install Vinyl Plank Flooring: 10 Steps
Installing vinyl plank flooring can be daunting, but it doesn’t have to be. With a few simple steps, you can ensure that your vinyl plank flooring is installed correctly and looks great. First, you must measure the room and determine the traffic flow. This will help you decide on the direction of your boards, as well as help you choose a pattern.
Step 1: Measure the room
When laying vinyl plank flooring in your bathroom, the first step is to measure the room. It’s essential to measure the room’s length and width accurately to know how many vinyl planks you’ll need. If you plan on installing transition pieces, measure those areas as well.
Once you have your measurements, divide the length of your room by the size of the vinyl planks, and that will give you a rough estimate of how many planks you’ll need. Knowing this information will help you determine which direction to lay your planks and may even lead to a more intricate pattern for your floor.
Step 2: Determine the traffic flow
Once you’ve measured the space, it’s time to determine the traffic flow in the room. This is important as it will give you an idea of which direction to install your vinyl plank flooring. You’ll want to consider the main flow of traffic, such as from one room to another or from the bathroom entrance towards the bathtub or shower.
Also, consider any furniture in the room and how people will move around it. If there are multiple pathways, you can lay your vinyl planks in a herringbone pattern to accommodate them all. By paying attention to traffic flow, you can ensure that your vinyl planks are installed in a way that looks good and practical.
Step 3: Consider the look of the floor
When considering the look of your vinyl plank flooring in the bathroom, it’s essential to consider the other elements of your space. For example, if your bathroom has a shower or bathtub, you may want to run the planks in the same direction as the wall or tile to ensure a cohesive look.
Additionally, if you have a window in the bathroom, make sure to run the planks in the same direction as the natural light source to make the room appear larger and brighter. Finally, if you’re looking for something a bit more unique, there are plenty of fun patterns and designs that you can create with vinyl plank flooring.
Step 4: Decide on a pattern
After measuring the room, determining the traffic flow, and considering the look of the floor, it’s time to decide on a pattern for your vinyl plank flooring installation. There are many options to choose from when it comes to designs- you can go with a classic straight lay or mix it up with a staggered pattern.
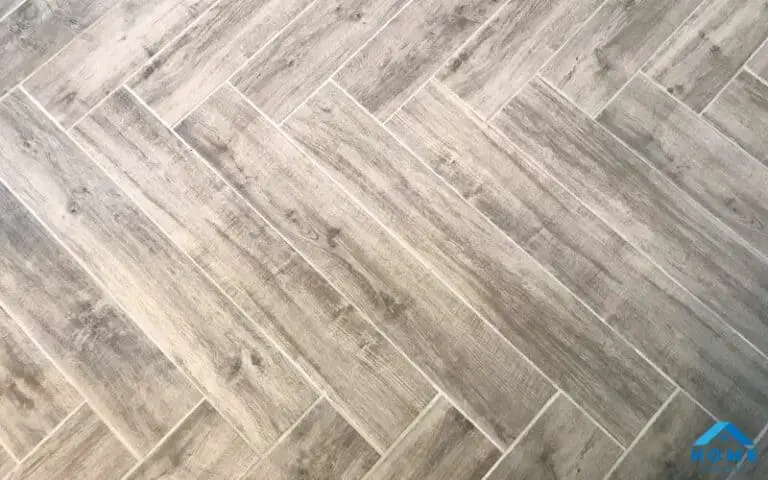
If you want to create a more dynamic space, opt for a herringbone or chevron pattern. The pattern you choose will depend on your bathroom style and how much movement you want to create in the space. With so many options available, you can easily find a pattern that will suit your needs.
Step 5: Choose the direction of your boards
When choosing the direction of my vinyl planks, I consider a few factors. Firstly, I look at the most prominent wall in the room and the primary light source, such as a window, to see if running the planks along that wall or in that direction would be beneficial.
Secondly, if there is a hallway next to my room, I consider running the planks parallel to the hallway, as this helps create a continuous look throughout the home. Lastly, I check with each manufacturer for their product’s specific installation directions.
Ultimately, it is a preference for which direction you choose for your flooring, but considering how your room and lighting will impact it can help you make the best decision for your home.
Step 6: Install transition pieces
Once you’ve decided on the direction of your boards, it’s time to install transition pieces. Transition pieces are small strips of vinyl plank flooring that help to transition from one room to another or from one type of flooring to another.
They also help to hide any gaps between the planks caused by variations in the floor’s surface. When installing transition pieces, make sure that they are level with the rest of the planks and that they are securely attached. You may need to trim some parts for them to fit correctly. Once you have installed all your transition pieces, you can continue installing your vinyl plank flooring.
Step 7: Prepare to install the planks
Once you have determined the direction and pattern of your vinyl planks, the next step is to prepare for installation. This includes removing any existing moldings, baseboards, and floor coverings. You should also ensure that the subfloor is smooth and level, as this will provide a good fit for the planks.
Once the subfloor is prepped, you should use a chalk line to ensure your planks are installed straight. Additionally, you may want to use a flooring saw or jigsaw to cut any planks that need to fit into tight corners or around fixtures. Once you complete all these steps, you are ready to start installing your vinyl plank flooring.
Step 8: Install from left to right
Once you have determined the direction of your vinyl planks, it’s time to start installing them. Step 8 is to install the planks from left to right. This will ensure a consistent look as you progress in the installation process.
Before you begin, ensure you have all the tools and materials ready and choose the suitable adhesive for your flooring project. It’s also essential to ensure you install each plank correctly, as misaligned planks will detract from the look of your flooring.
Be sure to use spacers between each plank to ensure an even installation, and make sure that you use a level to guarantee that your floor is perfectly level. With careful planning and execution, your vinyl plank flooring will be beautiful and add value to your home!
Step 9: Use spacers for an even installation
When installing my vinyl plank flooring, Step 9 is all about ensuring I get an even installation. To do this, I need to use spacers placed between the planks. This will help keep the planks level and ensure they don’t shift and become uneven over time.
The spacers also keep the tongue and groove of the planks aligned and make sure that each plank is securely attached to the next. An even installation will ensure that my floor will look its best and last for years.
Step 10: Install your trim
Once you have laid all your vinyl planks, it’s time to install your trim. Trim covers any gaps or unevenness around the room’s perimeter. Measuring and cutting each frame piece accurately is essential to fit snugly in place.
You may also want a miter saw to get a clean, precise cut. After you have cut the trim pieces, you can use a hammer and nails or a pneumatic nailer to attach them securely. Once the trim is in place, you can enjoy your beautiful new vinyl flooring.
Is it necessary to lower the toilet flange?
When installing vinyl plank flooring in the bathroom, one of the most important steps is determining whether or not you need to lower the toilet flange. The toilet flange is the part that attaches the toilet to the floor, and it needs to be lower than the finished height of your new vinyl plank flooring.
If it’s not lower, you’ll have problems with the toilet rocking and potential water damage to your new flooring. If you’re dealing with an existing bathroom, you may need to remove the existing flooring and check the height of your toilet flange.
If necessary, you can use a jigsaw to remove some of the material so your flan,ge is lower than your finished floor. Be sure to double-check measurements before cutting anything!
What do you need to know about vinyl plank flooring?
When installing vinyl plank flooring in your bathroom, there are some essential things to consider.
First and foremost, you must ensure that the subfloor is level and that the toilet flange is lowered if necessary. It’s also essential to determine the room’s traffic flow and choose the best pattern.
Lastly, decide on the direction of your boards, install transition pieces, and prepare to install the planks. Use spacers for an even installation, and install your trim for a polished finish. With these tips, your bathroom will have beautiful vinyl plank flooring.
Does your bathroom have a shower or bathtub?
If your bathroom has a shower or bathtub, it’s essential to take extra precautions when installing vinyl plank flooring.
Before installing, lower the toilet flange and use a vapor barrier or waterproofing membrane to protect against moisture. Also, please pay close attention to where the boards meet the shower or tub walls, as they should be tightly sealed with caulk.
Also, leave a gap between the bottom of the door and the floor so you can clean underneath it. Following these steps will help ensure your vinyl plank flooring is installed correctly and will last years!
Wrap Up
When deciding which direction to lay vinyl flooring in your bathroom, there are a few factors to consider. Measure the room, determine the traffic flow, evaluate the look of the floor, decide on a pattern, choose the direction of your boards, install transition pieces, prepare to install the planks, and use spacers for an even installation.
Additionally, it is essential to know whether your bathroom has a shower or bathtub and if you need to lower the toilet flange. Ultimately, all these factors should be taken into account when making your final decision on which direction to lay your vinyl flooring.

