Only Horizontal.
Don’t worry; I’ve got you covered! I’ll tell you all about the advantages of laying vinyl horizontally or vertically so that you can make the best decision for your space.
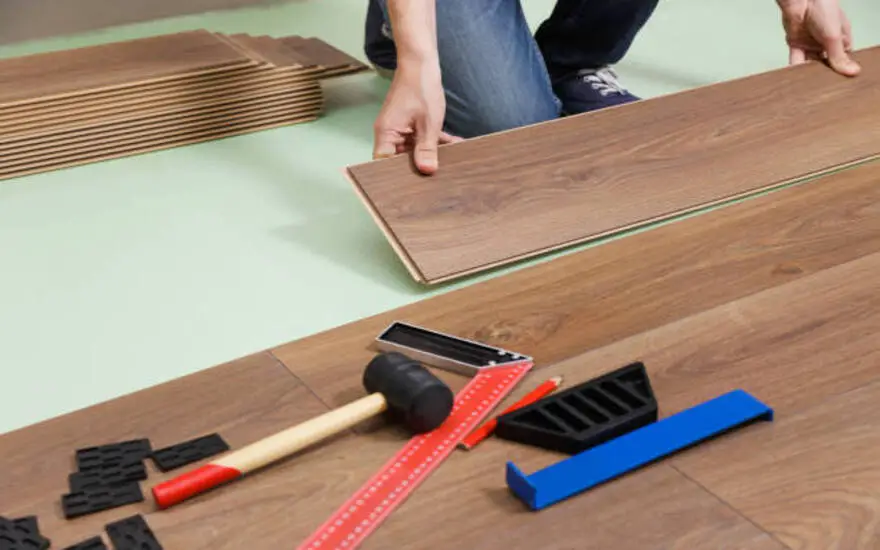
Why is Direction Important?
When it comes to installing vinyl plank flooring, the direction of the planks is an essential factor to consider. The order can affect your space’s look, feel, and impact. You can create a more open or closed-off feeling in any room by running the planks in a specific direction.
Additionally, the direction should be considered to enhance visual perspective if you’re installing planks on stairs. Remember that the same approach should be used for all rooms on the same level for a cohesive look.
#1 Vinyl Planks on Stairs
You’ll need to run the planks horizontally when installing vinyl plank flooring on stairs. This is a different direction than when installing vinyl planks on your main floor. It’s essential to ensure that the planks are installed in the correct order, as it can affect the look and feel of your stairs.
Before beginning installation, measure and plan your vinyl plank flooring layout for the stairs. You’ll also want to use a tapping block to secure the planks in place, which will help ensure a professional finish.
#2 Vinyl Planks on Main Floor
When installing vinyl planks on the main floor of your home, the direction you choose is essential. Generally, running the planks in the same order as your leading natural light sources, such as a large window or door, is best. Doing so will help to enhance perspective and make the room appear larger.
Additionally, if you have a large room with multiple entryways, laying the planks diagonally can create a more open feeling which is visually appealing. And for spaces that are long and narrow, like hallways, laying the planks longways is an excellent option.
Use spacers and a tapping block for a professional finish in any direction you choose.
#3 Complex Flooring Patterns
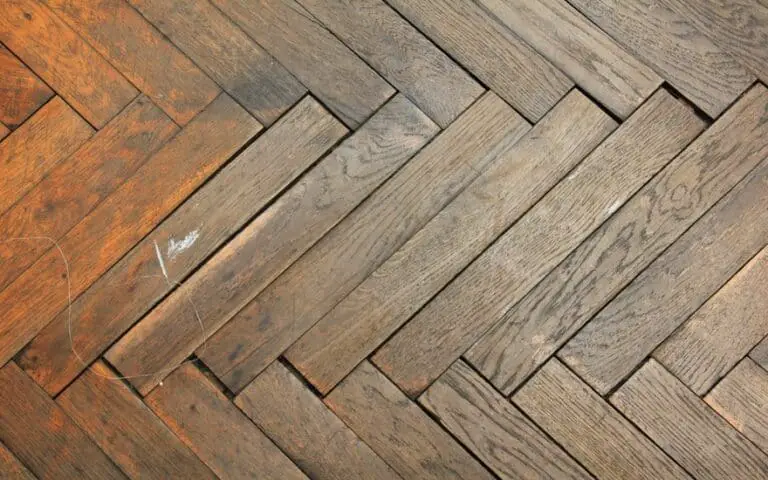
If you’re looking to create a unique and eye-catching flooring pattern, plenty of options are available. You can use a traditional diagonal or herringbone pattern or mix-and-match planks for a more detailed look.
Regardless of the pattern you choose, ensuring your planks are correctly spaced and secured is essential. Additionally, use a tapping block when installing vinyl planks to get the best results.
With creativity and the right tools, you can achieve a fantastic flooring pattern that will add character to any room.
In which Direction Should You Install Vinyl Plank Flooring?
When installing vinyl plank flooring, the direction you lay the planks is essential. Generally speaking, running the planks in the same order as your leading natural light source is best for a more open feeling.
If your windows are on one side of the room, you should run your planks in the same direction. For something more complicated with lots of nooks and crannies, vinyl plank floors should run longways along the length of your room.
If you have a narrow hallway, you can lay your vinyl flooring diagonally to create a broader effect. No matter what kind of room or pattern you’re making, it’s essential to consider the direction of natural light and use spacers to ensure even spacing between planks.
You’ll indeed have a professional finish by following these tips and using a tapping block to secure them!
7 Tips for Installing Vinyl Plank Flooring
Installing vinyl plank flooring is a great way to update the look of your home quickly and easily. Follow these seven tips to ensure your installation goes as smoothly as possible. First, calculate the room size and buy enough planks to cover the space. Second, prepare the surface by cleaning and leveling it before installing it.
1. Calculate the size of the room
Before installing your vinyl planks, it’s essential to measure the size of the room. Knowing the room’s dimensions will help you determine how many planks are needed and the direction in which you should lay them.
Typically, you will want to divide the room’s width by the plank’s width to determine the number of rows of vinyl planks needed. This way, you’ll have a reasonable estimate of how many planks to buy and won’t be stuck with too few or too many at the end of your installation.
Additionally, this number will help you figure out how to install your flooring horizontally or vertically. Make sure to measure twice and cut once!
2. Prepare the surface
Once you’ve determined where to lay your vinyl planks, it’s time to start preparing the surface. Before installing the planks, ensure the surface is clean and level.
If installing over an existing floor, remove any nails or staples that could damage your new flooring. If you’re working with a concrete or wood subfloor, ensure it is level and that any cracks have been filled.
If you have an uneven surface, you can use an underlayment to create a smooth and even foundation for the vinyl planks.
3. Make sure to buy enough planks
When installing vinyl plank flooring, it’s essential to ensure you buy enough planks for the entire room. Before you start, measure the width and length of the room and calculate how many planks you’ll need.
It’s always a good idea to buy a few extra planks in case of an accident or if your measurements are off. If you’re installing vinyl plank flooring on stairs, measure each stair individually since they may require different lengths of planks.
4. Start laying the planks from the corner of the room
Starting your vinyl plank installation in the left-hand corner of your space is the best way to ensure uniformity from your main floors to your stairs. Leave a 1/4-inch gap between the baseboard and the first plank for a clean finish.
Once you have aligned the planks in the corner, you can begin laying them parallel to the focal or longest wall in the room. This will help create an open feeling that flows throughout both chambers while ensuring uniformity.
5. Use spacers to ensure even spacing between planks
When installing your vinyl plank flooring, it’s essential to use spacers to ensure even spacing between planks. The recommended expansion gap is a minimum of ¼ inch, and the spacers fill the gap between the baseboards (which should be removed) and your newly laid floor.
This will help to avoid any buckling or warping of the planks that changes in temperature or humidity can cause. Spacing out your planks will also help create a more aesthetically pleasing finish, allowing you to easily create complex flooring patterns such as herringbone or brick bond.
6. Use a tapping block to secure planks in place
Once you have the size of the room and the planks laid out, it’s time to start securing them in place. Use a tapping block and a rubber mallet to connect each plank correctly and flush with the others.
The tapping block should be placed on the “cut” side of the planks to help avoid chipping and other damage. Use even pressure and tap gently to ensure a secure fit. If you’re using vinyl planks on stairs, take special care when taping them into place, as this can be tricky.
Using a tapping block is essential to get a secure fit and prevent any gaps between planks. Taking extra time for this step will help ensure that your floor looks great when it’s finished.
7. Seal the edges of the planks for a professional finish
Once you’ve finished laying the planks, it’s time to seal the edges for a professional finish. To do this, you’ll need to use a sealant or caulk along the edges of the planks. This will help protect the floor from water damage and make it look finished.
Make sure to choose a sealant that is designed for use with vinyl plank flooring. You’ll also want to be sure that you apply the glue evenly and in a thin layer so that it doesn’t affect the appearance of your finished floor.
Once the sealant is applied, let it dry completely before walking on your newly installed vinyl plank flooring.
summary
To conclude, when deciding which direction to lay vinyl plank flooring, several factors must be considered. It is essential to pay attention to the advice of your natural light source and the orientation of your stairs and other furniture in the room.
You can also choose a more complex pattern if you wish. Ultimately, it comes down to personal preference and choosing the style you like best.
With careful planning and proper installation techniques, you can ensure that your vinyl plank flooring looks great no matter which direction you choose.

