Mounting a soundbar under your TV can significantly impact your entertainment experience. With the right placement, you can improve the sound quality and reduce clutter in your living space. However, some people find installing a soundbar on their own daunting. This blog post will provide easy steps to mount a soundbar under your TV. Whether you’re a tech-savvy individual or a novice in home improvement projects, you’ll find this guide helpful in setting up your entertainment center like a pro. Let’s get started!

How To Mount Soundbar Under Tv: 10 Steps
I’ve covered the basics of choosing the right soundbar and finding the ideal spot to mount it. Now, it’s time to get into the nitty-gritty of mounting your soundbar under your TV. Here are ten steps to guide you through the process:
Remember, safety should always be your top priority when mounting audio or visual equipment. If you’re unsure about any of these steps, seek the help of a professional. And with that, happy mounting!

Step 1: Choose the right mounting hardware
Now that you’ve decided to mount your soundbar under your TV, choosing the right mounting hardware is important. A Universal Soundbar-to-TV Bracket is a great option as it allows for secure installation at the bottom of your TV. When selecting a bracket, ensure it’s compatible with your soundbar and TV. Most brackets will list their compatibility with the VESA pattern to attach a sound bar mount to a TV.
Additionally, consider the weight of your TV and soundbar and any accessories you may have. The weight of everything mustn’t exceed the mount’s weight limit to ensure safety and stability. Don’t forget to check if the bracket allows movement, especially if you have a full-motion TV wall mount. You’re one step closer to achieving your entertainment system’s best audio and video performance by choosing the appropriate mounting hardware.
Step 2: Check the weight of your soundbar and TV
Now that you’ve chosen the right mounting hardware and found the optimal position for your soundbar, it’s important to check the weight of your soundbar and TV. Most soundbars weigh little, so using drywall anchors is usually safe.
However, if you are using an articulating mount or your soundbar and TV are particularly heavy, it’s important to ensure that the mount you choose can support the weight. Check the weight limit of your chosen mount before proceeding with the installation. Safety should always be a top priority when mounting hardware to the wall.
Step 3: Find the optimal position for your soundbar
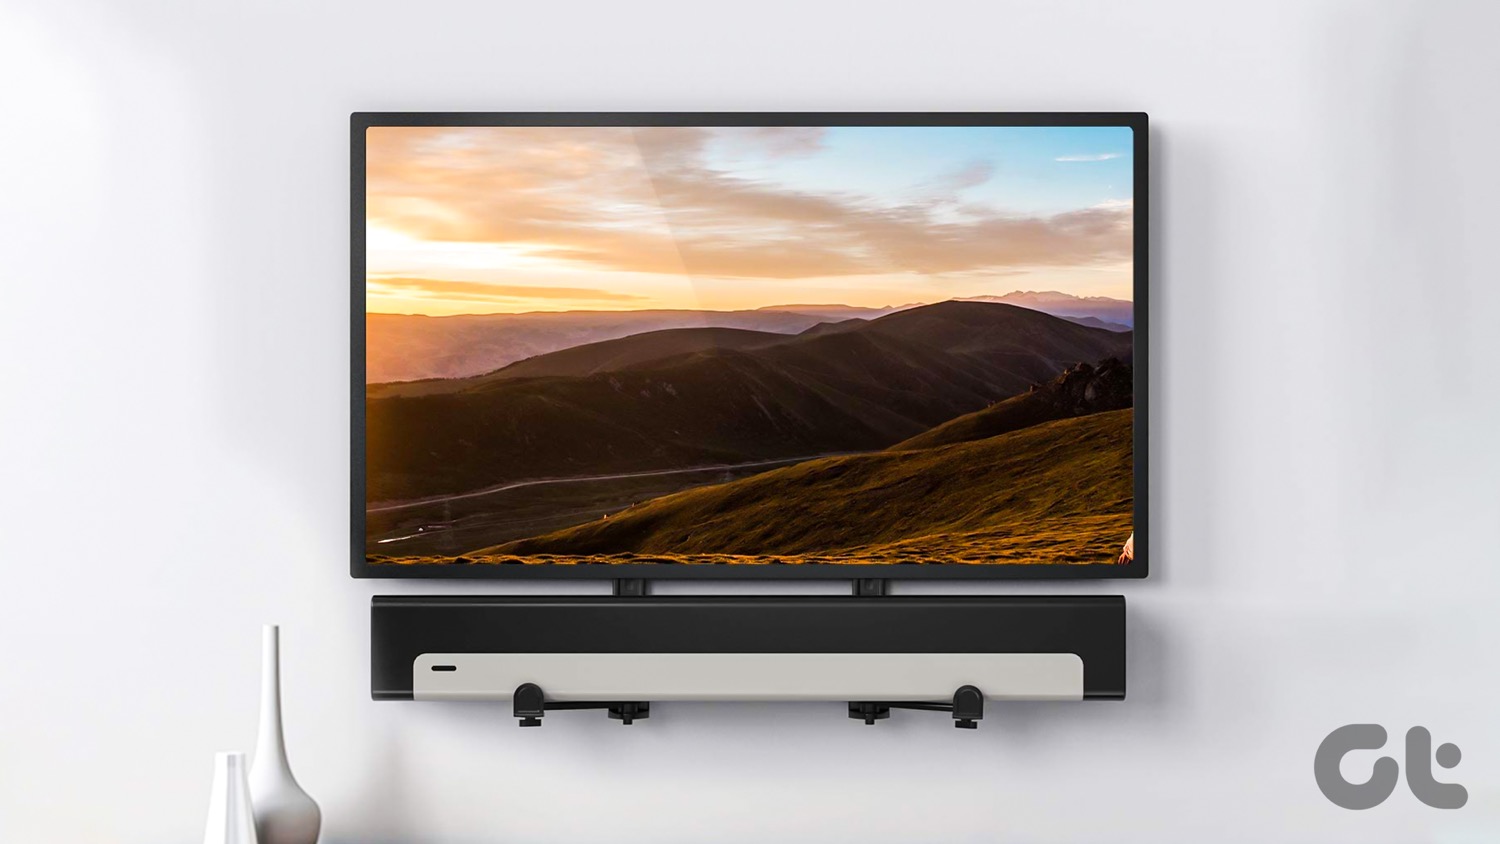
This step is crucial, as the placement of your soundbar will greatly impact the quality of sound you receive. Generally, it’s best to place the soundbar just below the TV screen and point the speakers in the general direction of your seating area. If your TV is on a stand or table, place the soundbar just below it.
If your TV is wall-mounted, there are a few options. You could place the soundbar above or below the TV, depending on your preference. However, aim to place the soundbar within a foot of the height of your ears when sitting in your normal TV viewing position. Once you’ve found the sweet spot, you’ll be one step closer to enjoying optimum sound quality.

Step 4: Measure and mark the spot for your mounting bracket
This step is crucial as it will determine our setup’s overall audio quality and visual appeal. Usually, the ideal spot for mounting the soundbar is right below the TV, with enough room to install the bracket securely. I recommend measuring the width of your TV and marking the center spot where you want to mount the soundbar.
Use a level and a pencil to get an accurate mark. Once you have marked the spot, double-check the placement and make any necessary adjustments. Preparing and marking the spot may take a little extra time, but getting it right the first time is important to ensure a seamless installation process.

Step 5: Pre-drill holes for your bracket
I like to use a 7/32″ drill bit for this step, making sure to drill precisely where my marking pen indicates. Drilling slowly and steadily is important, as even a slight deviation could mean your bracket won’t mount flush with the wall. Once your holes are drilled, it’s a good idea to double-check your measurements and make sure everything lines up as planned. Now that our bracket is prepped, it’s time to install it onto the wall.
Step 6: Install your bracket
Alright, now it’s time to install the bracket! This is a crucial step, so take your time and install it securely. First, double-check that you have pre-drilled the holes for the bracket in the center of the mark you made. Then, carefully screw the bracket into the wall using a drill and the screws provided with the bracket. Make sure the bracket is level and flush against the wall. One thing to remember is to use a level to ensure that the bracket is straight. You don’t want your soundbar to look crooked! Once the bracket is firmly in place, you’re ready for the next step.
Step 7: Attach your soundbar mount to the bracket
Those are the ones you’ll need here. To attach them, align the holes and use the screws provided. It’s pretty straightforward; tighten them properly, so your soundbar stays securely in place. Once you’ve done that, it’s time to bring in your soundbar and attach it to the mount. Make sure to follow any specific instructions with your mount for this step. And voila! Your soundbar is now mounted underneath your TV, providing you with the best audio experience possible.
Step 8: Connect the soundbar to your TV
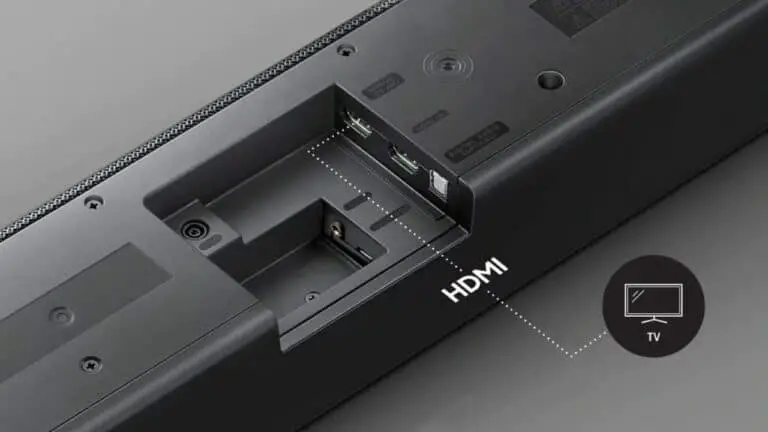
Now that our soundbar is in the perfect spot, it’s time to connect it to the TV. The easiest and best way to do this is through an HDMI connection. If your TV has an HDMI ARC or eARC port, use that for the best quality Dolby Atmos and DTS:X experience. If not, connect the soundbar to the TV’s optical output.
Once connected, adjust the TV and soundbar’s sound settings to ensure they’re synced up properly. Most TV remote controls can be programmed to control the soundbar, which is a convenient feature. With your soundbar now connected and ready to go, sit back and enjoy an immersive audio experience to accompany your favorite TV shows and movies.

Step 9: Test the soundbar and adjust it as needed
After connecting your soundbar to your TV, turn on your TV and the soundbar to check if they are both working. You can use your TV remote control to control the soundbar but program it accordingly. Play a movie or a song to test the sound quality, ensuring it is loud enough and the dialogue is clear. Adjust the audio settings on your soundbar to your liking using the remote control or the soundbar’s settings menu. You may also need to adjust the height or angle of the soundbar to optimize the audio quality fully. Once you are satisfied with the sound, sit back and enjoy your newly mounted soundbar!

Step 10: Enjoy your newly mounted soundbar!
Now that you’ve successfully mounted your soundbar under your TV, it’s time to sit back and enjoy your favorite movies and TV shows with improved audio quality. With the soundbar mounted at ear level, you can fully immerse yourself in the sound, creating a more realistic viewing experience. Whether you’re watching an action-packed blockbuster or a drama-filled series, the added depth and clarity of the sound will enhance your enjoyment. So grab some popcorn, sit back, and let your new soundbar take your home entertainment to the next level!

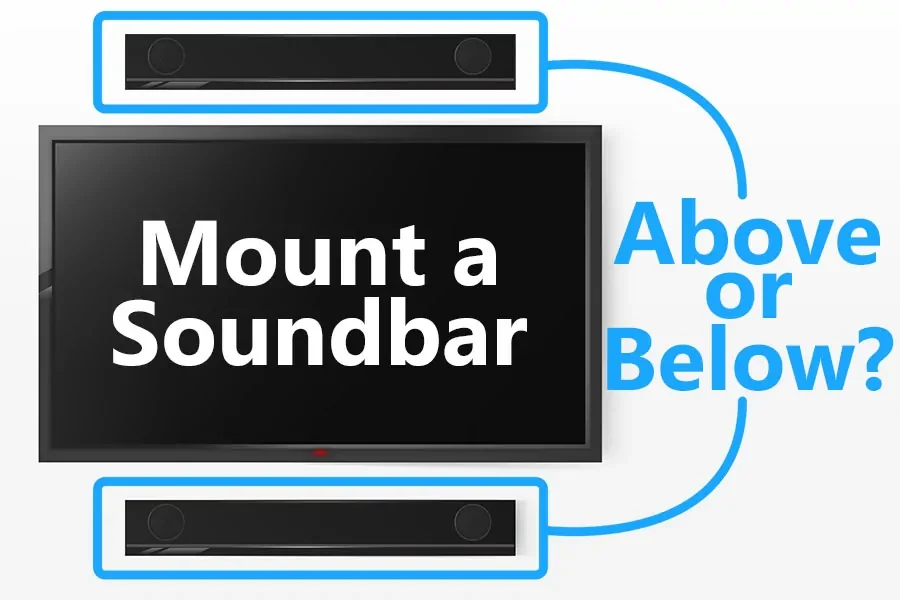
Should I mount the soundbar below the TV?
I prefer to mount my soundbar below my TV. This is because it allows me to have a clear line of sound directly aimed at my ears. When a soundbar is mounted above the TV, the sound is directed upward, which can cause some distortion and loss of quality. Mounting the soundbar below the TV also helps to keep the entire setup more symmetrical and balanced.
However, if your limited space or specific furniture setup calls for mounting your soundbar above your TV, that can work too. Ultimately, it comes down to personal preference and what works best for your setup. Regardless of where you mount it, always follow the proper installation steps to ensure the safety and effectiveness of your soundbar.
How far below my TV should I mount my soundbar?
From my experience, the best mounting for a soundbar is below the TV. As for the distance, having the soundbar mounted at the same level as your ears when you’re sitting down is recommended. This usually means mounting it at least 10-15 cm (4-6 inches) below the TV, where your ears will be seated.
Of course, this distance can vary depending on the size of your TV and the room it’s in, but keeping those general guidelines in mind should be sufficient in delivering an optimal audio experience. So follow the steps we discussed earlier, find the best spot for your soundbar, and mount it confidently!
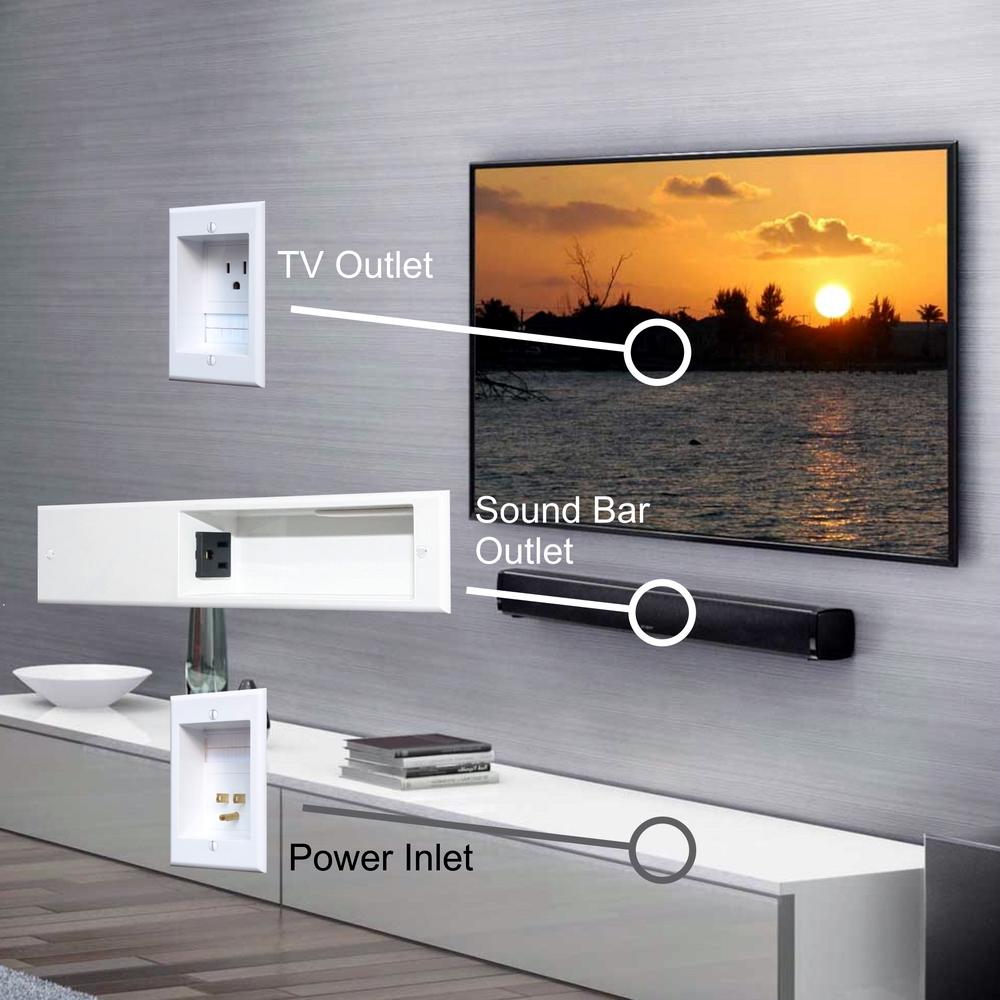
Where to put a soundbar when the TV is wall-mounted?
When mounting a soundbar when your TV is already mounted on the wall, the best place to place it is right below the TV. This positioning ensures that the sound from the soundbar is projected toward you and is evenly distributed throughout the room. However, ensure enough space below the TV to accommodate the soundbar and that the brackets properly align with the TV’s VESA holes.
It’s also important to remember that you should mount the soundbar at ear level – if your TV is mounted on the wall at a high level, ensure that the soundbar is attached at the appropriate height for optimal listening. By placing your soundbar below your wall-mounted TV, you can enjoy a true home theatre experience with an enhanced audio experience.

Summary
Mounting your soundbar directly to your TV can save space and improve your sound quality. To mount your soundbar under your TV, choose the right hardware and check the weight of your soundbar and TV. Find the optimal position, measure and mark the spot for your mounting bracket, pre-drill holes, and install your bracket. Attach your soundbar mount to the bracket, connect the soundbar to your TV, test and adjust the sound as needed, and enjoy your new setup.
Consider the placement and space available if you’re wondering if you should mount your soundbar below your TV. And if your TV is wall-mounted, you can still mount your soundbar to the wall below or above the TV with a specially designed bracket. Overall, mounting your soundbar to your TV can enhance your viewing experience and make your entertainment center look sleek and organized.

![Why Does My Soundbar Sound Low - [14 Reasons] 14 Why Does My Soundbar Sound Low – [14 Reasons]](https://homequeries.com/wp-content/uploads/2023/03/image-18-768x482.jpeg)
