If you own a Samsung TV, setting up a Samsung soundbar can be a great addition to your home entertainment system. It enhances the audio quality of your movies and TV shows and can also fill the room with immersive sound. However, setting up electronic devices can sometimes be daunting, especially if you are not tech-savvy. This blog will provide a complete guide on setting up your Samsung soundbar to enjoy excellent sound quality without any stress or hassle.
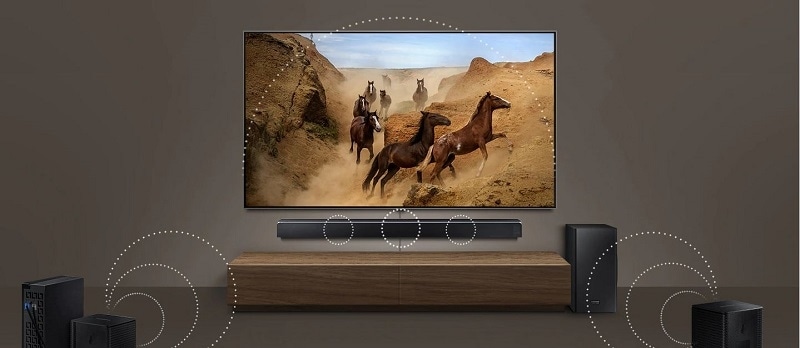
How To Setup Samsung Soundbar: Step-By-Step
A few options are available, but HDMI is the recommended choice. However, feel free to use any connection type that works best for you.

Step 1: Unpack and Connect the Soundbar
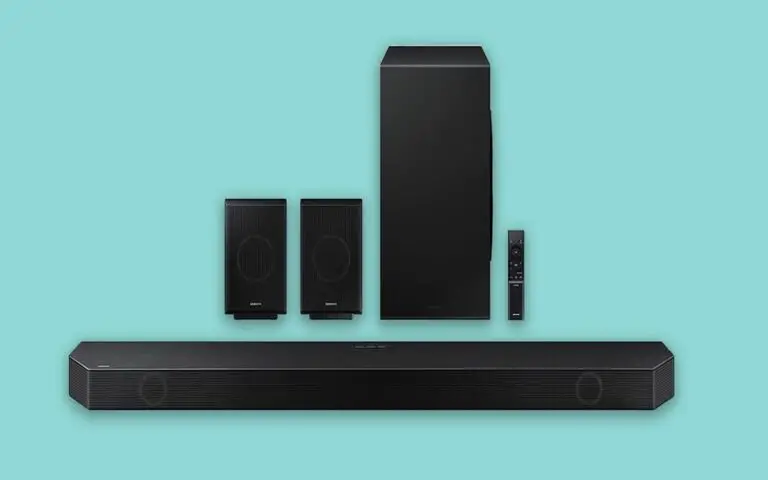
Alright, it’s time to start setting up your new Samsung soundbar! First things first, let’s unpack and connect the soundbar. Ensure you have all the components in the box, including the soundbar itself, cables, and additional speakers or subwoofers.
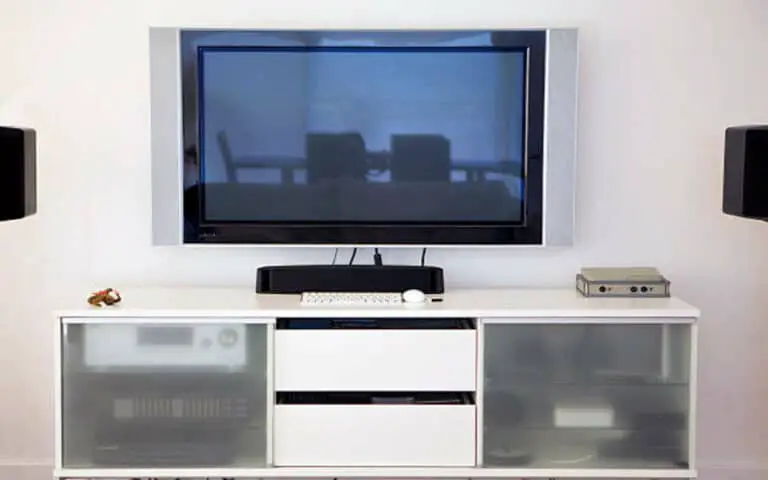
Once everything is laid out, connect the soundbar to your TV using an HDMI or optical cable, depending on your TV’s available ports. If your TV supports it, you can also connect wirelessly via Bluetooth. Make sure to follow the instructions carefully to ensure a successful connection.
Don’t forget to connect the soundbar to power by plugging it into an electrical outlet. And if you have additional speakers or a subwoofer, connect those.
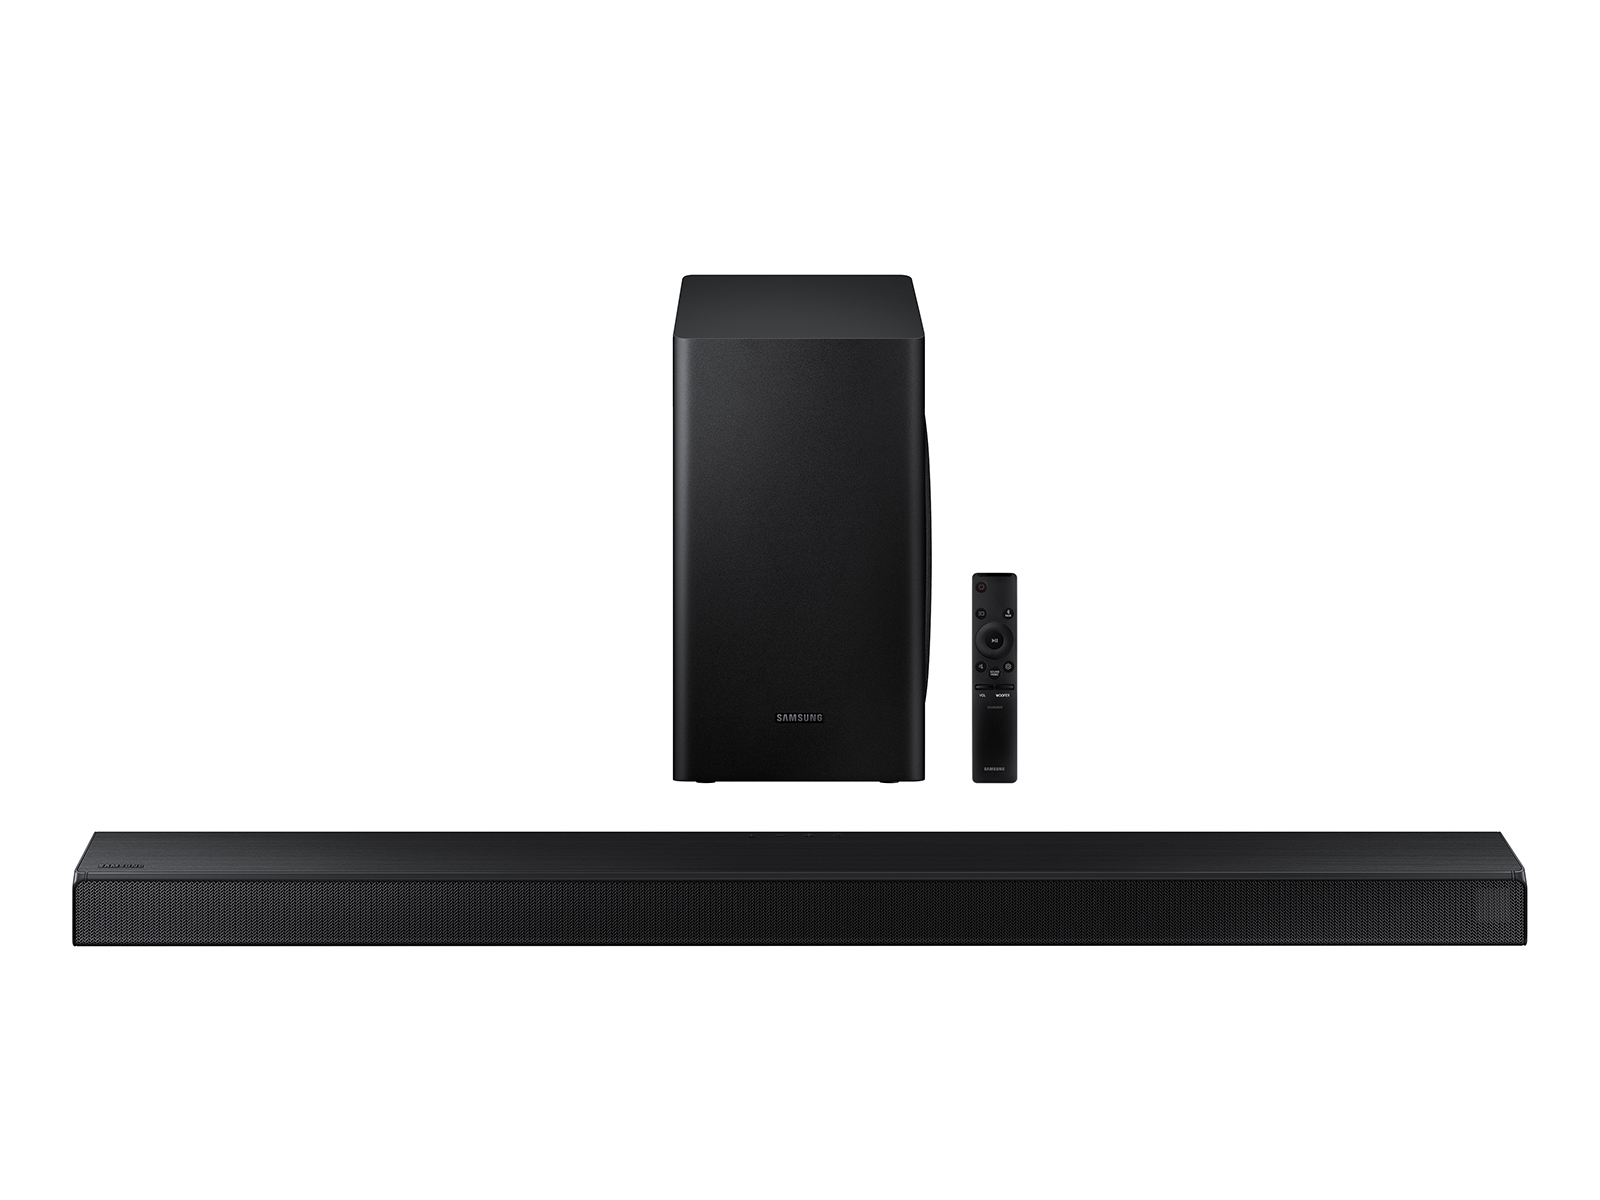
Unpacking the soundbar and its components
Now that you’ve chosen the best connection type for your setup, it’s time to unpack the soundbar and its components. You’ll first need to carefully remove the subwoofer, as indicated on the carton, and then take out the soundbar. Be sure to handle everything carefully to avoid damaging any contents.
Once you’ve got everything out of the box, it’s time to connect the soundbar to your TV using the appropriate cables. Remember to follow the setup instructions from the manufacturer to ensure everything is properly connected. With the soundbar set up and connected, it’s time to optimize the Audio settings.

Connecting the soundbar to your TV
The next step is connecting it to your TV. Thanks to the various connections, it’s pretty easy to do. I recommend using an HDMI cable because it transfers audio digitally, providing the best sound quality.
All you need to do is plug one end of the HDMI cable into the soundbar and the other into your TV. Adjust your TV settings to ensure the soundbar is selected as the primary audio output. Any connection type is supported. Optical, Bluetooth, or even an auxiliary cable can achieve the same result. It’s all up to your preference.
Step 2: Choose Your Connection Type
Depending on the ports available on your TV and the soundbar itself, there are a few different options. I’ve got HDMI, which is recommended since it provides the best audio quality and automatically syncs up with your TV. But there are also optical cables, which are a bit less common but still provide decent Audio. And if neither of those is an option, there are always the trusty old RCA cables. Just make sure to choose the best connection type for your particular setup.
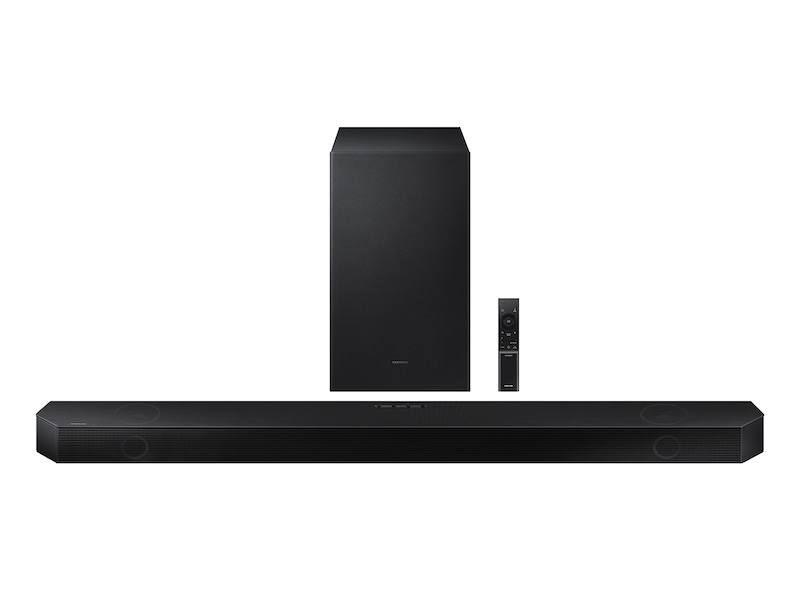
Explaining the various types of connections available
As mentioned, there are three main choices: HDMI, Optical Audio, and Auxiliary. HDMI is the most preferred and recommended option as it provides the best audio and video quality while allowing easy control through the TV remote.
Optical Audio is a solid alternative for those who don’t have an HDMI ARC port on their TV or want to keep their HDMI ports free for other devices. Finally, the Auxiliary is the least preferred option as it offers the lowest audio quality and doesn’t allow remote control. By understanding the different connection types available, you can choose the best option for your setup and optimize your soundbar experience accordingly.

Choosing the best connection type for your setup
While HDMI is always the recommended option due to its superior digital Audio transfer capabilities, other alternatives, such as optical or Bluetooth, can also be used. It’s important to consider factors such as the distance between your TV and soundbar, the types of devices you’ll be connecting, and the audio quality you’re looking for.
For example, an HDMI switch may be a more practical solution if you’re looking to connect multiple devices to your soundbar. It’s always best to assess your needs and decide which connection type will work best.

Step 3: Optimize Audio Settings
Once you’ve connected your soundbar to your TV, it’s time to tweak the Audio settings to get the most out of your setup. You can adjust settings like Equalizer, Surround Sound, and Bass using the remote control. Try experimenting with these settings to find the perfect sound for your room and preferences.
It’s also worthwhile to consider the positioning of your soundbar for optimal sound. You may want to adjust the angle or height of the soundbar to enhance the Audio experience. Don’t be afraid to play around with the settings until you find the perfect sound for your setup.
Using the remote control to adjust audio settings
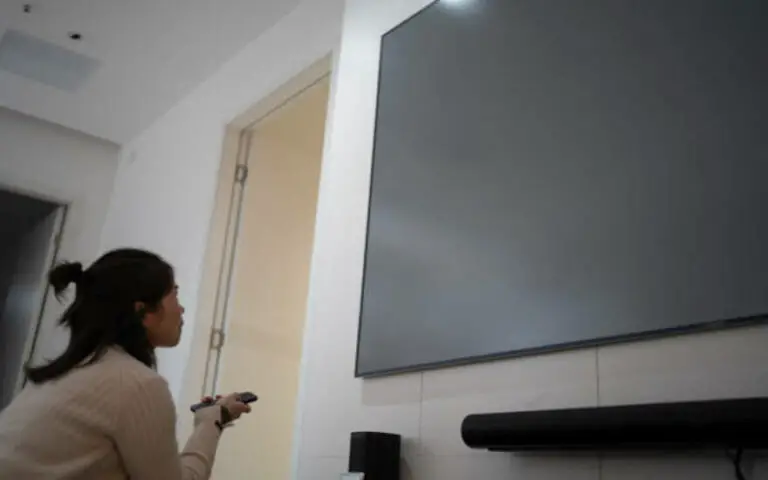
Using the remote control, you can easily adjust the Audio settings to customize your soundbar for your room and preferences. You can adjust the bass and treble and choose between different sound modes like movies, music, and sports.
Plus, you can adjust the soundbar’s volume with your TV remote control, making it even more convenient to use. With these simple adjustments, you can enhance your viewing experience and enjoy high-quality sound that brings your favorite movies, TV shows and live music.
Customizing the soundbar for your room and preferences
You’ve connected your Samsung soundbar to your TV and chosen your preferred connection type, it’s time to optimize the Audio settings and customize the soundbar for your room and preferences. You can adjust the bass, treble, and surround sound settings to your liking using the remote control. If your room is small or has low ceilings, you may want to decrease the bass to avoid overwhelming the space.
Alternatively, if you have a large room with high ceilings, you may want to increase the bass for a more immersive experience. Similarly, you can adjust the treble and surround sound settings to suit your preferences. Don’t be afraid to experiment with different settings until you find the perfect balance for your setup. By taking the time to customize your soundbar, you can enhance your movie nights and make the most of your entertainment system.
Step 4: Set Up Bluetooth
Alright, it’s time to set up Bluetooth on your Samsung soundbar! This great feature lets you connect your mobile device and play your favorite tunes without wires. First, make sure your soundbar and subwoofer are connected and turned on.
Then, follow the instructions in the manual to put your soundbar into pairing mode. Once it’s in pairing mode, enable Bluetooth on your mobile device and search for available devices. Select your Samsung soundbar from the list, and you should be ready!
You can now enjoy high-quality stereo sound from your favorite device. I love using this feature for parties or just relaxing at home; it’s convenient and easy to use. Setting up Bluetooth on your Samsung soundbar is a breeze and adds a whole new level of entertainment to your home theater setup.
Enabling Bluetooth on your mobile device
Enabling Bluetooth on your mobile device is essential to connect it to your Samsung soundbar. First, make sure Bluetooth is turned on in your phone’s settings. Then, place your phone in the NFC detection area on top of the soundbar.
The soundbar will automatically connect to your phone via Bluetooth. If it doesn’t connect automatically, switch the soundbar to Bluetooth pairing mode, then select “Pairing” or “Pair” on your phone. Once connected, you can stream Audio from your phone to the soundbar wirelessly. It’s a great option for listening to music or watching videos without cables. Setting up a Samsung soundbar is easy and greatly enhances your home entertainment experience.

Connecting to the soundbar via Bluetooth
Connecting to the soundbar via Bluetooth is an easy process that adds value to your listening pleasures. As discussed earlier, enabling Bluetooth on your Samsung Smart TV is the first step. Once you have done that, turn o your soundbar and wait for the Bluetooth pairing indicator to flash.
On your mobile device, go to Bluetooth settings and select the bar from the list of available devices. Once connected, you can play music or any other content directly from your phone or tablet. Connecting your soundbar via Bluetooth allows you to control your mobile device’s volume and other settings. Making the most of this feature enhances your experience and opens up a new world of possibilities.
Summary
Overall, setting up a Samsung soundbar is easy. First, you must unpack and connect the soundbar to your TV. Then, you can choose the best connection type for your setup and optimize the Audio settings to suit your preferences. You can enable Bluetooth and connect your mobile device for streaming. I found the process simple and intuitive, and I’m pleasantly surprised by the sound quality and versatility of the Samsung soundbar. With this guide, you’ll enjoy your home entertainment system with minimal fuss.

