Whether it’s cracked tiles, water damage, or other issues, fixing your bathroom floor can seem daunting. But don’t worry – I’ve got you covered! In this blog post, I’ll show you how to repair and replace damaged bathroom flooring in just a few steps.
How to repair and replace damaged bathroom flooring: Step-By-Step
Repairing and replacing damaged bathroom floors can be tricky, but it is possible. With the right tools, materials, and patience, you can ensure your bathroom floors look as good as new.
Step 1: Prepare the Floor for Repair
Before you begin to repair or replace your bathroom floor, you must take the time to properly prepare the area. Begin by turning off the water, filling in any cracks with an epoxy filler, and then sanding them down.
Next, you’ll want to clean up any debris from the drywall repair and prep the bathroom floor. Start by clearing the damaged area and pulling up the vinyl or tile. Once you have done this, use a putty knife to scrape away any remaining adhesive or grout. Finally, tape off the repair area’s edges before moving on to the next step.
Step 2: Replacing Damaged Tiles
Once you’ve prepared the floor, the next step is to replace any damaged tiles. Start using a grout remover or electric grout remover tool to remove any old grout. Then, loosen the tile and chisel out any pieces too damaged to keep in place.
Once all the broken pieces have been removed, you can set the new tile. Use spacers to ensure even grout lines and a uniform look. Finally, press down firmly on the new tile and wipe away any excess grout. You’re now ready for the next step!
Step 3: Repairing Cracked Grout
The next step in repairing and replacing damaged bathroom flooring is to repair any cracked grout. Working with grout can be tricky, but with the right tools and patience, you can easily fix any cracked grout on your bathroom floor.
First, clean the broken grout with white vinegar and water solution. Then, use a special grout removal tool to grind down the old grout between tiles. After that, mix a new batch of grout with water to create a paste, then use a rubber float to fill in the gaps between the tiles.
Finally, use a damp cloth to wipe away any excess grout. Following these steps, you can easily repair any cracked grout on your bathroom floor.
Step 4: Installing New Tiles
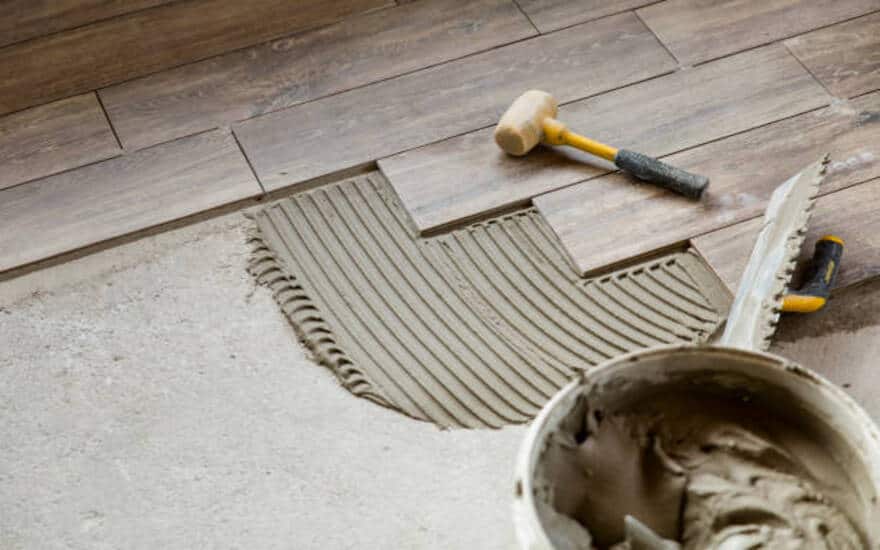
It is time to install the new tiles after removing the grout around the damaged tile. Mix the adhesive according to the manufacturer’s instructions using a two-part epoxy.
Then apply the adhesive to the back of each tile and press it into place. Be sure to leave a small gap between each tile to allow for grout. Once the tiles are in place, allow the adhesive to dry before grouting.
Step 5: Sealing the New Tiles
Now that the new tiles have been installed, it’s time to seal them. This is an important step as it will help protect your tiles from water damage and mold growth.
You’ll need a sealer specifically designed for ceramic or porcelain tiles to seal the new tiles. Start by wiping the tiles with a damp cloth to remove dust or debris.
Once the tile is clean, apply the sealer using a brush or roller, making sure to cover the entire surface of the tile. Allow the sealer to dry before applying a second coat. Once the tiles are fully sealed, you can ensure they are protected from water damage and staining.
Step 6: Preparing the Underlayment
Once you have identified the necessity for an underlayment, the next step is to prepare the surface for installation.
Start by stopping the water and turning off the main water valve. This will prevent any additional water from entering the room.
Clean and prepare the floor’s surface by removing any dust and debris. This will help ensure that the adhesive used to hold down the underlayment will have a firm grip on the flooring.
Step 7: Installing a Vinyl Sheet Flooring
Once the subfloor is prepared and ready to go, the next step is installing vinyl sheet flooring. This type of flooring is perfect for bathrooms as it is waterproof, durable, and easy to maintain.
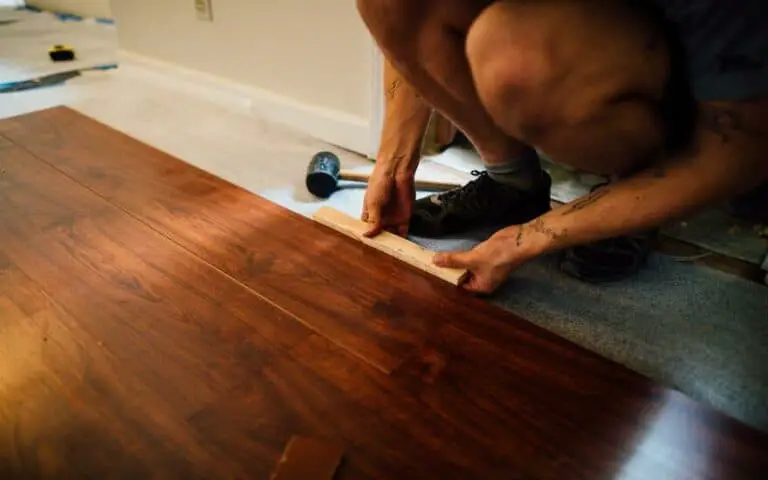
Before installing the vinyl, measure and cut the material to fit the room perfectly; once the material is in place, you can use an adhesive to secure the vinyl. Make sure you apply it evenly and press down firmly so that it will stick.
After the adhesive has dried, you can seal the vinyl to protect it from water damage.
Step 8: Setting the Vinyl Sheet Flooring
Once the underlayment is ready, you can begin to set the vinyl sheet flooring. Most vinyl sheets come with an adhesive backing which makes installation easier.
As you lay the vinyl sheet, use a roller to smooth out any wrinkles or bubbles in the material. Make sure to overlap any seams by at least one inch to ensure that the material is properly sealed. Once all the vinyl sheets are in place, it’s time to move on to the next step.
Step 9: Securing the Vinyl Sheet Flooring
After the vinyl sheet flooring has been laid, it needs to be secured, so it doesn’t move or shift. This is done by applying an adhesive to the seams.
The adhesive should be applied using a notched trowel, and the seams should be firmly pressed together. This will ensure that the vinyl sheet flooring is securely in place. Once the adhesive has dried, you can then use a roller to press the vinyl sheet flooring into place.
This will ensure that your new vinyl sheet flooring is properly secured and won’t move or shift.
Step 10: Sealing the Vinyl Sheet Flooring
Once you have installed and secured the vinyl sheet flooring, it is important to apply a sealant to ensure it is water-resistant and will last.
A good sealant will protect your new flooring from damage caused by water, dirt, and debris. Make sure you apply the sealant according to the manufacturer’s instructions and allow it to dry completely before using the bathroom again.
This is essential to ensure that your new flooring lasts many years.
How much does it cost to replace bathroom floor rot?
When it comes to replacing bathroom floor rot, the cost can vary greatly depending on the extent of the damage and the type of repair or replacement needed.
On average, repairing flooring will cost around $350, while replacing subfloors ranges from $428 to $2,100. Prices for hardwood flooring start at $7.50 per square foot, and laminate flooring starts at $6.25 per square foot for materials, with additional labor costs for installation.
Repairing or replacing floor joists can range from $300 to $6,500; leveling a floor will cost around $50. It’s important to consider the moisture risk when selecting new flooring and budget for additional materials and labor costs.
Do homeowners insurance policies cover subfloors?
Having a damaged bathroom floor can be an expensive and frustrating experience. Fortunately, it is possible to repair and replace damaged bathroom flooring yourself.
However, the answer is not always clear-cut if you wonder whether homeowners insurance policies cover subfloors. Most policies will cover subfloor damage resulting from water damage caused by one of the perils listed in the policy.
For instance, if a plumbing fixture bursts in the bathroom and requires the homeowner to redo the bathroom, dwelling coverage would handle repairs and replacements of the subfloor. In cases where the entire subfloor needs replacing, homeowners’ insurance will often cover the cost.
However, it’s important to remember that no homeowners insurance policies cover all water damage, so it’s important to check with your provider before making any claims.
Summary
In this blog post, we have discussed how to repair and replace damaged bathroom flooring. We started by preparing the floor for repair, replacing damaged tiles, repairing cracked grout, and installing new tiles.
We also discussed installing vinyl sheet flooring and securing and sealing it. Finally, we answered some of the most commonly asked questions about bathroom flooring repair and replacement, such as how much it costs and whether homeowners insurance policies cover subfloors.
With the help of this blog post, you should now be able to make an informed decision about repairing or replacing your bathroom flooring.

