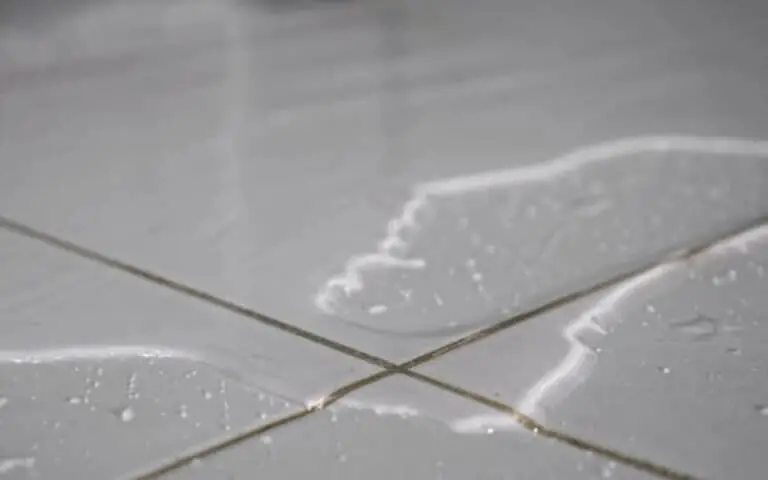
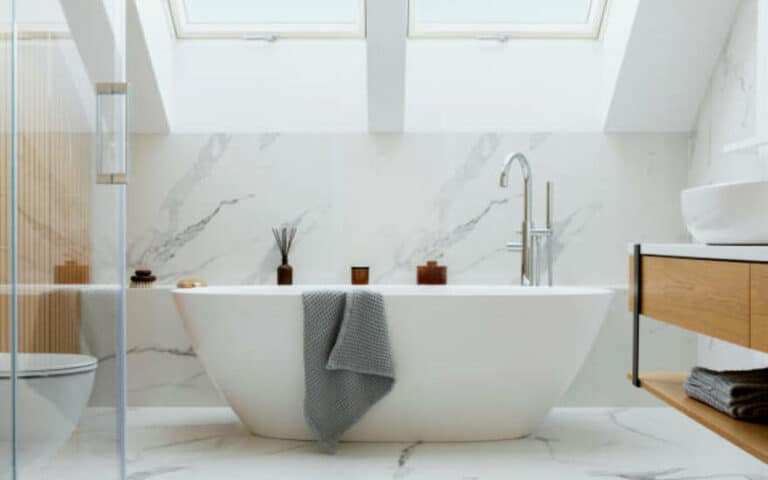
Engineered wood flooring is the perfect solution. In this blog post, I’ll discuss the ins and outs of engineered wood bathroom flooring so that you can make an informed decision when it comes to remodeling your space.
What is engineered wood flooring?
You’ve heard of engineered wood flooring, but you may not know what it is. Engineered wood flooring is a combination of layers of real wood and strong adhesives that are combined to create a single plank.
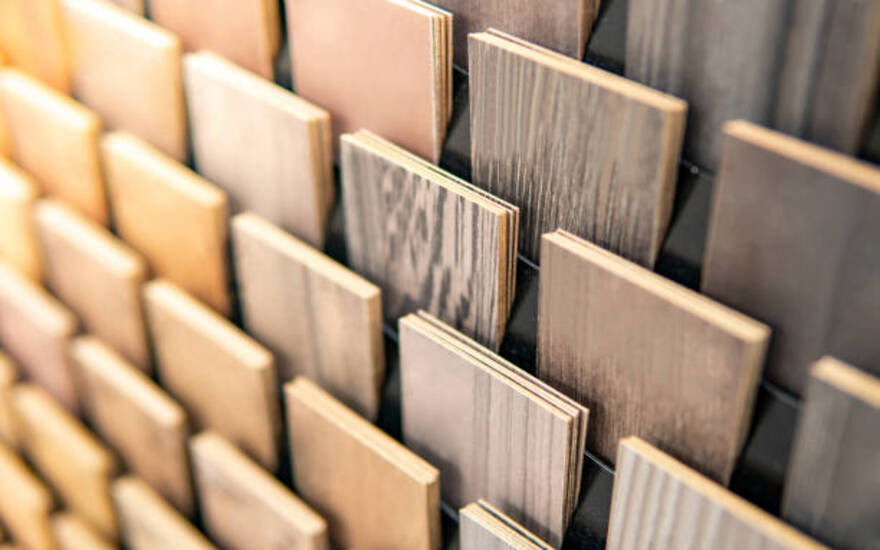
It is designed to be durable and long-lasting, making it a great option for bathrooms. In this article, I’ll go over the ins and outs of engineered wood bathroom flooring, so you can make an informed decision when selecting the right flooring for your space.
How is engineered wood flooring made? Step-By-Step
I’m sure you’re wondering how engineered wood flooring is made. Well, I’m here to tell you about the step-by-step process of engineering wood flooring.
It started with a plywood core made from several layers of thin plywood glued together and pressed under high pressure. The top layer of the engineered wood plank is then added, and it’s usually made of real hardwood or a synthetic material like PVC.
This layer is also glued and pressed under high pressure. After that, the engineered wood planks are treated with a protective finish and ready to be installed. The installation involves placing the planks on top of an appropriate underlayment and using the right adhesives and fasteners.
Finally, you must take proper care and maintenance of your engineered wood flooring to keep it looking beautiful for years to come.
Step 1: Plywood Core
I’m ready to begin the process of making engineered wood flooring. The first step is to create the plywood core, the foundation of the engineered wood flooring. Plywood is a composite material made up of thin layers of wood veneer glued together with adhesive.
Plywood provides stability and strength and is resistant to warping. This makes it an ideal material for creating the base of the engineered wood planks. It’s important to choose the right grade of plywood for this step, as it will determine the quality and durability of your finished flooring.
Step 2: Top Layer
The next step in laying down engineered wood flooring is to add the top layer. This layer is usually made from hardwood, which can either be solid or veneer. The hardwood veneer layer provides superior protection from wear and tear and helps to ensure the flooring will last for years.
It also gives the engineered wood a more natural look and feels, making it an ideal choice for bathrooms. When selecting the top layer, it’s important to consider hardness, durability, color, and pattern factors. The right choice will depend on personal preference and your bathroom’s existing décor.
Step 3: Treatment and Finishing
Once the top layer has been applied, the engineered wood planks must be treated and finished. This is done to ensure that the planks are properly sealed and protected and give them a more aesthetically pleasing look.
The treatment and finishing process typically involves sanding, staining, and sealing. Sanding helps to even out any imperfections in the wood, while staining helps to give it a more uniform color. Lastly, sealing helps protect the floor from water damage and wear. It is important to use a high-quality sealant to ensure a long-lasting finish.
Step 4: Installation
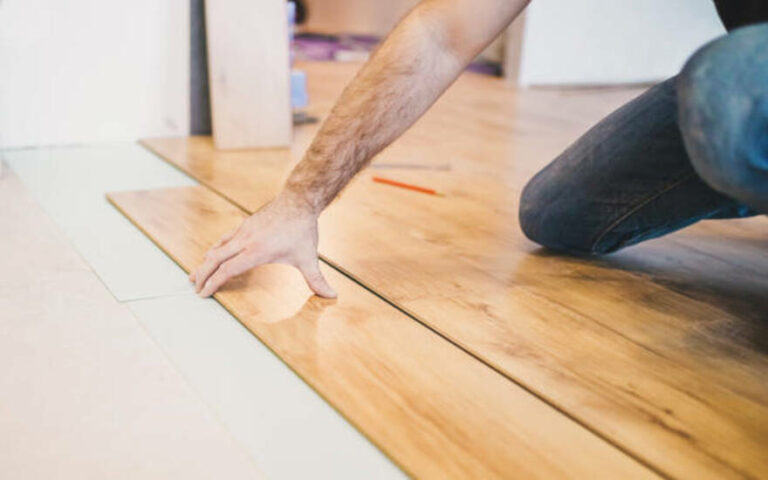
Once you have the necessary materials, it’s time for installation. Installing engineered wood flooring is a relatively simple process, but it’s important to ensure you do it correctly. To begin, you’ll need to measure the room and calculate how many planks you need.
Next, you’ll need to lay down an underlayment to provide additional cushion and insulation. After that, you can begin installing the flooring planks. Start in one corner and work your way out in a straight line, making sure to leave a ¼ inch gap between the planks and the wall.
Once all the planks are installed, use a rubber mallet or tapping block to ensure they are securely fitted together. Lastly, apply a finish or sealant to protect the floor and maintain its look.
Step 5: Maintenance and Cleaning
Once your engineered wood flooring is installed, it’s important to maintain regular maintenance and cleaning to maintain the longevity and beauty of your flooring. It’s recommended to sweep or vacuum regularly and spot clean when something spills.
Use a damp mop with a pH-neutral cleaner or a cleaner specifically designed for wood floors for deeper cleanings. You may also want to consider adding a protective coating to help protect your floor from everyday wear and tear. Your engineered wood flooring should last for years with proper maintenance and cleaning.
The difference between solid hardwood flooring and engineered wood flooring
Here is a comparison table with more detailed information on the differences between solid hardwood flooring and engineered wood flooring:
| Feature | Solid Hardwood | Engineered Wood |
|---|---|---|
| Composition | 100% solid wood | Multiple layers of wood with a hardwood veneer on top |
| Installation | Nail or staple down, glue-down, or float | Glue-down, floating, or nail/staple-down |
| Durability | It can be refinished multiple times but scratched or damaged by moisture. | It can be scratched or damaged by moisture but not as easily refinished |
| Cost | More expensive | Less expensive |
| Suitable for | On or above grade level | On, above, or below grade level |
| Moisture resistance | Poor | Good |
| Expansion and contraction | High | Low |
| Sanding and refinishing frequency | It can be sanded and refinished multiple times | It can be sanded and refinished a few times |
| Finish | It can be stained and finished to match any décor | May have limited finish options |
| Aesthetics | Natural look, variety of species and colors available | It can mimic the look of solid hardwood |
| Environmental impact | It depends on the source of the wood | It depends on the materials used in the construction of the engineered wood. |
| Maintenance | Regular maintenance is required | Low maintenance is required |
| Longevity | It can last for decades or even centuries | It can last for several decades |
| Warranty | Varies by manufacturer | Varies by manufacturer |
| Suitable for underfloor heating | It can be installed with underfloor heating | It can be installed with underfloor heating |
How to choose the right engineered wood flooring for your bathroom?
When choosing the right engineered wood flooring for your bathroom, there are a few factors to consider. First and foremost, you should take into account the environment of the bathroom. Bath bathrooms are more humid than other rooms in the house, so you should look for engineered wood flooring with proper moisture protection. Additionally, it would be best to consider the room’s aesthetics, as engineered wood flooring comes in various colors and styles that can help create a unique look. Finally, ilookingat the company’s warranty and return policy before making a purchase. Is important This can protect you if something goes wrong with your engineered wood flooring. Considering all these factors, you can ensure that you choose the best-engineered wood flooring for your bathroom.
How to evaluate the quality of engineered wood flooring?
When evaluating the quality of engineered wood flooring, there are a few key factors to consider. First, check the finish and thickness of the top layer—the thicker and higher quality of the finish, the more durable and longer lasting the flooring.
Additionally, check that any glues used to adhere the layers together have been tested for their strength and durability. You should also ensure that the core is made of high-quality plywood that won’t warp or buckle when exposed to moisture.
Finally, it’s important to look at the warranty offered by the manufacturer to ensure that you’re getting a reliable product. With these tips in mind, you can be sure that you’re choosing quality engineered wood flooring for your bathroom.
How to care for and maintain engineered wood flooring?
As I mentioned, proper care and maintenance of engineered wood flooring are essential for its longevity. After installation, you should regularly clean your engineered wood floors with a soft, dry mop or vacuum.
To keep the floor looking its best, use products specifically designed for engineered wood – avoid using anything with a wax or oil base, as this can damage the finish. You may also want to use a damp mop every once in a while to remove any dirt or debris ground on the surface. And don’t forget to wipe up spills as soon as they occur – this will help prevent staining and discoloration.
Common Mistakes to avoid when Installing Engineered Wood Flooring
To ensure that you get the best results when installing engineered wood flooring, it’s important to avoid some of the most common mistakes. One of the biggest mistakes is failing to let the planks acclimate before installation.
1. Not allowing the engineered wood planks to acclimate before installing
Before beginning the installation process, allowing your engineered wood planks to acclimate to the room’s environment is important. This is to ensure that the wood planks can adjust to the temperature and humidity of the room and avoid any possible warping or cracking.
To do so, you should place your planks in the installation area for at least 48 hours before starting the installation process. This will help ensure that your bathroom flooring will last for years and look beautiful.
2. Failing to use the right underlayment
When installing engineered wood flooring in your bathroom, it’s important to use the right underlayment. Without the right underlayment, your floor may not properly adhere to the subfloor, which can reduce its lifespan and cause issues with moisture seeping into the planks.
If you’re unsure what type of underlayment is best for your project, consult a professional who can help you select the best option for your needs.
3. Neglecting to use a moisture barrier between the subfloor and engineered wood planks
Using a moisture barrier between the subfloor and engineered wood planks is also important. This will help protect the floor from moisture damage and can extend the life of your engineered wood flooring.
The moisture barrier should be installed according to the manufacturer’s instructions, or better yet, with the help of a professional installer for the best results. Without a moisture barrier, your floor could be at risk for warping, mold, and other problems down the line.
Summary
In conclusion, engineered wood flooring is a great choice for bathrooms as it is beautiful and practical. Understanding the ins and outs of engineered wood flooring is important before selecting it so you can choose the best option for your needs.
Additionally, it is important to evaluate the quality of the planks before installation, pay close attention to any instructions regarding acclimation and underlayment, and make sure to use a moisture barrier between the subfloor and engineered wood planks.
Lastly, be sure to follow all instructions related to maintenance and cleaning, as this can help your flooring last longer. With proper care and attention, your engineered wood bathroom flooring can look beautiful for years to come.

