The Answer is Yes!
Laminate flooring is easy to install and can give any room a stylish, modern look. In this blog post, I’ll take a closer look at the installation process and answer the question: is laminate flooring easy to install?

Is laminate flooring easy to install?
If laminate flooring is easy to install, the answer is yes! Laminate flooring is a great option for DIYers because it’s easy to learn how to install and a quick and simple solution for those looking to upgrade their home.
With the right tools, preparation, and knowledge of the installation instructions, you can successfully install laminate flooring in your home. Here are some tips for a successful DIY laminate flooring installation to get you started.
8 Tips for a Successful DIY Laminate Flooring Installation
Installing laminate flooring can be a great DIY project for homeowners who want to save money on installation costs. By carefully measuring your space, familiarizing yourself with the installation instructions, and paying attention to the planks’ pattern, you will achieve a beautiful laminate floor. Here are ten tips to help you install your laminate flooring like a pro. Tips:
1. Measure your space and plan your layout
Installing laminate flooring can be time-consuming and complex, but it doesn’t need to be. With the right tools, preparation, and planning, it is possible to complete a successful DIY laminate flooring installation.
The first step is to measure the space and plan your layout. This will help you determine how much flooring you need and create an efficient installation plan. Check for any obstructions, such as pipes, door frames, and other objects, that can affect the installation. Once you have your measurements and layout plan, you will be ready to move on to the next step.
2. Buy the necessary tools
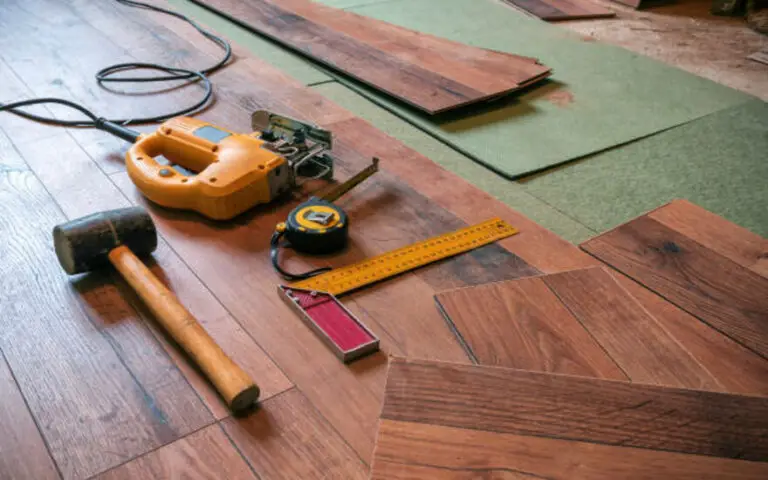
Once you have the measurements and layout plan, it’s time to purchase the necessary tools for your laminate flooring installation. You’ll need a pull bar, tapping block, and spacers to install any laminate floor.
You’ll also need silicone sealant and a saw if you make any cuts. Make sure to purchase enough planks to cover your space too. Having the right tools will make your installation go much smoother.
3. Familiarize yourself with the installation instructions
This will ensure that the installation process goes smoothly and that you get the best possible results. It is also important to acclimate your planks for 48 hours before installation in the room where they will be installed.
This helps ensure that the planks adjust to the temperature and humidity levels of the room, which can affect the fit and look of the floor. In addition, you should also make sure that your subfloor is clean and smooth before installing your laminate planks.
4. Prepare the subfloor and underlayment
Once the measurements, tools, and instructions are ready, it’s time to prepare the subfloor and underlayment. Begin installation by laying a plastic vapor barrier (minimum 6 mm thick) or any other manufacturer-recommended barrier on the concrete subfloor to prevent moisture from seeping through.
You want to install something other than laminate flooring over a damp subfloor. Test for excess moisture in concrete floors by sealing the edges of a plastic sheet over the concrete for 24 hours. It will collect on the plastic sheet if moisture is present, indicating that further steps are needed to reduce moisture levels before installation begins.
5. Start in the corner of the room and work outward
Starting in the corner of the room is the best way to ensure that your laminate flooring looks neat and professional. It also ensures that you won’t have any gaps or crooked lines at the end of your installation.
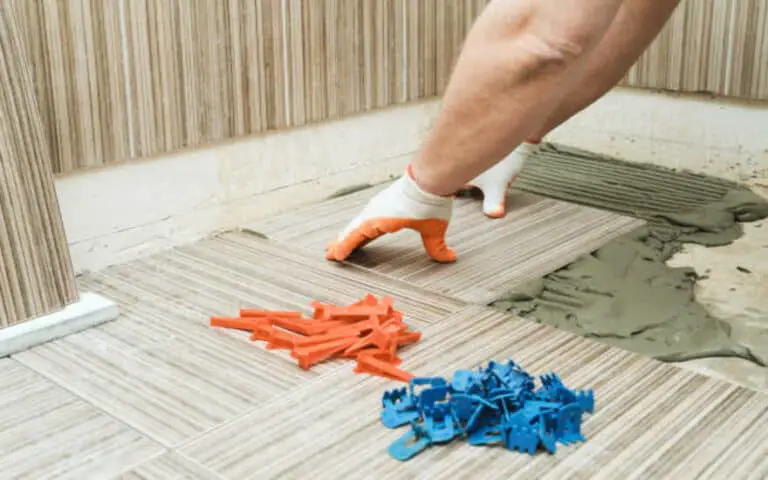
When you start, align the first row of planks with the wall and use spacers to keep a consistent gap between the planks and the wall. Work outward from the corner, keeping the planks straight and spaced evenly.
6. Install planks in the right direction
Once the subfloor and underlayment are prepped, you can start laying the planks. As mentioned earlier, it is important to start laying the planks in the right direction.
This means you must pay attention to your room’s shape and the light coming in from windows and other sources. This will make your laminate flooring look more natural and inviting.
7. Cut planks as needed
Cutting planks to fit around door frames, closets, and other obstacles can be tricky. Before you start cutting, make sure to measure twice and cut once. A miter saw is a quickest and most accurate way to cut laminate planks, but a handsaw or circular saw will also work.
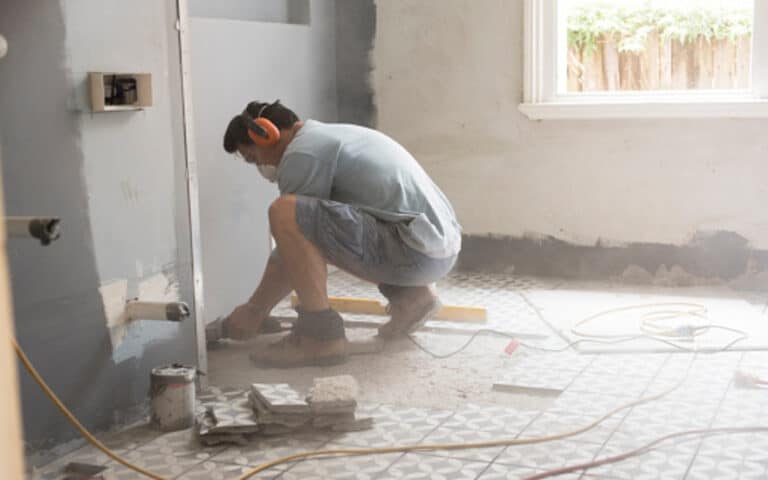
It’s also important to wear protective gear like eye and ear protection when using power tools. With the right technique and a few simple tools, you can easily make all the necessary cuts for a successful laminate flooring installation.
- Use spacers to maintain a consistent gap
- Secure the planks with adhesive tape or glue
Once you have your planks in the desired position, you’ll need to secure them to ensure a fit. You can either use adhesive tape or glue to do this. The adhesive tape is quick and easy to apply and will help keep the planks in place. Alternatively, you can use glue for a more permanent installation. Whichever method you choose, follow the instructions carefully for the best results.
8. Finish with trim or molding
Once you have successfully installed your laminate flooring, it is time to add the finishing touches. Trim or molding can help to cover any gaps between the wall and the floor. It also helps keep the flooring tight and in place.
You can find molding and trim specifically designed for laminate floors at most home improvement stores. Be sure to measure the space and select the right trim or molding for your needs. Once you have it, you can easily install it with nails or glue. Your floor will look great with the added touch of trim or molding.
Common mistakes when laying laminate flooring
When installing laminate flooring, a few common mistakes can occur if you don’t research beforehand or follow the instructions carefully. Common mistakes include not sealing your floors against moisture, forgetting to acclimate the material, leaving out expansion inclusions, not using an underlay, and choosing the wrong laminate flooring type.
To ensure a successful installation, it’s important to consider all these factors and use the right tools and materials. If you still need to figure out how to install laminate flooring, consult a professional who can provide expert advice and help you avoid making costly mistakes.
Summary
In conclusion, laminate flooring installation is a doable project for the average homeowner. With the right preparation and knowledge, you can easily install your laminate flooring and achieve a beautiful, lasting result. Follow the tips above and avoid common mistakes, and you can have a successful DIY laminate flooring installation.


